Need professional help with your project?
Get quotes from top-rated pros.

Removing a bathtub is a major step in bathroom renovation that requires careful planning and the right tools. Whether you’re replacing an old tub or creating space for a modern shower, the removal process involves disconnecting plumbing, removing surrounding walls, and safely extracting the tub.
While it’s possible to remove a bathtub yourself, the job typically takes 4-6 hours and requires at least two people. This guide walks you through each step of bathtub removal, from initial preparation to final disposal, helping you decide whether to tackle it yourself or hire a professional.
Before starting your bathtub removal project, gathering the right tools and materials is crucial for a smooth process. The complexity of removing a tub requires specific equipment to handle everything from disconnecting the drain to lifting the old tub out. Having these items ready before you begin will save you several hours of interruptions and potential complications.
A successful bathtub removal begins with proper safety gear and basic hand tools. Start with safety precautions by acquiring protective eyewear, work gloves, and a dust mask. For dealing with the bathtub drain and plumbing, you’ll need a drain wrench, drain key, and needle nose pliers. These tools help remove the drain cover, drain basket, and drain flange.
The drain stopper and overflow plate often require a screwdriver to unscrew their attachments. Keep plumber’s putty and a rubber gasket handy for handling any drain fitting or bathtub drain shoe that might need attention during removal.
While not strictly necessary, power tools can significantly reduce the work time and physical effort. A reciprocating saw proves invaluable when dealing with stuck pipes or removing sections of tile and drywall around the tub. For stubborn screws holding the tub in place, a power drill with various bits helps turn counterclockwise those threaded connections.
These tools are particularly useful when accessing inside walls or dealing with a blocked drain pipe that needs modification.
Protecting your bathroom floor and fixtures is essential during tub removal. Cover the sink and any remaining fixtures with thick towels or drop cloths to prevent damage from falling debris. Place cardboard or plywood underneath your work area to protect the floor from scratches when you lift and pull the old tub. For areas where you’ll be working with hot water or using tools near finished surfaces, rubber mats provide additional protection and help prevent slipping.
Taking proper safety measures before beginning the removal process can prevent costly mistakes and personal injury. From securing your work area to checking for potential hazards, these preliminary steps are vital for a safe and successful project.
Begin by locating your house’s main water shut-off valve. While you’re removing the tub, you’ll need to access the faucet and various drain components, so ensuring the hot water and cold water supply is completely off is crucial.
Test the faucet after shutting off the water to verify the supply is blocked. This step prevents any accidental flooding while working with the plumbing connections.
Beyond basic safety gear, create a clean and organized workspace. Remove all items from the bathtub edge and surrounding area. Cover any open drain holes to prevent debris from entering the pipes. If you plan to reuse any parts like the trip lever or drain key, place them in a designated container.
When dealing with sharp edges or broken tile, always wear appropriate safety precautions and keep a first aid kit nearby.
Before making any cuts or removing visible parts, inspect thoroughly for potential issues. Look for signs of water damage around the overflow plate or drain opening. Check if the tub is properly leveled, as this might indicate structural problems underneath.
Examine the condition of pipes and connections visible through any access panels. This inspection helps identify potential complications before they become major issues during the removal process.
| Category | Items | |
|---|---|---|
| Safety Gear | Safety glasses, work gloves, dust mask, knee pads | |
| Hand Tools | Drain wrench, screwdrivers, pry bar, adjustable wrench | |
| Power Tools | Reciprocating saw, power drill, utility knife | |
| Protection Materials | Drop cloths, cardboard, rubber mats, painter’s tape | |
| Plumbing Tools | Pipe wrench, plumber’s putty, drain key, channel locks |
Removing a bathtub requires a systematic approach to ensure safety and prevent damage to your bathroom. This process typically takes several hours and benefits from having two people working together. Following these steps in order will help you complete the task efficiently while avoiding common pitfalls that could cost extra time and money.
Start by removing the visible parts of your tub’s drainage system. Use a tub drain extractor to remove the main drain assembly, turning it counterclockwise with a few rotations. Some drains may require professional plumber assistance if they’re severely corroded.
Remove the overflow plate and associated hardware, keeping all parts organized if you plan to reuse them with your new tub.
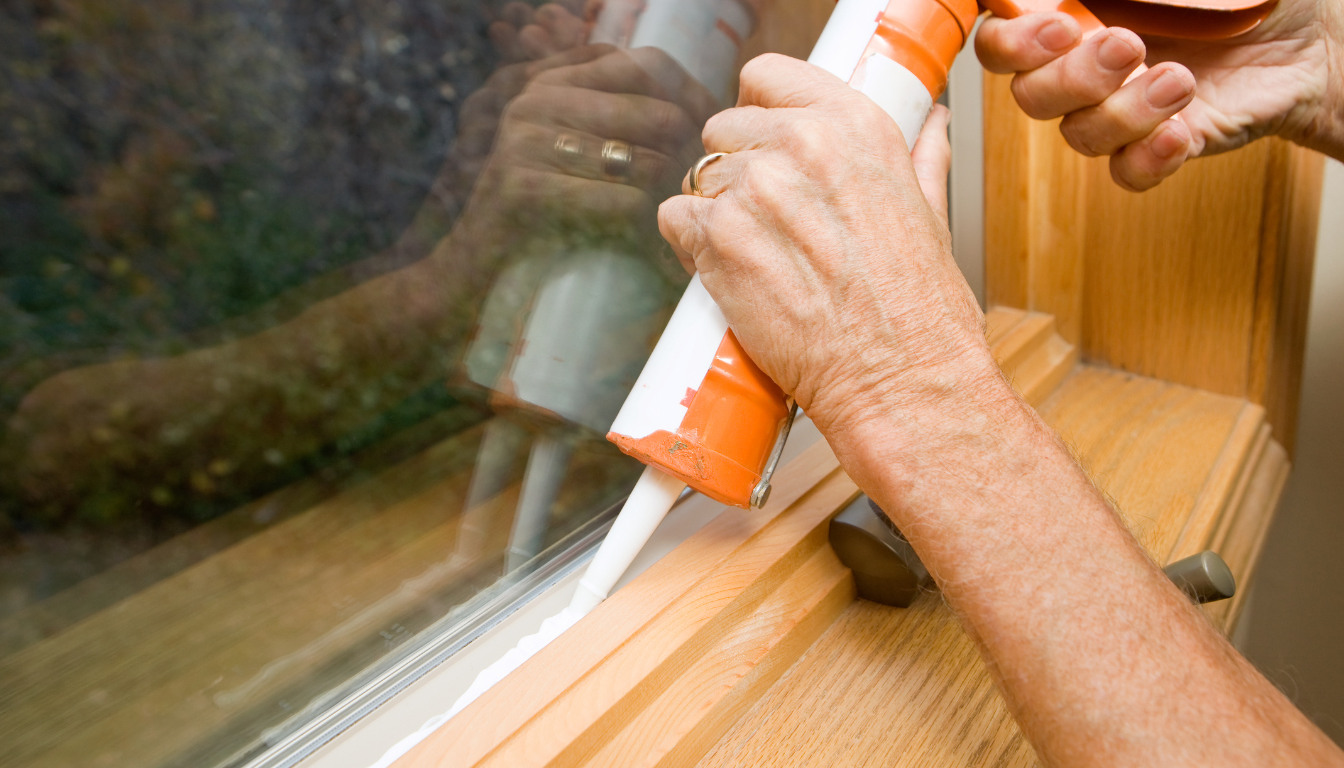
Begin removing the wall covering by cutting through the caulk line where the tub meets the wall. For tiled walls, remove tiles about 8 inches above the tub’s edge, being careful not to damage tiles you wish to preserve.
If you have drywall, cut a clean line above the tub using a utility knife. This step requires patience to avoid damaging pipes or wiring hidden behind the walls.
With the wall covering removed, locate all screws or brackets securing the tub to wall studs. Remove these attachments methodically, keeping track of their locations for installing your new tub later. Check for any additional support blocks or mortar bed underneath the tub that may need removal. Take care not to damage the subfloor during this process.
Each tub material requires a specific removal approach:
| Tub Material | Removal Method | Special Tools Needed |
|---|---|---|
| Cast Iron | Break into pieces | Sledgehammer, heavy-duty gloves |
| Steel | Cut into sections | Reciprocating saw |
| Acrylic | Remove whole or cut | Basic hand tools |
| Fiberglass | Remove in one piece | Two-person lift |
Once detached, place wooden boards underneath the tub to serve as sliders. For whole tubs, use proper lifting techniques and necessary tools like furniture dollies.
Create a clear path from the bathroom to your disposal area, removing any obstacles. Consider using hot air fans to regulate temperature if working in confined spaces.
Even with careful planning, bathtub removal can present unexpected challenges. Understanding common issues and having solutions ready can save money and prevent project delays.
Professional plumbers often encounter these problems and have developed effective solutions for each.
Corroded drain assemblies and rusted fixtures often resist conventional removal methods. Apply penetrating oil to stuck parts and allow it to soak before attempting removal. For severely rusted drain baskets, a specialized drain key or adjustable wrench might be necessary.
Sometimes, cutting through old pipes might be the only solution, but this should be done carefully to avoid damage to surrounding areas.
Water damage often reveals itself during tub removal. Look for dark spots, soft areas, or musty odors indicating moisture problems. Document any water damage before proceeding with repairs.
Remove affected materials carefully to prevent mold spores from spreading. Ensure the area is completely dry before installing a new tub.
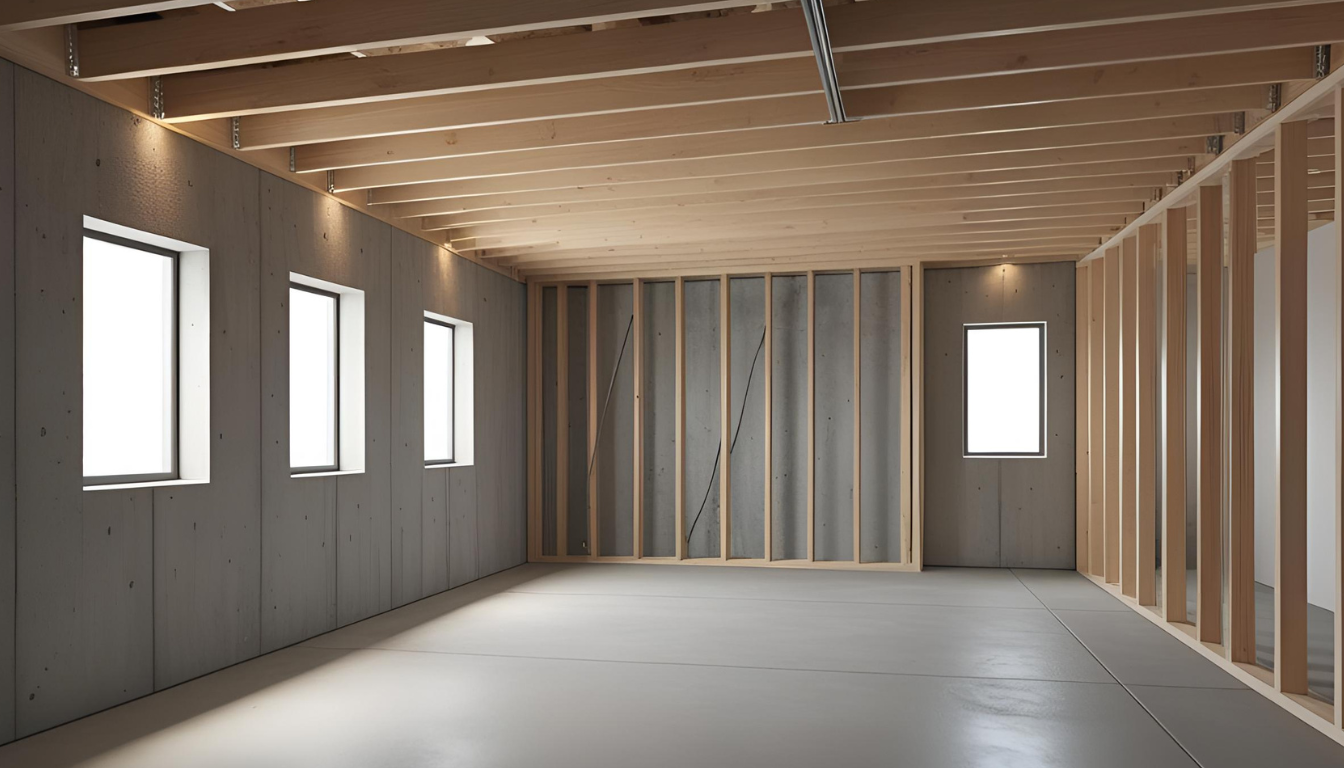
Hidden structural problems often emerge once the old bath is removed. Common issues include rotted subfloors, damaged wall studs, or improper previous installations.
Address these problems before installing the new tub to prevent future issues. This might require additional materials and time but is essential for a proper installation.
Deciding between hiring a professional plumber and doing the bathtub removal yourself requires careful consideration of your skills, time, and budget.
While DIY might seem like a way to save money initially, the complexity of the job and potential risks could make professional help more cost-effective in the long run.
Consider hiring a professional when dealing with complex plumbing configurations or if your bathroom has unique structural elements. A professional plumber brings expertise in handling specialized tools like the tub drain extractor and managing complicated drain systems.
They’re particularly valuable when the removal involves adjusting hot water lines or installing a new drain setup. Their experience helps avoid costly mistakes that could damage your home’s plumbing system.
The cost comparison between DIY and professional services goes beyond simple dollar amounts:
| Expense Category | DIY Cost Range | Professional Cost Range |
|---|---|---|
| Tools and Equipment | $200-$400 | Included |
| Material Disposal | $100-$300 | Included |
| Time Investment | 1-2 days | 4-6 hours |
| Potential Repairs* | $500-$1,500 | Covered by insurance |
| Basic Labor | $0 | $500-$1,200 |
*If mistakes occur
Beyond the obvious costs, several hidden expenses can affect your budget. These include necessary tools you might need to purchase, potential water damage repairs if something goes wrong, and the cost of fixing any mistakes.
When installing a new tub, professionals often include services like leveling and sealing that DIYers might overlook, leading to additional expenses later.
Proper disposal of your old bathtub is a crucial step that requires planning and potentially special arrangements. The weight and size of a bathtub make this task challenging, and different materials require different disposal methods. Understanding your options can help manage costs and ensure environmental responsibility.
Most areas offer several ways to dispose of old bathroom fixtures. Some municipalities provide bulk waste pickup services, though you’ll need to check weight restrictions and scheduling requirements.
Local waste management facilities often accept bath fixtures, but you’ll need proper transportation and may have to pay disposal fees. Professional removal services can place underneath your old tub appropriate supports for safe transport.
Many bathtub materials can be recycled, particularly metal tubs. Cast iron and steel tubs can be sold as scrap metal, potentially offsetting some removal costs.
Acrylic and fiberglass tubs might be accepted by specialized recycling facilities. When preparing the tub for recycling, remove all non-recyclable parts like the drain assembly and rubber gaskets.
Moving a bathtub requires careful planning and proper equipment:
| Method | Equipment Needed | Estimated Cost |
|---|---|---|
| Rental Truck | Dolly, straps, blankets | $50-$100/day |
| Junk Removal Service | None (full service) | $150-$350 |
| Personal Vehicle* | Heavy-duty trailer | $75-$150 |
| Professional Hauling | None (included) | Part of removal cost |
*Not recommended for cast iron tubs
The transportation phase requires necessary tools and proper securing methods to prevent damage or accidents. Using hot air fans to dry any remaining moisture before transport can prevent rust and make the tub lighter. When loading, use proper lifting techniques and ensure the tub is well-secured to prevent shifting during transport.
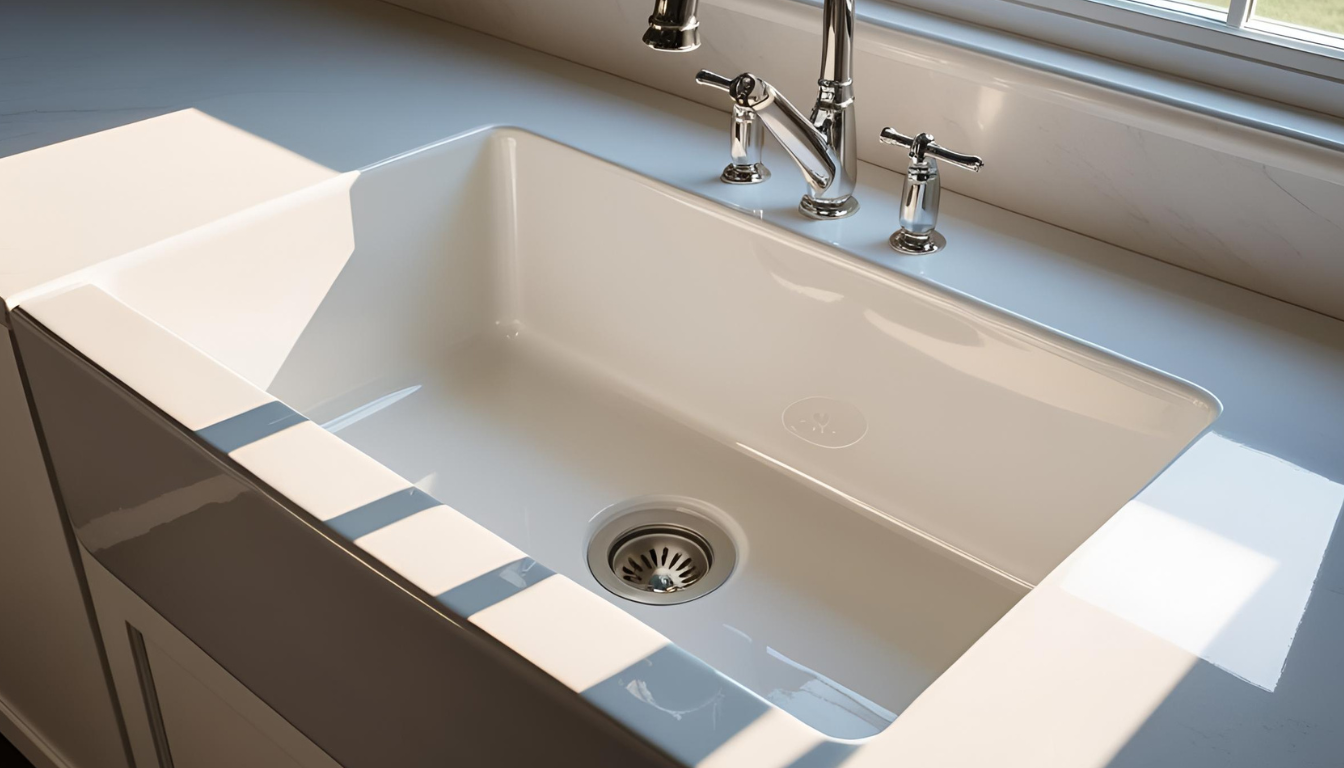
Once your old bathtub is removed, several crucial steps need attention before installing a new fixture. This intermediate phase is vital for ensuring your bathroom renovation proceeds smoothly and helps prevent future problems. Taking time to properly assess and prepare the space will make installing your new tub much easier.
Begin with a thorough inspection of the exposed area. Look for water damage around the drain opening and where the old tub’s edges met the walls. Check the condition of the subfloor, paying special attention to areas near the drain pipe and supply lines.
Examine wall studs for signs of rot or mold, particularly if the previous installation showed signs of leakage. Document any damage requiring repair before proceeding with your new installation.
Start by cleaning the area thoroughly, removing all debris and old caulk residue. Repair or replace any damaged subfloor sections to ensure proper support for your new tub. Verify that the drain location aligns with your new tub’s specifications. If needed, adjust the plumbing rough-in measurements. Install new moisture barriers and update any outdated plumbing components. This is also an ideal time to address any electrical updates needed for modern fixtures.
If there will be a gap between removal and installing the new tub, protect the exposed area properly. Cover the drain opening to prevent debris from entering the pipes. Place waterproof barriers over exposed subfloor areas to protect against moisture.
Seal off any exposed wall cavities to prevent dust from spreading through your home. Maintain adequate ventilation to prevent moisture buildup in the space.
Understanding the full financial scope of bathtub removal helps in planning your bathroom renovation budget effectively. Costs vary significantly based on tub type, location, and whether you choose professional installation or DIY.
| Tub Type | DIY Cost | Professional Cost | Additional Notes |
|---|---|---|---|
| Fiberglass | $100-200 | $300-500 | Lightest option |
| Acrylic | $150-250 | $400-600 | Moderate weight |
| Steel | $200-300 | $500-700 | Requires special tools |
| Cast Iron | $300-400 | $700-1,000 | Heaviest option |
Beyond basic removal costs, consider several other potential expenses. Plumbing modifications typically range from $200-500. Wall repairs after removal can cost $300-700 depending on the extent of damage. Disposal fees vary by location but generally run $100-300.
Factor in permit costs if required by your municipality, typically $50-150. Professional inspection of revealed areas might cost $100-200 but can prevent costly future issues.
There are several legitimate ways to reduce costs without compromising quality. Consider handling simple preparatory work yourself, such as removing accessible fixtures and clearing the workspace. Source your own materials for any necessary repairs, as contractors often add markup to supplies.
If doing DIY removal, rent tools instead of buying them. Time your project during off-peak seasons when contractors might offer better rates. Group multiple bathroom updates together to potentially negotiate better pricing with contractors.
| Area | Potential Savings | Risk Level |
|---|---|---|
| DIY Prep Work | $100-200 | Low |
| Tool Rental vs. Purchase | $150-300 | Low |
| Off-Season Timing | 10-20% | Low |
| Bulk Project Pricing | 15-25% | Medium |
| Self-Disposal | $100-300 | Medium |
Remember that while saving money is important, cutting corners on essential components like waterproofing or proper plumbing connections can lead to expensive problems later. Focus on finding efficiencies in areas that don’t compromise the quality of the final installation.