Need professional help with your project?
Get quotes from top-rated pros.
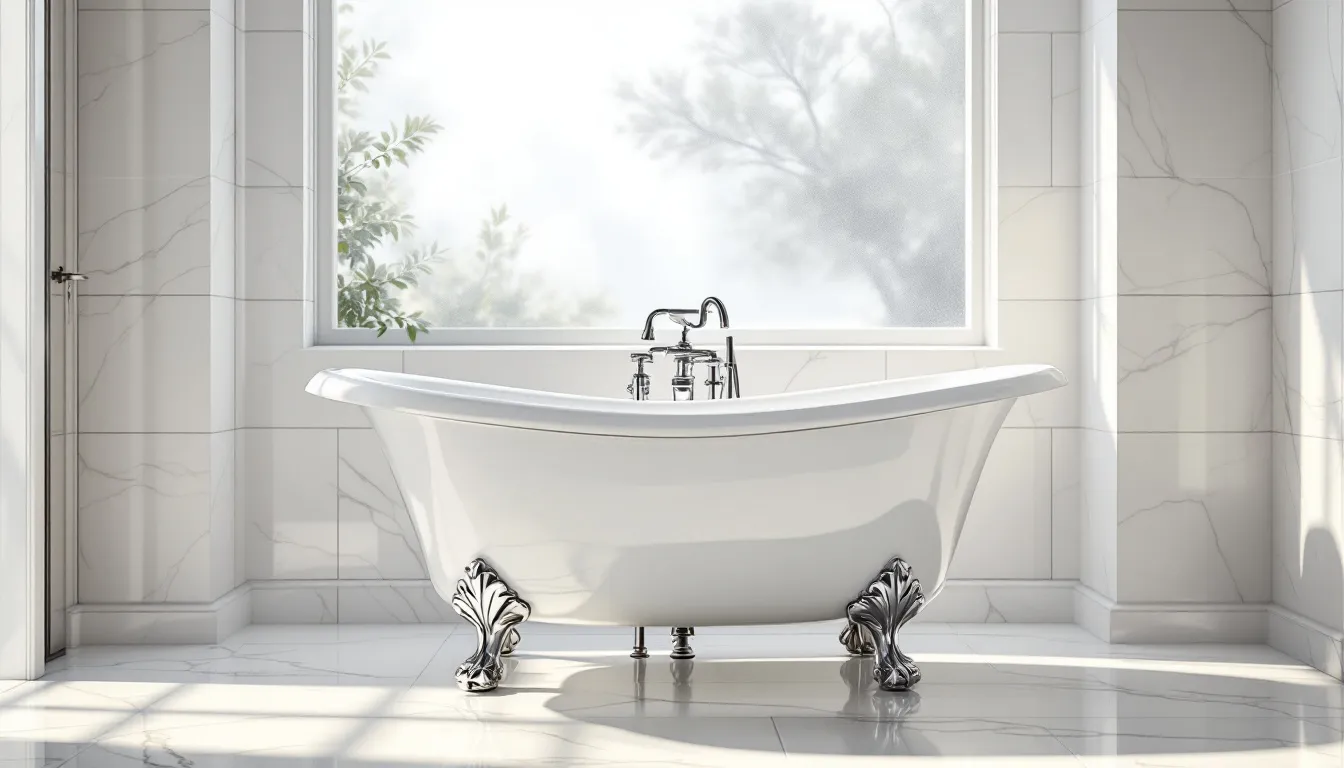
Bathtub reglazing is a cost-effective process of refinishing your existing tub by applying a new coating of epoxy resin over its surface. Instead of spending thousands on a replacement, reglazing typically costs between $300 to $900 and can give your worn-out bathtub a fresh, like-new appearance.
Whether your tub is chipped, stained, or simply outdated, this restoration method can address various issues while extending your tub’s life by 10-15 years. While you can tackle this as a DIY project for around $150 in materials, many homeowners choose professional services for better results and safer application.
When considering bathroom renovations, bathtub refinishing offers a cost-effective way to restore your old tub without the hassle of replacing it entirely. The refinishing process transforms worn surfaces into smooth, appealing fixtures that enhance your bathroom’s overall appearance.
Bathtub reglazing, also known as refinishing, involves applying a fresh coat of specialized coating to your tub’s surface. The entire process starts with cleaning the old bathtub thoroughly to remove soap scum and preparing the surface by using etching powder and an abrasive pad. After removing the old glaze, professionals apply primer and specialized coating materials to create a smooth surface that looks like new. The final step includes allowing proper curing time before normal use can resume.
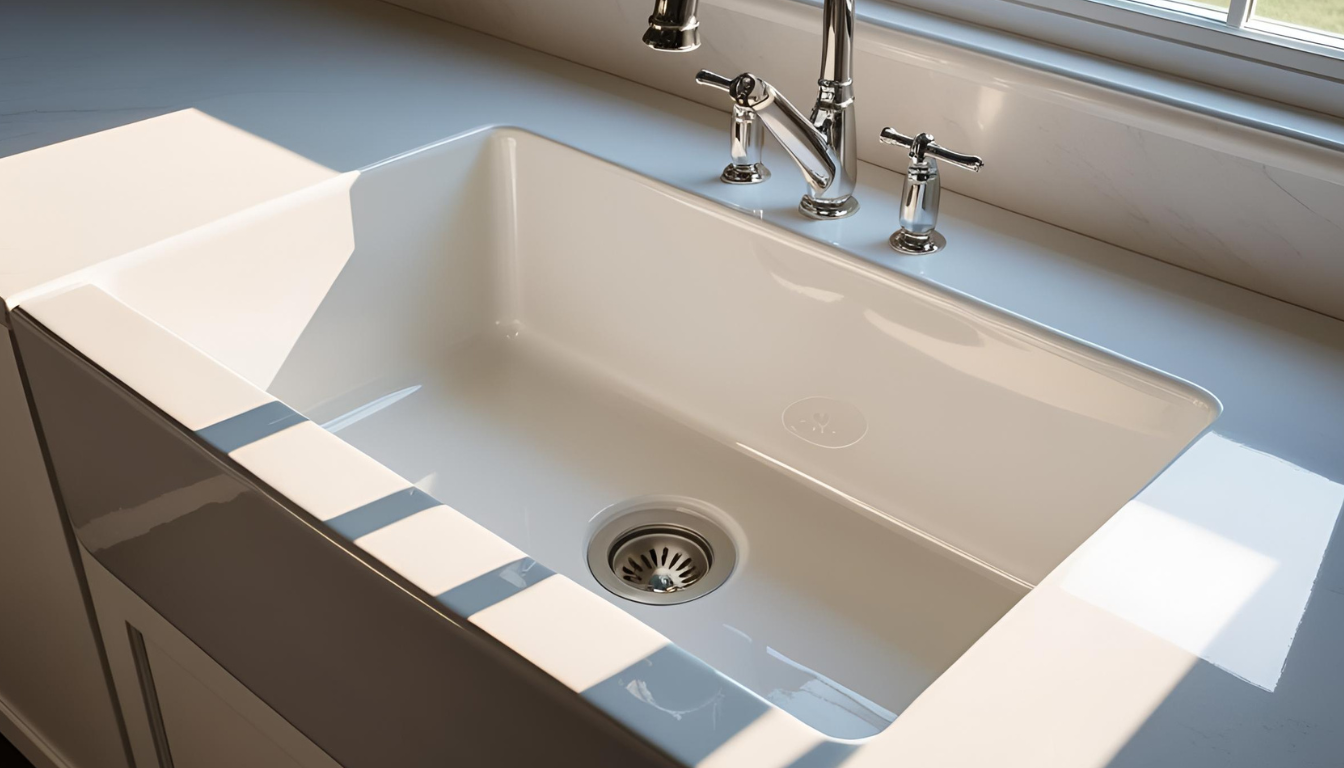
Various types of bathtubs are suitable for the reglazing process. Cast iron tubs, including vintage clawfoot tubs, respond particularly well to refinishing. Modern fiberglass and porcelain tubs can also be reglazed successfully. The process works equally well on bathroom fixtures like a porcelain sink or tile surrounds. Even tubs with minor cracks or water damage can often be salvaged through professional refinishing.
Several indicators suggest your tub might benefit from reglazing:
Before starting any refinishing project, it’s important to understand both the advantages and potential limitations of the reglazing process. This knowledge helps homeowners make informed decisions about their bathroom renovations.
Reglazing a bathtub offers numerous benefits compared to installing a new tub:
Cost Comparison Table:
| Option | Average Cost | Duration |
|---|---|---|
| Reglazing | $300-900 | 2-3 days |
| New Tub Installation | $2,500-7,500 | 1-2 weeks |
| DIY Refinishing | $150-300 | 2-4 days |
The refinishing process saves money while avoiding the extensive plumbing work and potential room modifications required when replacing a tub. A reglazed bathtub can last 10-15 years with proper care, making it a smart investment for your house. The entire process typically takes less time than a full replacement, causing minimal disruption to your daily routine.
Professional reglazing can address various issues:
The process involves using specialized materials available at hardware stores, including primer, paint, and protective coating. Professional refinishers use industrial-grade products and proper safety equipment like safety goggles and drop cloths to ensure quality results.
Despite its benefits, bathtub refinishing isn’t always the best solution. Severe structural damage, deep cracks affecting the tub’s integrity, or extensive plumbing issues require replacement rather than reglazing. If your old tub shows signs of significant water damage beneath the surface or has compromised plumbing connections, consulting a professional about replacement options might be more appropriate.
Remember to follow manufacturer’s instructions carefully if attempting a DIY kit approach, though professional refinishing typically offers more reliable and lasting results. Regular maintenance and avoiding abrasive cleaners can help extend the life of your reglazed tub.
The entire tub refinishing process requires careful preparation and execution to ensure lasting results. Understanding each step and having the right tools ready before starting will make the difference between a professional-looking finish and a disappointing outcome.
A successful bathtub refinishing project needs specific materials and tools. The basic supplies include a refinishing kit, cleaning solutions, sandpaper, and application tools. You’ll also need caulk for sealing, ventilation equipment, and protective gear. Professional-grade materials often produce better results than standard hardware store products, making the bathtub refinishing worth the investment in quality supplies.
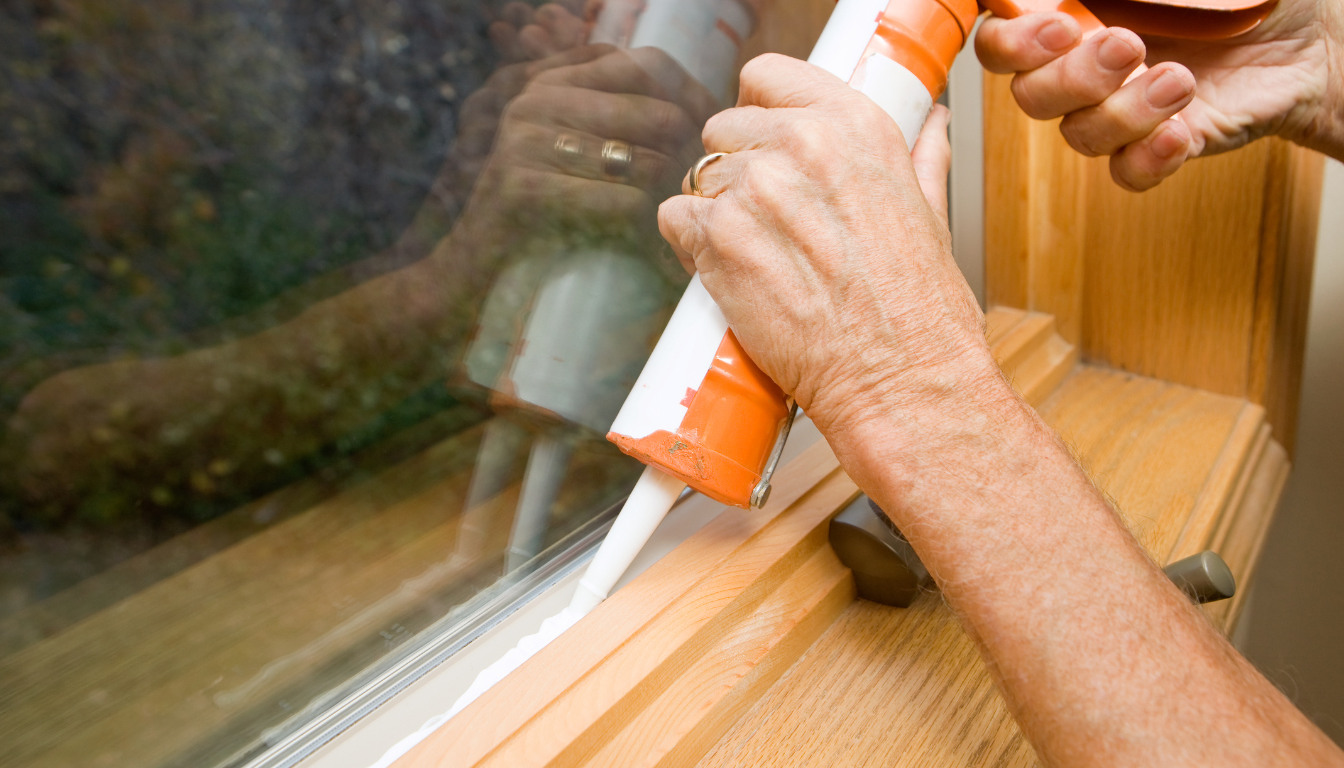
Before beginning the resurfacing process, proper ventilation is crucial as refinishing materials produce strong fumes. Remove all hardware from the shower and tub area, including drain covers and faucets. Cover nearby surfaces and remove dust thoroughly from the workspace. The bathroom needs proper preparation to prevent damage to surrounding fixtures and ensure a safe working environment.
The actual refinishing starts with thorough cleaning and repairs of any minor damage. After preparing the surface, apply the primer evenly across the entire tub. Once dry, the new coating is applied in thin, even layers. Each coat must dry completely before applying the next. The process typically takes several hours, and the refinished bathtub needs adequate curing time before reinstalling hardware and resuming normal use.
Maintaining your reglazed tub requires gentle cleaning methods and regular care. Avoid using abrasive cleaners that could damage the new surface. Regular rinse after use helps prevent soap scum buildup. Wait at least 48 hours before using the tub, and follow the manufacturer’s instructions for long-term care to maximize the lifespan of your refinished surface.
Understanding the financial aspects of tub reglazing helps homeowners make informed decisions about their bathroom repair projects. The costs vary depending on several factors, but generally offer significant savings compared to full replacement.
Cost Comparison Table:
| Service Type | Materials Cost | Labor Cost | Total Average Cost |
|---|---|---|---|
| Professional | $100-200 | $200-700 | $300-900 |
| DIY Kit | $75-150 | Self | $75-150 |
| New Tub Installation | $200-2000 | $2300-5500 | $2500-7500 |
Professional tub reglazing typically includes labor, materials, and warranty coverage. The effort involved in professional work ensures quality results and proper application. Most services cover the entire process from preparation to final coating, including any necessary minor repairs.
Taking on a DIY approach can save money, but requires purchasing all materials and tools separately. Basic refinishing kits start around $75, but additional supplies like safety equipment, cleaning materials, and application tools increase the total cost. Consider the value of your time and effort when calculating DIY expenses.
Installing a new bathtub involves significantly higher costs than reglazing. Beyond the price of the new tub itself, replacement often requires additional expenses for:
Several elements influence the final cost of your reglazing project:
The total investment varies based on these factors, but even high-end reglazing services typically cost less than replacing your bathtub. When considering long-term value, a properly reglazed tub can provide many years of service, making it a cost-effective choice for most homeowners.
When considering a bathtub refinishing project, homeowners often face the choice between hiring a professional or taking the DIY route. Each approach has distinct advantages and challenges that should be carefully evaluated before making a decision.
A properly reglazed bathtub can provide years of service with appropriate maintenance. Understanding care requirements and recognizing when maintenance is needed helps protect your investment.
Maintenance Schedule Table:
| Time Period | Maintenance Task | Purpose |
|---|---|---|
| Daily | Gentle cleaning, wipe dry | Prevent buildup |
| Weekly | Deep clean, check for issues | Maintain finish |
| Yearly | Professional inspection | Prevent deterioration |
| 5-7 Years | Touch-up evaluation | Extend lifespan |
With proper care, a professionally reglazed bathtub typically lasts 10-15 years. DIY projects may have shorter lifespans, usually 5-7 years, depending on application quality and maintenance. Factors affecting longevity include usage frequency, cleaning methods, and initial application quality.
Daily maintenance involves gentle cleaning with non-abrasive products and thorough drying after use. Avoid harsh chemicals or scrubbing tools that could damage the finish. Regular cleaning prevents soap scum buildup and maintains the surface’s appearance. Using a shower mat instead of suction-cup mats helps protect the finish from damage.
Watch for signs of wear such as dulling, minor scratches, or small chips. Early intervention with professional touch-ups can prevent more extensive damage and extend the refinishing’s lifespan. Schedule inspections if you notice changes in surface texture or appearance. Most professionals recommend evaluation after 5-7 years of use to determine if touch-ups are needed.