Basketball Hoop Installation Near You
Can’t find what you are looking for?
How It Works
-
 Answer a few questions about your home project.
 -
 Within seconds, get matched with top-rated local pros.
 -
 Compare quotes and choose the best pro for the job.
Basketball Hoop Installation In Your Area
Essential Tools and Equipment for Basketball Hoop Installation
Meta Description: Discover the essential tools and equipment needed for a successful basketball hoop installation. Learn how to set up your hoop safely and efficiently.
Are you ready to boost your basketball skills by installing your own hoop? First, you need the right tools and equipment for a smooth installation. You’ll need everything from a portable basketball kit to power and hand tools. Each piece is key to making your own court at home.
Key Takeaways
- Assemble a comprehensive toolkit, including a screwdriver, adjustable socket wrench, power drill, mallet, level tool, and measuring tape.
- Familiarize yourself with the components of a portable basketball hoop kit, such as the base, support braces, poles, wheel, backboard, rim, net, and hardware.
- Follow the manufacturer’s instructions carefully to avoid common pitfalls like stripped screws or bolts.
- Ensure a stable base by filling the hoop’s foundation with sand or water.
- Prioritize safety by avoiding swinging or hanging from the rim during play and seeking assistance when installing the backboard and net.
With the right tools and attention to detail, you’re set for hours of backyard basketball fun. Let’s explore the different hoops and how to prepare your site for a great installation.
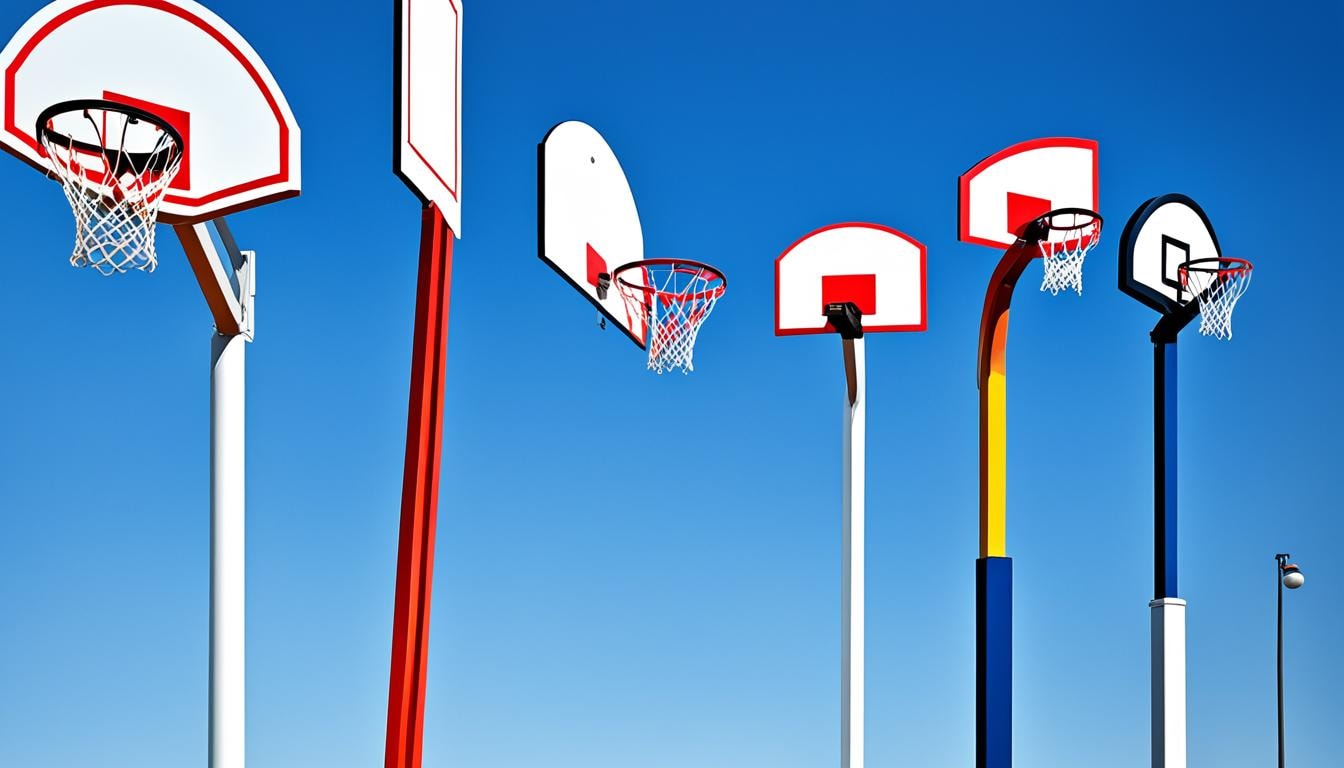
Types of Basketball Hoops
There are three main types of basketball hoops: portable, wall-mounted, and in-ground. Each type has its own benefits for your basketball setup.
Portable Basketball Hoops
Portable hoops are the top pick for home use. They have a heavy base filled with sand, water, or gel for stability. These hoops are easy to set up and move around. But, they might not be as stable as in-ground or wall-mounted hoops and could fall over.
Wall-Mounted Basketball Hoops
Wall-mounted hoops are great for small spaces. They stick to a wall, giving a stable and lasting setup. These hoops work well inside or outside. But, they need a pro to install them because they’re heavy.
In-Ground Basketball Hoops
In-ground hoops are super stable and feel like real game play. They go right into the ground with a concrete base for a strong setup. These hoops take more time and money to put in but are the best for serious players.
Think about your space, how often you’ll use it, the players’ ages, and your budget when picking a hoop. Portable hoops are good for beginners. But, in-ground and wall-mounted hoops are better for those who really love the game.
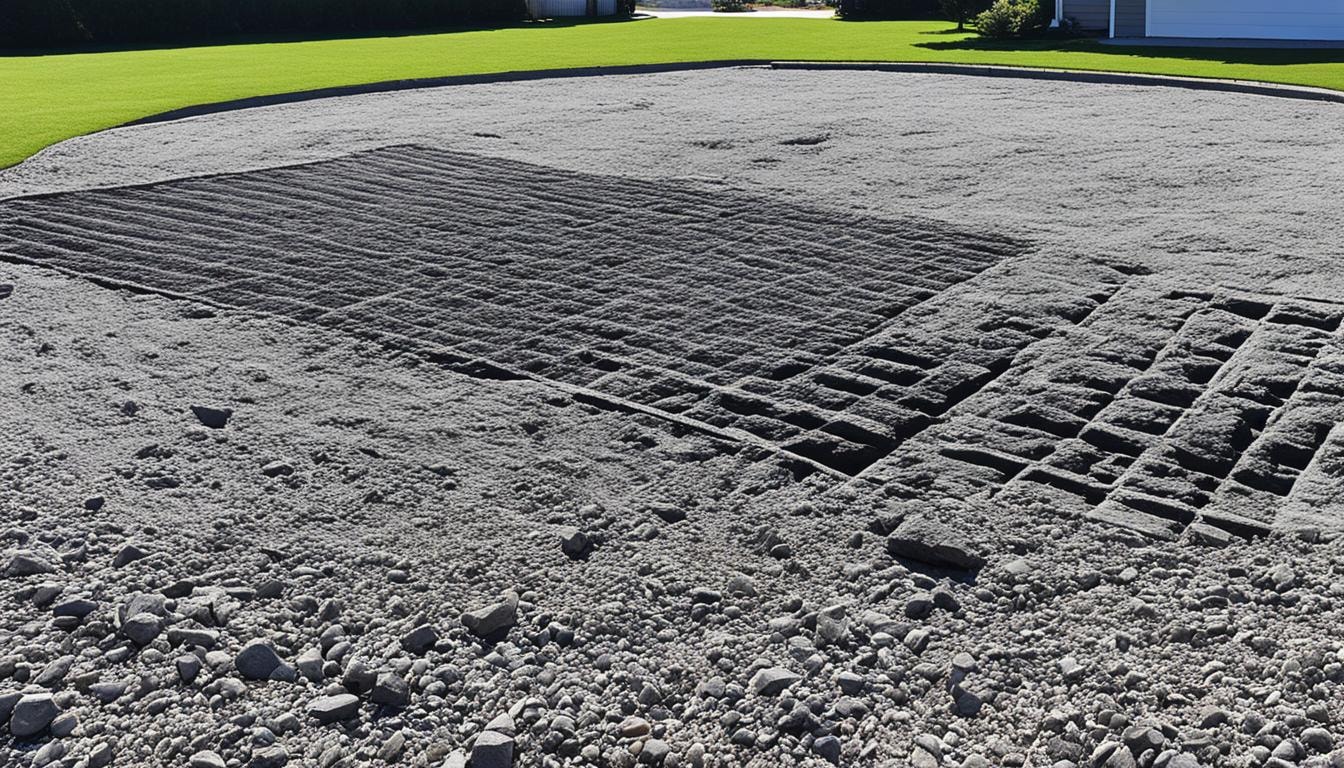
Site Preparation for Basketball Hoop Installation
Getting ready for a basketball hoop is a big first step. You need to pick the perfect spot. Make sure there’s enough room behind the backboard and on the sides. Experts say you should have 10-15 feet behind and 5-10 feet on each side. This keeps players safe and avoids hitting things like garage doors or cars.
Checking for Underground Utilities
Before digging for an in-ground basketball hoop, check for underground lines. Look for power, water, gas, or phone cables. It’s important to call the utility companies to mark where these lines are. This keeps you safe and avoids expensive mistakes during setup.
After picking a spot and checking for lines, start digging. The hole should be 16 inches wide and 48 inches deep. This size hole gives the hoop a strong and steady base. It makes sure the system stays stable and secure.
Tools Needed for Basketball Hoop Installation
Installing a basketball hoop needs many tools for a good and safe setup. You’ll need power tools, hand tools, and safety gear. The right tools make the job easier and safer.
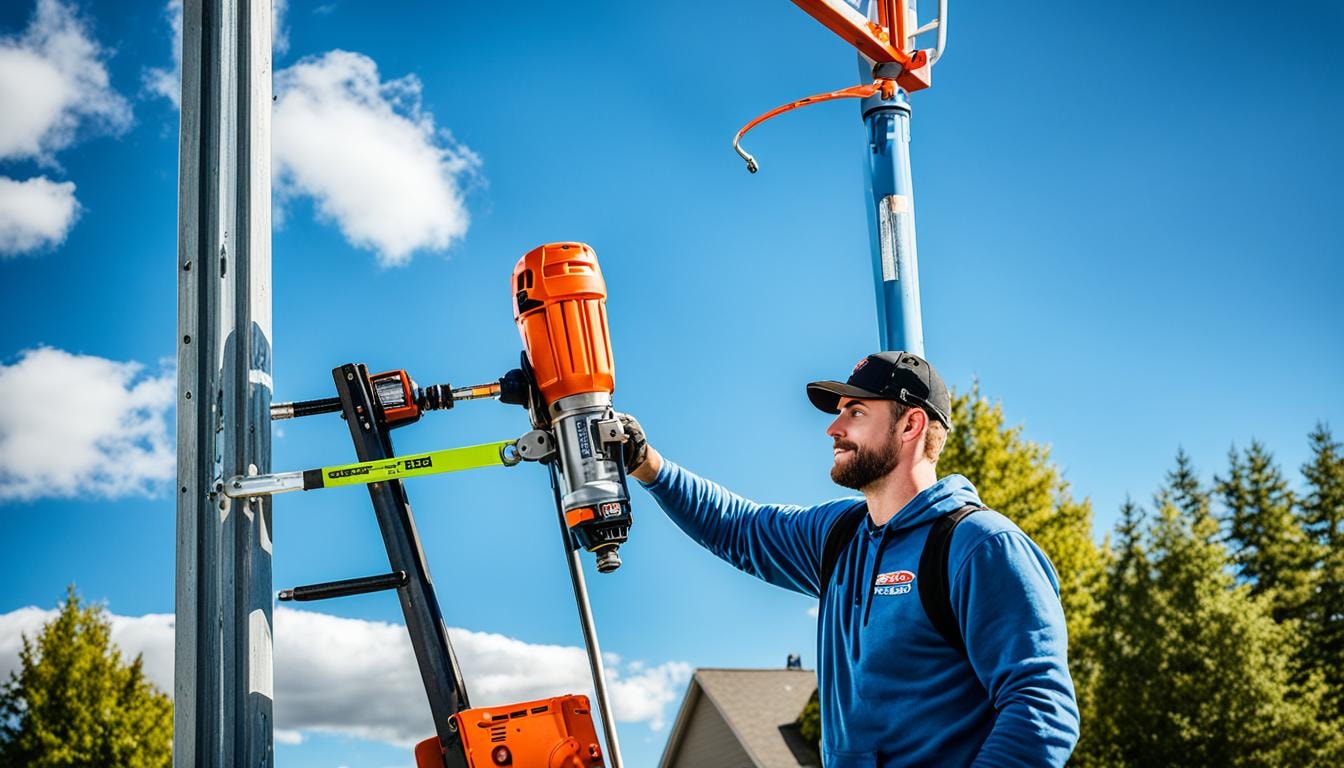
Power Tools
A cordless drill/driver is key for installing a basketball hoop. It helps secure the mounting parts and put everything together. An adjustable wrench is also a must for tightening bolts and nuts.
Hand Tools
Hand tools are also important. You’ll need a level to make sure the hoop is straight. A tape measure helps with precise measurements, and a screwdriver is for extra assembly tasks. A mallet can be useful for tapping parts into place gently.
Safety Equipment
Always put safety first when installing a basketball hoop. Wear protective gloves, eyewear, and steel-toe boots to avoid injuries. You might also need a ladder to reach certain parts of the hoop.
With the right tools and safety gear, installing a basketball hoop will be easy and fun. It will give you many years of enjoyment on the court.
Step-by-Step Basketball Hoop Assembly Instructions
Putting together a basketball hoop can be fun and rewarding. But, it’s key to follow the instructions closely for a safe and successful setup. Here’s a step-by-step guide to help you:
- First, lay out all the parts and components of your basketball hoop. This includes the backboard, rim, net, pole, base, and support. Check the manufacturer’s guide for everything you need.
- Then, put together the base by attaching the support braces. Fill the base with sand or water as the instructions say for stability.
- Connect the pole sections and attach them to the base. Make sure the pole is at the right angle, usually about 30 degrees.
- Next, put the backboard on the pole. Make sure the holes line up with the extension arms.
- Finally, put the rim and net in place. Secure the whole thing to the ground or wall as the instructions say.
For hoops that go into the ground, you’ll need to dig a hole, mix and pour concrete, and let it set. Then, you can finish the assembly and installation. If you’re not sure, look at the manufacturer’s guide or get help from a pro.
Always follow safety rules, use the right tools, and get help for heavy parts. With care and patience, you’ll get your basketball hoop set up smoothly and correctly.
Concrete Mixing and Pouring for In-Ground Hoops
Installing an in-ground basketball hoop needs a strong concrete base. Getting the concrete mix and pouring right is key. You must make sure the concrete is the right consistency and handle cold weather issues.
Achieving the Correct Concrete Consistency
Use a high-strength concrete mix like Quikrete for in-ground hoops. Mix it with 6 pints or 2.8 L of water for an 80 lb. bag, or 4 pints or 1.9 L for a 60 lb. bag. Keep extra mix ready for any problems during setup.
Pouring Concrete in Cold Weather
Installing a basketball goal in winter needs special care. Use a fast-setting mix with hot water and accelerators in cold weather. Accelerators make the concrete set faster and get stronger sooner. Curing blankets, costing -, keep heat and moisture in and protect the concrete from freezing.
Don’t pour concrete on frozen ground to avoid cracks and uneven settling. Follow the cold weather instructions from the manufacturer for a lasting basketball hoop.
Professional Basketball Hoop Installation Services
Setting up a high-quality basketball hoop needs the help of pros. They have the right tools and safety gear for a smooth install. They know how to put together different hoops quickly and correctly, saving you time.
Advantages of Hiring Professionals
Here’s why you should choose basketball hoop installation services:
- Experts set up the hoop right, making it safe and stable.
- They handle tricky installs like in-ground hoops or dealing with underground wires.
- They offer warranties and guarantees for their work, giving you peace of mind.
- They follow safety protocols and use safety gear to protect everyone.
- Pros can finish the job in just a few hours, saving you time.
Goalrilla says 75% of their hoops should be installed by their pros. With over 350 authorized installation services across the country, you can be sure your hoop is installed right.
If you can’t find a local dealer, Goalrilla’s national installation service can help. They have a big team of installers ready to set up your hoop safely and with expertise.
Basketball Hoop Adjustment and Maintenance
Keeping your basketball hoop in good shape is key for a safe and fun experience. Adjusting the height and checking for loose screws and bolts are important steps. This keeps your hoop working well for a long time.
Adjusting the hoop’s height is a big part of maintenance. Goalrilla hoops can be set from 7.5 feet to 10 feet tall. This lets players of all ages and skills play comfortably. It’s also key to check the hoop’s stability and tighten any loose parts for safety.
Keeping the hoop and area around it clean is also vital. This keeps the hoop looking good and safe. It makes sure your outdoor basketball setup stays reliable and fun.
Follow these easy tips for adjusting and maintaining your basketball hoop. This way, you can enjoy playing for many years.
Basketball Hoop Installation Safety Considerations
Installing a basketball hoop needs careful safety steps. Whether it’s a portable, wall-mounted, or in-ground hoop, protecting yourself and others is key.
Heavy lifting is a big safety worry during installation. The backboard, rim, and pole are heavy and hard to move. Wearing safety gear like gloves, eye protection, and steel-toe boots can prevent injuries.
- Wear safety gloves to protect your hands from cuts or scrapes.
- Use eye protection to shield your eyes from debris or falling objects.
- Wear steel-toe boots for extra protection against heavy parts dropping on your feet.
Having extra help for heavy lifting and tricky parts makes installation safer. Teamwork and coordination help make the process smooth and safe.
Putting the basketball hoop in the right spot is also important for safety. Choose a spot with little traffic and away from dangers like garage doors, windows, or cars. This lowers the chance of accidents and injuries.
By following these safety tips, you can make sure your basketball hoop installation is safe and successful. Always put safety first in any DIY project.
Discover Your Perfect Baskedball Hoop Installation Pros with FindPros
With FindPros, transforming your backyard into a basketball paradise has never been easier. Our platform connects you with top-rated local professionals who can help with your basketball hoop installation. By filling out a simple survey about your home project, you can receive multiple quotes from competing pros, ensuring you get the best pricing available.
Whether you need assistance with a portable, wall-mounted, or in-ground hoop, we help you find the right professionals who match your style and needs. Compare quotes, read reviews, and choose the best pro for your installation, making your basketball dreams a reality with minimal hassle.
Conclusion
Putting together a basketball hoop can be a fun DIY project. It lets you set it up just how you like and play the sport in your own driveway or yard. But, you need to plan well, have the right tools, and focus on safety.
Follow the step-by-step guide, mix the concrete right, and think about getting professional installation if you need to. This way, your new basketball hoop will be safe and set up right.
You can pick from portable, wall-mounted, or in-groundhoops. Each type offers a durable and reliable way to play basketball for hours. This guide has given you all the info you need to pick the best backboard and rim for your basketball hoop.
With the right tools and care, you can turn your outdoor area into a great basketball court. It’s perfect for fun, exercise, and spending time with family. So, take on the DIY challenge, stick to the best methods, and feel proud of your new basketball hoop. It will be the highlight of your backyard basketball fun for many years.
Frequently Asked Questions (Basketball Hoop Installation)


MOST POPULAR CITIES
Browse by State- Alameda
- Costa Mesa
- Laguna Beach
- Orange
- Alhambra
- Culver City
- Lancaster
- Oroville
- Anaheim
- Daly City
- Livermore
- Oxnard
- Antioch
- Davis
- Lodi
- Pacific Grove
- Arcadia
- Downey
- Lompoc
- Palm Springs
- Bakersfield
- El Centro
- Long Beach
- Palmdale
- Barstow
- El Cerrito
- Los Angeles
- Palo Alto
- Belmont
- El Monte
- Malibu
- Pasadena
- Berkeley
- Escondido
- Martinez
- Petaluma
- Beverly Hills
- Eureka
- Marysville
- Pomona
- Brea
- Fairfield
- Menlo Park
- Port Hueneme
- Buena Park
- Fontana
- Merced
- Rancho Cucamonga
- Burbank
- Fremont
- Modesto
- Red Bluff
- Calexico
- Fresno
- Monterey
- Redding
- Calistoga
- Fullerton
- Mountain View
- Redlands
- Carlsbad
- Garden Grove
- Napa
- Redondo Beach
- Carmel
- Glendale
- Needles
- Redwood City
- Chico
- Hayward
- Newport Beach
- Richmond
- Chula Vista
- Hollywood
- Norwalk
- Riverside
- Claremont
- Huntington Beach
- Novato
- Roseville
- Compton
- Indio
- Oakland
- Sacramento
- Concord
- Inglewood
- Oceanside
- Salinas
- Corona
- Irvine
- Ojai
- San Bernardino
- Coronado
- La Habra
- Ontario
- San Clemente