Backsplash Installation Near You
Can’t find what you are looking for?
How It Works
-
 Answer a few questions about your home project.
 -
 Within seconds, get matched with top-rated local pros.
 -
 Compare quotes and choose the best pro for the job.
Backsplash Installation In Your Area
A Beginner’s Guide to Backsplash Installation: Tips and Tricks
Meta Description: Learn the essentials of backsplash installation with our comprehensive guide. Discover tips, tricks, and techniques to transform your kitchen or bathroom with confidence.
Are you ready to make your kitchen or bathroom look amazing with a new backsplash? This guide is perfect for both DIY experts and beginners. It will teach you the key steps and techniques for a great backsplash that boosts your home’s look and value.
Installing a backsplash can be fun but needs careful planning and detail. We’ll cover measuring the wall, picking the right materials, and finishing touches. With advice from experts, you’ll feel ready to install your own backsplash easily.
Key Takeaways
- Backsplash installation can transform the look and value of your home.
- This guide covers the essential steps and techniques for successful backsplash installation.
- Learn how to properly prepare the wall, cut and size tiles, apply mortar, lay out and install tiles, grout and seal, and maintain the backsplash.
- Gain confidence and know-how to tackle your own backsplash project with tips from experienced DIYers and professionals.
- Discover the best materials and tools to achieve professional-looking results.
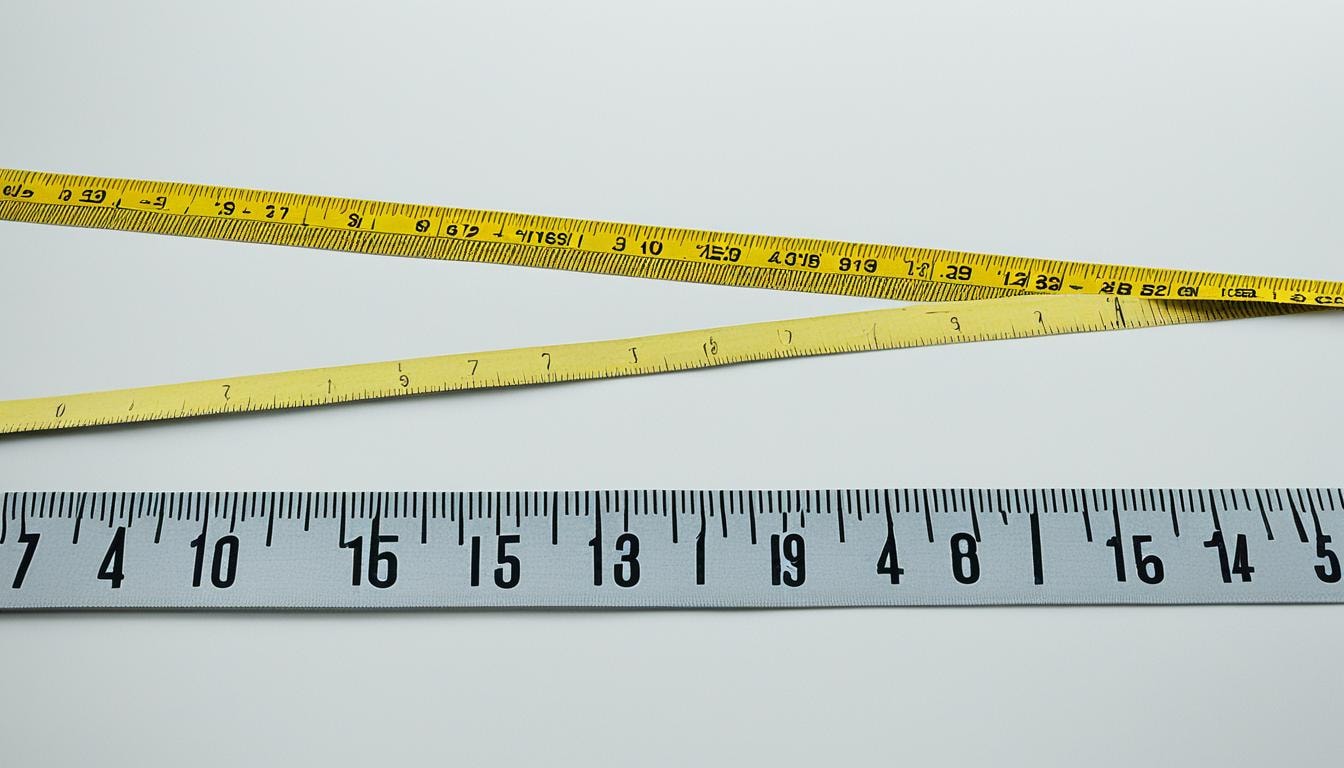
Measuring Wall and Determining Materials
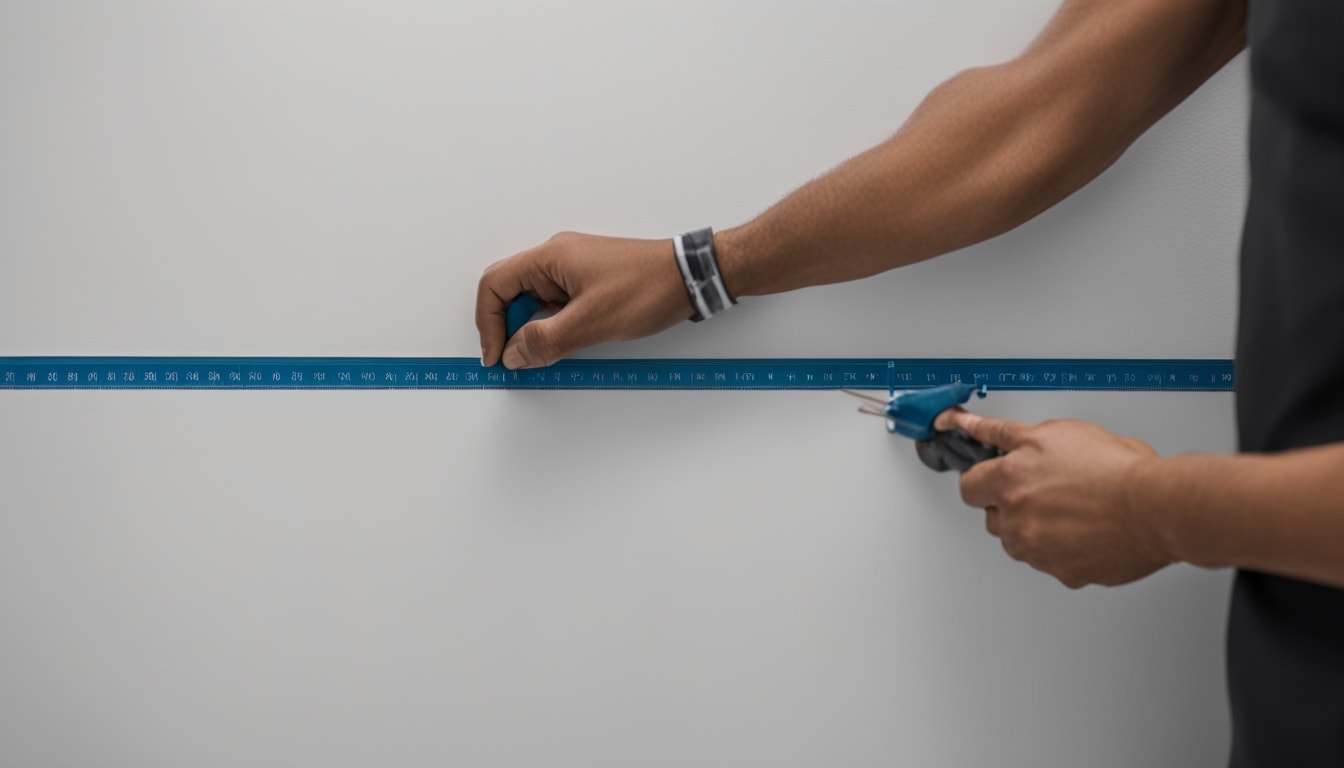
It’s key to measure the wall well and figure out what materials you need for a great backsplash. First, measure the wall’s width and height where you’ll put the new tile. Don’t forget to think about outlets, switches, and other things that might get in the way. After getting the dimensions, multiply the width and height to find the square footage.
Calculating Square Footage
Add 10% to your total square footage to have enough tile for cuts and replacements. This way, you won’t run out of tile during the project.
Estimating Tile, Mortar, and Grout Quantities
Use the square footage to figure out how much tile, mortar, and grout you’ll need. Think about the tile’s size and type, and the right adhesive and grout for it. Planning this helps save money and makes sure you have everything you need before you start.
Planning well is key for a successful backsplash project. By measuring the wall right and picking the right materials, you can avoid mistakes and make the installation smooth from the beginning to the end.
Preparing for Backsplash Installation
Before starting to install a new tile backsplash, you must prepare the area well. This step is key for a smooth installation. Here are the main tasks to do to get your space ready.
Clearing the Work Area
First, take out any appliances, cookware, and other items from the countertop. This makes sure you have a clear space to work. You might also need to move the stove or other appliances to get to the wall.
Protecting Countertops and Surrounding Areas
Next, cover your countertops and areas around them with a drop cloth or cardboard. This protects them from mortar, grout, or tile pieces that might fall during the install.
Disabling Electrical Outlets and Light Switches
For safety, turn off power to electrical outlets or light switches near the area. After turning off the power, take off the cover plates. This makes it easier to install the tiles.
These steps help make your work area clean, organized, and safe. This prepares you for a successful tile backsplash installation.
Wall Preparation for Tile Installation
Getting the wall ready is key before you start your tile project. Whether it’s new drywall or removing old tile, do it right for a lasting result.
- Removing Old Tile or Backsplash: First, remove any old tile or backsplash. Use a utility knife to score and loosen the grout. Then, tap the tiles free with a hammer and chisel. Make sure to throw away the old tiles and grout safely.
- Installing Backer Board: After removing the old stuff, think about adding backer board. It makes the wall strong and protects it from moisture. Measure and cut the board to fit, then screw it to the studs. Leave a small gap between boards. Use silicone to seal the gaps and add mesh tape for extra strength.
- Repairing and Leveling the Wall Surface: With the backer board up, fix any holes or uneven spots. Use spackling compound to fill them in, then sand it down. This makes sure the wall is smooth and ready for the tile adhesive.
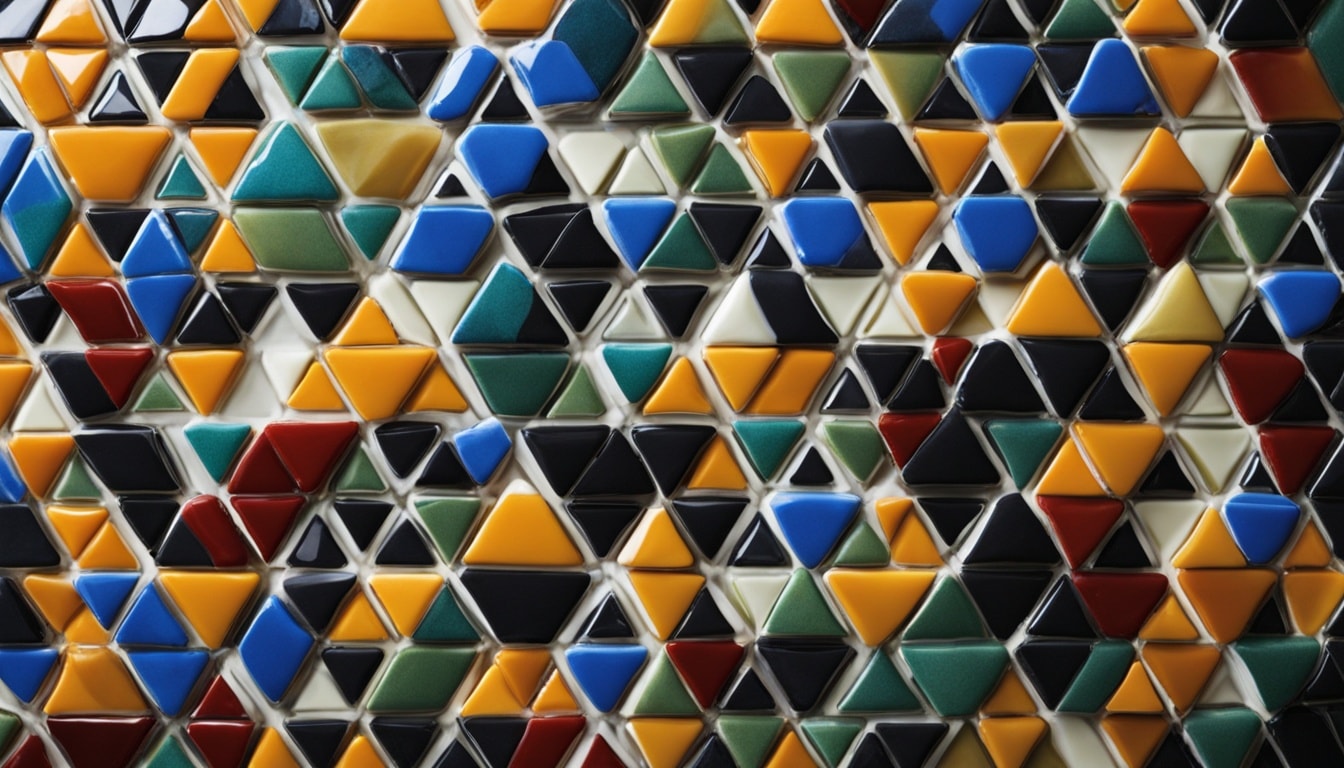
Cutting and Sizing Tiles
Installing a new backsplash means cutting and sizing tiles right. It doesn’t matter if you’re using porcelain, ceramic, or natural stone. The right tools and techniques are key to a professional look.
Utilizing a Tile Cutter or Wet Saw
For porcelain or ceramic tiles, a manual tile cutter is a good choice. It costs between 0 to 0. This cutter helps you score and snap the tiles to the right size, perfect for DIY projects.
For natural stone tiles like granite or marble, use a wet saw with a diamond blade. Wet saws cost from 0 to 0. They prevent chipping and ensure clean cuts for your natural stone backsplash.
Cutting Techniques for Various Tile Shapes
For round or odd-shaped tiles, a utility knife and tile nipper are essential. The utility knife scores the tile. The tile nipper, under , is great for cutting around outlets and edges.
Plan your tile layout and pattern before cutting. This way, you can avoid waste and get a beautiful backsplash.
Preparing and Applying Mortar
Getting the mortar or adhesive ready is key for a solid tile installation. It’s important for natural stone, mosaic, or light-colored tiles. Make sure the tile and wall bond well together.
Mixing Mortar or Using Premixed Adhesive
For natural stone or mosaic tile, mix powdered thin-set mortar as the instructions say. Put water in a bucket, then add the powder and mix well. Let it sit for 5-10 minutes before mixing again without adding more water. This makes the mortar strong and ready.
You can also use a premixed tile adhesive to save time. But it might not be as strong as thin-set mortar. Always follow the maker’s advice for how to apply and wait for it to dry.
Applying Mortar to the Wall
- Start with a 2-foot section of the wall and use a notched trowel to spread a thin, even layer of mortar.
- Apply more mortar to the trowel and use the notched edge to make ridges in one direction.
- Work in small sections to stop the mortar from drying out before you can put in the tiles.
- If you’re using light-colored tile, choose white mortar for the best look.
By preparing and applying the mortar or adhesive well, you’ll get a strong, lasting bond for your backsplash tiles.
Laying Out and Installing Tiles
Before you start, plan the tile layout and pattern. This makes sure your kitchen looks great. Mark where to start and end, then work from the middle out. Think about the tile size, shape, and how high the backsplash will be.
- Planning the Tile Layout and Pattern: For subway-tile backsplashes, the running bond pattern is a top pick. It looks like a brick pattern. Think about special spots like range hoods or corners. Make sure the pattern is the same everywhere. Don’t worry too much about thin strips of tile by cabinets. Sometimes, they just happen.
- Installing the First Row Level: Begin with the first row of tiles, making sure they’re level. Use spacers for even grout lines. This makes the rest of the backsplash easier. Turn the tiles while you press them into the mortar. This helps them stick better.
- Using Tile Spacers for Even Grout Lines: Tile spacers are key for even grout lines. Put them between tiles as you go. This makes your backsplash look professional.
- Working in Small Sections: Do the tiles in small parts, not all at once. This keeps you in control. It also makes sure each tile sticks well to the wall.
- Cutting Tiles for Outlets and Corners: When you hit outlets or corners, you’ll need to cut tiles. Use a wet saw or tile cutter for clean cuts. Avoid making thin pieces that might look bad.
- Cleaning Up Excess Mortar or Adhesive: Keep the tiles clean of extra mortar or adhesive with a damp sponge. This keeps them looking nice and ready for grout.
Grouting and Sealing
After the tile is in and the mortar dries, it’s time to grout the backsplash. Use a poly-blend sanded grout for lines 1/8-inch or wider. For smaller joints, use unsanded grout. Mix the grout as the maker says, wait 5-10 minutes, then mix again.
Mixing and Applying Grout
Spread the grout with a grout float, going across the tiles diagonally. Use a damp sponge to clean off extra grout and make the lines neat. Later, use a damp cheesecloth or sponge to remove haze.
Cleaning and Shaping Grout Lines
For natural stone or porous tiles, put on a pre-sealer at least 3 hours before grouting. This keeps the grout from going into the stone and changing its color.
Sealing Natural Stone or Porous Tiles
Natural stone can get dirty easily because it’s porous. Use Miracle Tile & Stone Daily Cleaner or Miracle Heavy Duty Cleaner, depending on the stone’s state. Then, put on a sealer like Miracle 511 Impregnator Sealer to protect it from stains and water damage.
The sealer goes deep into the stone’s pores. Keep the surface wet for five minutes while applying. Wipe off any extra sealer to avoid haze.
Finishing Touches and Maintenance
After the grout dries, finish the backsplash by caulking edges where tile meets countertop or walls. This seals gaps and keeps water and dirt out. Use a non-acidic caulk made for kitchens and bathrooms.
Caulking Edges and Seams
Once caulk dries, put back any outlet covers and switch plates removed during installation. This makes your backsplash look finished.
Reinstalling Outlet Covers and Switch Plates
Keep your backsplash looking great by cleaning it often. Use a non-acidic cleaner for tiles. Don’t use harsh chemicals or rough cleaners that can harm the tile and grout. With the right care, your backsplash will stay beautiful for many years.
Cleaning and Maintaining the Backsplash
- Use a non-acidic kitchen or glass cleaner to wipe down the tiles
- Avoid harsh chemicals or abrasives that can damage the tile and grout
- Reseal the tiles every 18 months to maintain their appearance and protect them from stains
Transform your home with FindPros!
Ready to elevate your kitchen or bathroom with a stunning new backsplash? At FindPros, we connect you with top-rated local professionals who can help turn your vision into reality. By filling out a simple survey about your home project, you’ll receive competitive quotes from multiple pros, ensuring you get the best pricing while finding the right fit for your needs. In just seconds, you can compare options and choose the perfect expert for your job. Don’t wait—let us help you create the beautiful space you’ve always wanted.
Conclusion
Adding a backsplash is a great way to make your home look better, especially in the kitchen. This guide gives you all you need to know to do it yourself. You can pick from classic subway tile, shiny glass, or natural stone. The right backsplash brings both function and style to your space.
If you don’t want to do it yourself, look into tile installation services or tool and truck rentals. With the right tools and some patience, you can get great results. A well-made backsplash can really change your kitchen for the better. It can also make your home more valuable.
Frequently Asked Questions (Backsplash Installation)


MOST POPULAR CITIES
Browse by State- Alameda
- Costa Mesa
- Laguna Beach
- Orange
- Alhambra
- Culver City
- Lancaster
- Oroville
- Anaheim
- Daly City
- Livermore
- Oxnard
- Antioch
- Davis
- Lodi
- Pacific Grove
- Arcadia
- Downey
- Lompoc
- Palm Springs
- Bakersfield
- El Centro
- Long Beach
- Palmdale
- Barstow
- El Cerrito
- Los Angeles
- Palo Alto
- Belmont
- El Monte
- Malibu
- Pasadena
- Berkeley
- Escondido
- Martinez
- Petaluma
- Beverly Hills
- Eureka
- Marysville
- Pomona
- Brea
- Fairfield
- Menlo Park
- Port Hueneme
- Buena Park
- Fontana
- Merced
- Rancho Cucamonga
- Burbank
- Fremont
- Modesto
- Red Bluff
- Calexico
- Fresno
- Monterey
- Redding
- Calistoga
- Fullerton
- Mountain View
- Redlands
- Carlsbad
- Garden Grove
- Napa
- Redondo Beach
- Carmel
- Glendale
- Needles
- Redwood City
- Chico
- Hayward
- Newport Beach
- Richmond
- Chula Vista
- Hollywood
- Norwalk
- Riverside
- Claremont
- Huntington Beach
- Novato
- Roseville
- Compton
- Indio
- Oakland
- Sacramento
- Concord
- Inglewood
- Oceanside
- Salinas
- Corona
- Irvine
- Ojai
- San Bernardino
- Coronado
- La Habra
- Ontario
- San Clemente