Bathtub Resurfacing Near You
Can’t find what you are looking for?
How It Works
-
 Answer a few questions about your home project.
 -
 Within seconds, get matched with top-rated local pros.
 -
 Compare quotes and choose the best pro for the job.
Bathtub Resurfacing In Your Area
A Complete Bathtub Resurfacing Guide
Meta Description: Discover the cost-effective process of bathtub resurfacing. Learn how to revitalize your old tub, extend its lifespan, and save money compared to replacement.
Are you tired of your old, dingy bathtub? Dreaming of a fresh, updated look? Bathtub resurfacing is your answer! This process can make your tub look new again, no matter if it’s cast iron, acrylic, or fiberglass. But is it worth it, or should you just get a new tub? Let’s find out more about bathtub resurfacing and see if it’s right for you.
Key Takeaways
- Bathtub resurfacing is a cost-effective alternative to full tub replacement, costing as little as 0 for a DIY project or up to 0 for professional services.
- Refinishing can extend the lifespan of your bathtub by 5-10 years or more, making it a durable and long-lasting solution.
- Hiring a professional tub refinisher can provide a smoother, more durable finish that lasts longer than DIY efforts.
- Proper preparation and safety precautions are essential for a successful bathtub resurfacing project, whether you tackle it yourself or hire a pro.
- Bathtub resurfacing is a versatile option that can breathe new life into a variety of tub materials, including cast iron, acrylic, and fiberglass.
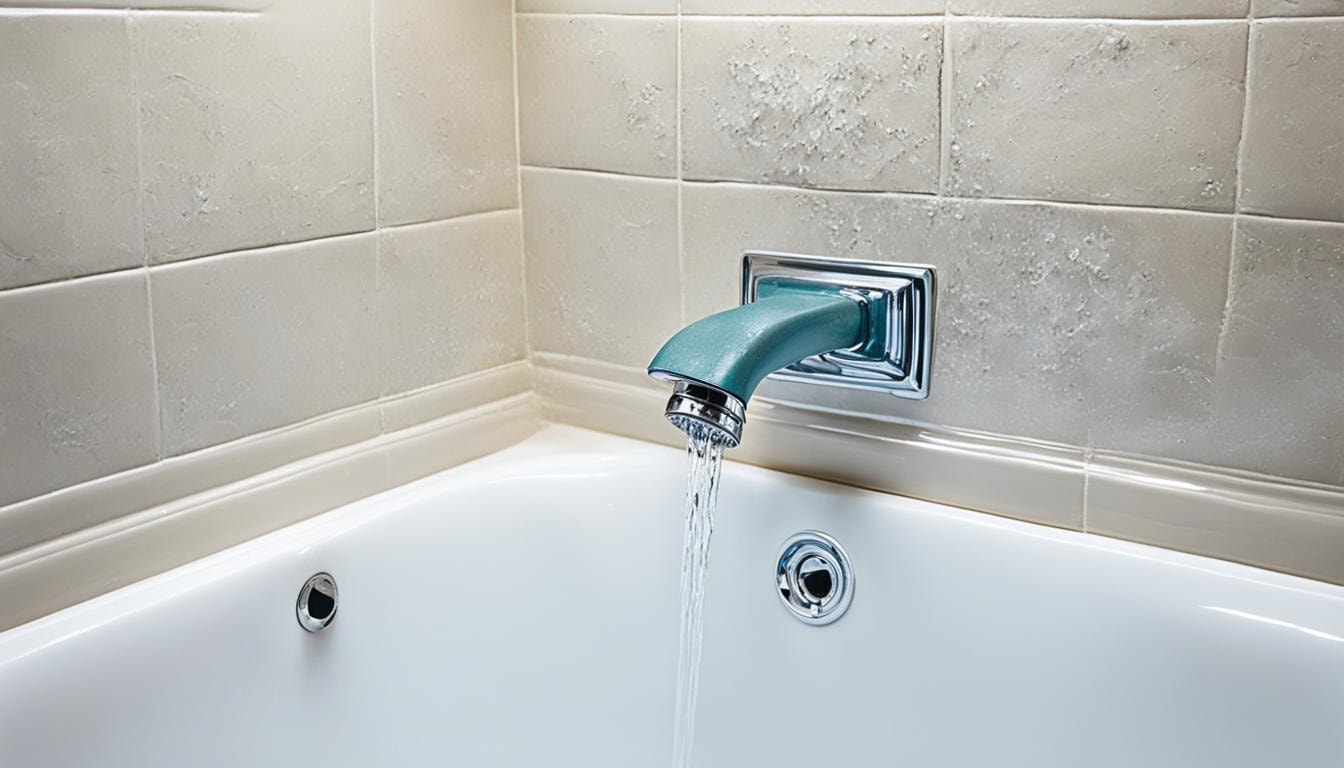
What is Bathtub Resurfacing?
Bathtub resurfacing makes your old, worn-out tub look new again. It’s cheaper than getting a new one. The process refinishes or reglazes the tub, fixing damage like cracks or faded enamel.
Reglazing is key in this process. It means putting a new, shiny coat on the tub’s surface.
Refinishing vs. Reglazing
“Refinishing” and “reglazing” are often mixed up, but they’re different steps. Refinishing cleans, repairs, and smooths the tub’s surface. Reglazing puts a new, protective layer on top.
This layer can be enamel, acrylic, or fiberglass. It makes the tub look smooth and shiny again.
Resurfacing works on many tub types, like porcelain, acrylic, and cast iron. It’s a quick way to make your tub look new. You won’t have to remodel your whole bathroom.
When to Consider Bathtub Resurfacing
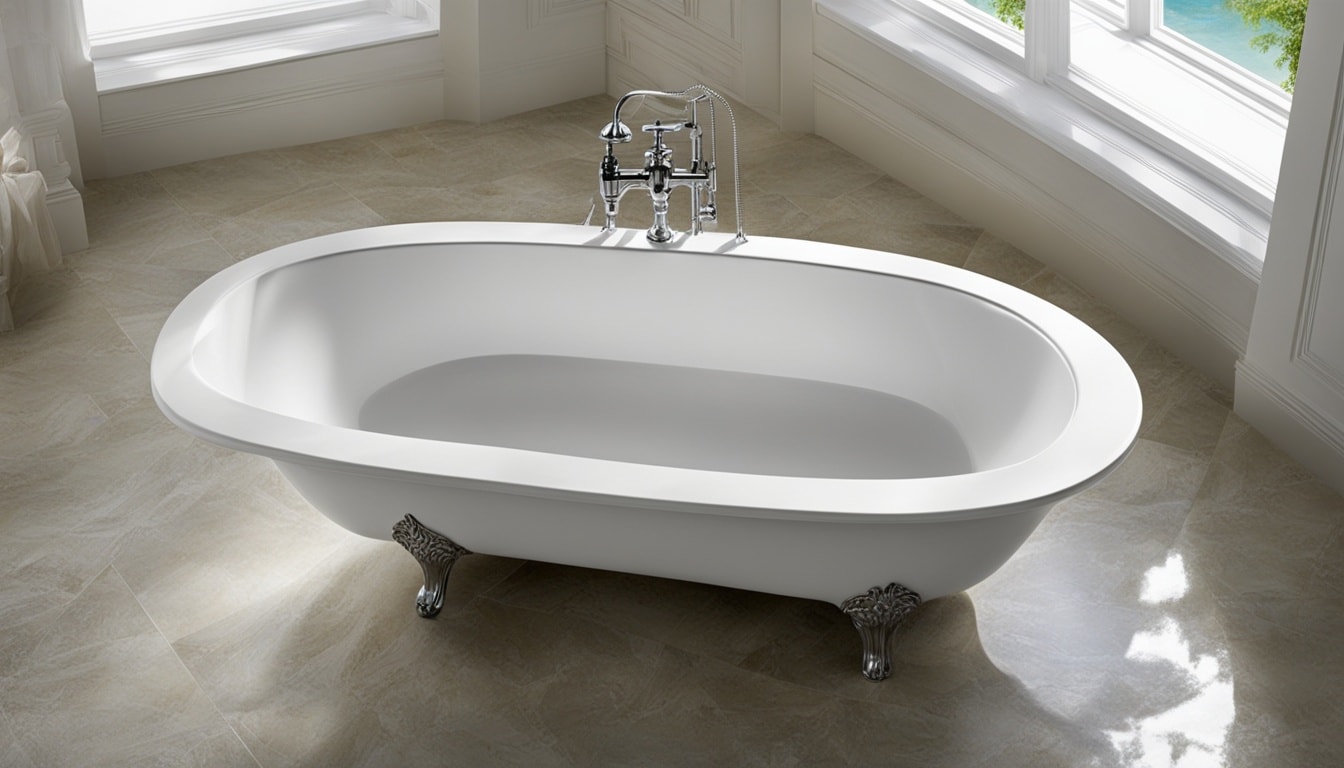
Thinking about reglazing your bathtub is a big decision. It’s a great way to hide small flaws or signs of aging like rust, scratches, and stains. It’s cheaper than redoing the whole bathroom and can make your home more attractive if you’re selling or renting it.
If you have an old fixture, reglazing can make it look new again. It’s perfect for things like clawfoot tubs, alcove tubs, and pedestal sinks that have a special look you want to keep.
Here are some signs your bathtub might need resurfacing:
- Visible signs of aging, such as discoloration, chipping, or rust stains
- Scratches or stains that make the tub look bad
- Wanting to update the look of an old or unique bathtub, like a clawfoot tub or pedestal sink
Refinishing your porcelain clawfoot tub can make it last 10 to 15 years longer. The cost to reglaze a clawfoot tub is between 0 and ,200. This depends on the tub’s condition and if you need any extra repairs.
Resurfacing your bathtub is a cheaper way to replace it fully, costing about 0. The job can be done in a day or two. This makes it a fast way to make your bathroom look new again.
Cost Considerations
Refreshing your bathtub can cost a lot or a little, depending on if you do it yourself or hire someone. Bathtub refinishing cost is key to think about. It affects your home improvement budget.
DIY vs. Professional
If you’re watching your budget, DIY kits are a good choice. They cost from to 0. You can reglaze your tub, sink, toilet, and walls yourself. But, the finish might not last as long or look as good as a professional’s work.
Professionals charge about 0 to 0 on average. They have more skills and can use custom colors. This means you get a finish that looks better and lasts longer.
Think about saving money with DIY versus getting a better look with a pro. Your choice should match your budget, skills, and what you want your bathroom to look like.
Safety Precautions
Bathtub resurfacing is a careful process that uses chemicals and tools. It’s important to be safe. The chemicals can be harsh, so protect yourself well.
Always wear a mask, gloves, and goggles with chemicals or near the bathtub. Methylene chloride, found in some stripping agents, can cause dizziness and even death. Open windows and use a fan or air purifier to remove fumes. Keep the exhaust fan on during the process.
Be careful with the epoxy that reglazes your bathtub. It’s hard to remove from other surfaces. Cover nearby tile or floors with heavy-duty paper or cloths. Keep people away from the work area to avoid breathing in fumes.
It’s key to dispose of chemicals safely. Check local rules for disposing of waste from resurfacing.
By being careful, you can make resurfacing your bathtub go smoothly. Always put your health first.
- Have a safety shower and eyewash station ready for spills or accidents.
- Work on small sections to limit your time with the products.
- Learn about the dangers of the chemicals you’re using and be careful.
- Think about hiring a pro for resurfacing if you’re not sure about safety.
Putting safety first lets you enjoy a new bathtub safely. Be careful and get help if you need it.
Preparation and Cleaning
Before you start resurfacing the bathtub, make sure it’s ready. First, turn off the water supply to the tub. Then, take out any fixtures like drain covers and spouts. Use an abrasive pad to remove old caulk from the walls.
Next, give the tub a deep clean. Look closely at any cracks or spots where mold might be hiding. Use a strong cleaner to get rid of any tough stains. After cleaning, rinse the tub and dry it with a towel.
- Shut off water supply to the tub
- Remove all fixtures, including drain covers and bathtub spouts
- Use an abrasive pad to remove old caulk from the tub’s edges
- Thoroughly clean the tub and surrounding area, focusing on areas prone to mold and mildew
- Rinse the tub and dry it completely with a towel
Getting the bathtub ready is key for a good resurfacing job. Make sure to remove old fixtures and caulk. Also, clean the tub well before starting the resurfacing process. This ensures a smooth finish.
Repairing and Sanding
Getting your bathtub ready for resurfacing means fixing any cracks or damage first. If you’re using etching powder, mix it with water and scrub with an abrasive pad. Then, rinse and dry the tub well.
After that, use 400-grit wet/dry sandpaper to rough up the tub’s surface. This step is key for how the new glaze will look. Spend a lot of time sanding for the best results. If you didn’t use etching powder, sanding will take even longer to get a smooth finish.
After sanding, rinse the tub and dry it with paper towels. This gets the surface ready for the next steps.
Priming and Coating
First, clean and prepare the bathtub well. Then, use a foam roller and brush to put on the primer. This primer makes the epoxy resin stick better, giving you a strong and lasting finish.
Next, mix the epoxy resin and hardener together quickly. Epoxy hardens fast after mixing. Spread the coating over the whole bathtub in one go. This avoids any lines or seams in the finish.
- Apply the primer with a foam roller and brush.
- Mix the epoxy resin and hardener together.
- Put the coating on the bathtub all at once.
- Add a second coat as the instructions say.
- Let the tub dry and cure for 2-3 days.
Follow the maker’s instructions carefully. The time to work and cure can change. Adding a second coat gives more protection and lasts longer. With care and patience, your bathtub will look new again.
Finishing Touches
Now, it’s time to finish your bathtub project. First, seal the tub joints with high-quality silicone caulk. This makes sure it’s water-resistant and lasts longer.
Then, put back your hardware. Use plumbers tape on the threads for a tight, leak-free fit. This makes your tub look and work better.
For extra flair, think about changing old fixtures for new ones. This can make your bathroom look modern and complete. Always turn off the water before starting this step.
After the caulk dries and your hardware is back, your bathtub is ready. Step in, turn on the water, and enjoy your new bath or shower. Your bathtub looks great, and your bathroom shines.
Find the Best Bathtub Resurfacing Pros for Your Project
Are you ready to transform your old, dingy bathtub into a sparkling new one? Look no further than FindPros, your one-stop shop for connecting with top-rated local professionals. Simply answer a few questions about your home project, and within seconds, you’ll be matched with the best pros for the job.
With FindPros, you’ll get the best pricing when multiple pros compete for your business, and you can choose the pro you get along with best. Don’t settle for anything less than the perfect bathtub resurfacing solution for your home. Get started with FindPros today and experience the difference that a professional touch can make.
Conclusion
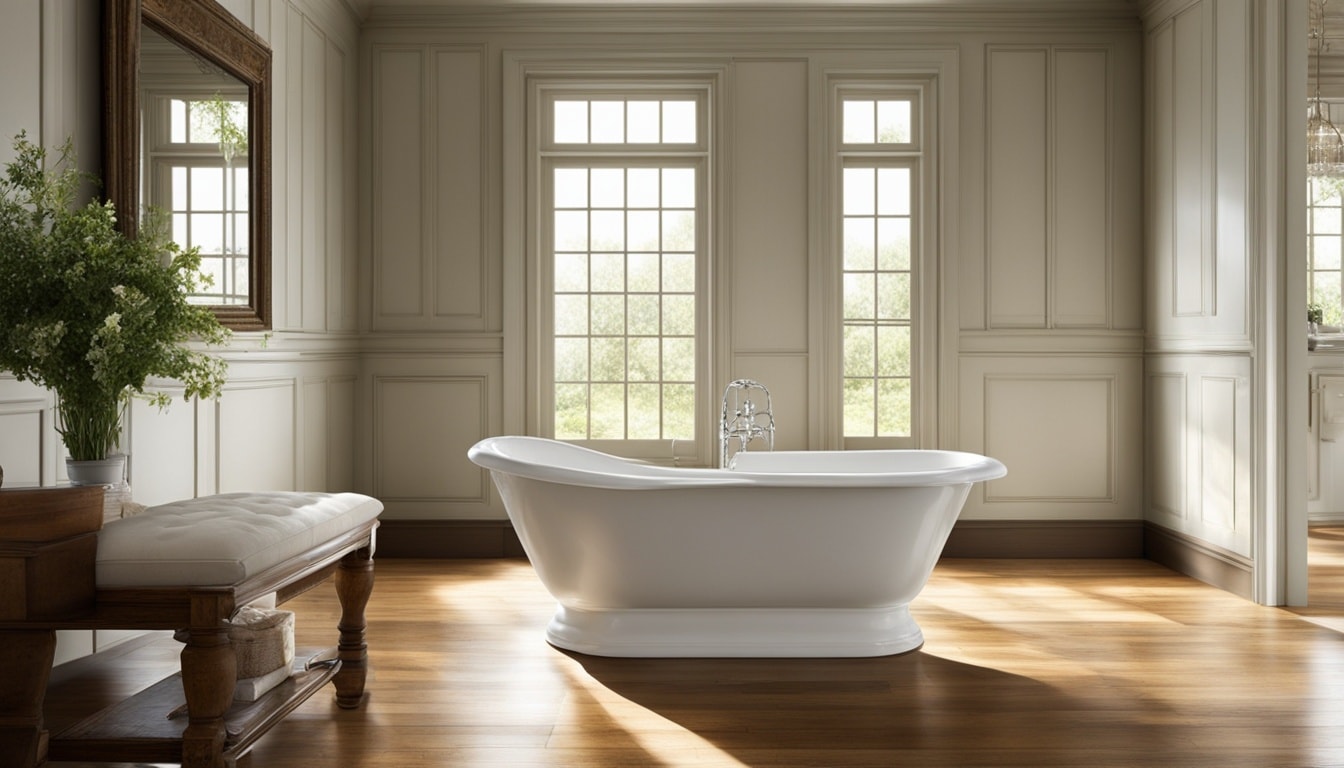
Bathtub refinishing makes old, worn-out tubs look new again. It works on cast iron, fiberglass, or even antique clawfoot tubs. With the right steps and safety, you can do it yourself and get a professional look.
This process takes 4 to 8 hours to complete. After 24 to 48 hours of curing, you can use your new tub. If there’s a lot of damage or bad air flow, it might take longer. But the final look is worth it, making your tub last 10-15 years more.
Refinishing is cheaper than replacing a bathtub, costing 0 to 0. It saves money and helps the environment by not adding to landfill waste. Companies like Simply Reglaze offer reliable services with a warranty. They make sure your bathtub looks great for years.
Frequently Asked Questions (Bathtub Resurfacing)


MOST POPULAR CITIES
Browse by State- Alameda
- Costa Mesa
- Laguna Beach
- Orange
- Alhambra
- Culver City
- Lancaster
- Oroville
- Anaheim
- Daly City
- Livermore
- Oxnard
- Antioch
- Davis
- Lodi
- Pacific Grove
- Arcadia
- Downey
- Lompoc
- Palm Springs
- Bakersfield
- El Centro
- Long Beach
- Palmdale
- Barstow
- El Cerrito
- Los Angeles
- Palo Alto
- Belmont
- El Monte
- Malibu
- Pasadena
- Berkeley
- Escondido
- Martinez
- Petaluma
- Beverly Hills
- Eureka
- Marysville
- Pomona
- Brea
- Fairfield
- Menlo Park
- Port Hueneme
- Buena Park
- Fontana
- Merced
- Rancho Cucamonga
- Burbank
- Fremont
- Modesto
- Red Bluff
- Calexico
- Fresno
- Monterey
- Redding
- Calistoga
- Fullerton
- Mountain View
- Redlands
- Carlsbad
- Garden Grove
- Napa
- Redondo Beach
- Carmel
- Glendale
- Needles
- Redwood City
- Chico
- Hayward
- Newport Beach
- Richmond
- Chula Vista
- Hollywood
- Norwalk
- Riverside
- Claremont
- Huntington Beach
- Novato
- Roseville
- Compton
- Indio
- Oakland
- Sacramento
- Concord
- Inglewood
- Oceanside
- Salinas
- Corona
- Irvine
- Ojai
- San Bernardino
- Coronado
- La Habra
- Ontario
- San Clemente