Garbage Disposal Installation Near You
Can’t find what you are looking for?
How It Works
-
 Answer a few questions about your home project.
 -
 Within seconds, get matched with top-rated local pros.
 -
 Compare quotes and choose the best pro for the job.
Garbage Disposal Installation In Your Area
Need a Garbage Disposal Installation? Here’s What You Need to Know
Meta Description: Learn the essentials of garbage disposal installation, from tools and steps to safety precautions. Get expert tips for a successful DIY project or professional help.
Thinking about getting a new garbage disposal or replacing an old one? Installing a garbage disposal might seem hard, but it’s easier with the right info and prep. We’ll cover the key tools, materials, and steps for a successful install. This way, your kitchen will work better and handle food waste well.
Key Takeaways
-
01
Garbage disposals come in a range of horsepower ratings, from 1/3 HP to 1 HP, to suit different household needs.
-
02
Batch feed disposals operate differently from continuous feed models, with specific advantages for certain applications.
-
03
Basic disposal models typically range from 1/3 HP to 1/2 HP, while larger households may benefit from a more powerful 1 HP unit.
-
04
Proper installation can generally be completed in under 3 hours with the right tools and following manufacturer instructions.
-
05
Sink and disposal drain sizes are standardized, ensuring compatibility during the installation process.
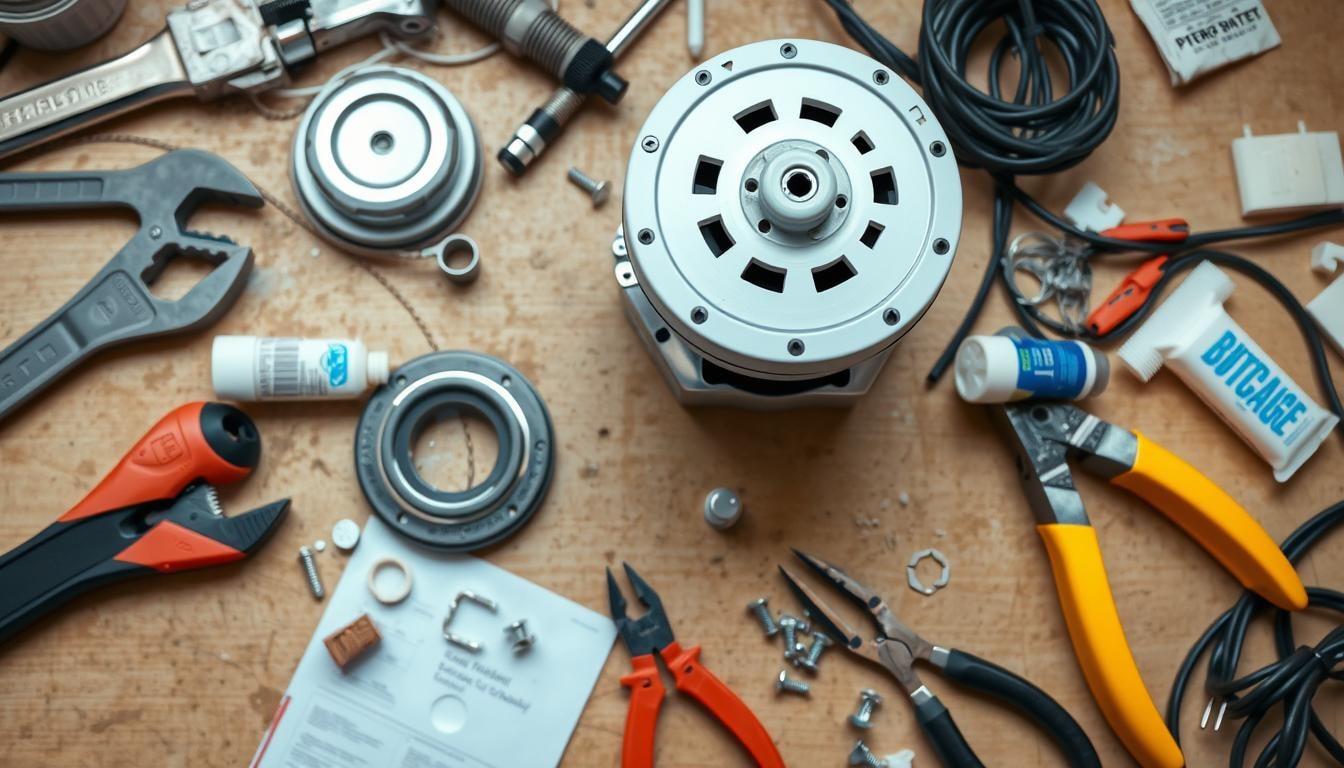
Tools and Materials Required
Installing a garbage disposal needs the right tools and materials. Having them ready will make the job easier and faster.
Essential Tools
- 1-quart bucket
- Hammer
- Putty knife
- Screwdriver
- Safety glasses
Necessary Materials
You’ll also need these materials for the job:
- The garbage disposal unit itself
- Plumber’s putty
- Any extra plumbing supplies you need
Having all the tools and materials ready will make the garbage disposal installation go smoothly. Make sure you have the hammer, putty knife, screwdriver, and safety glasses to work safely and well.
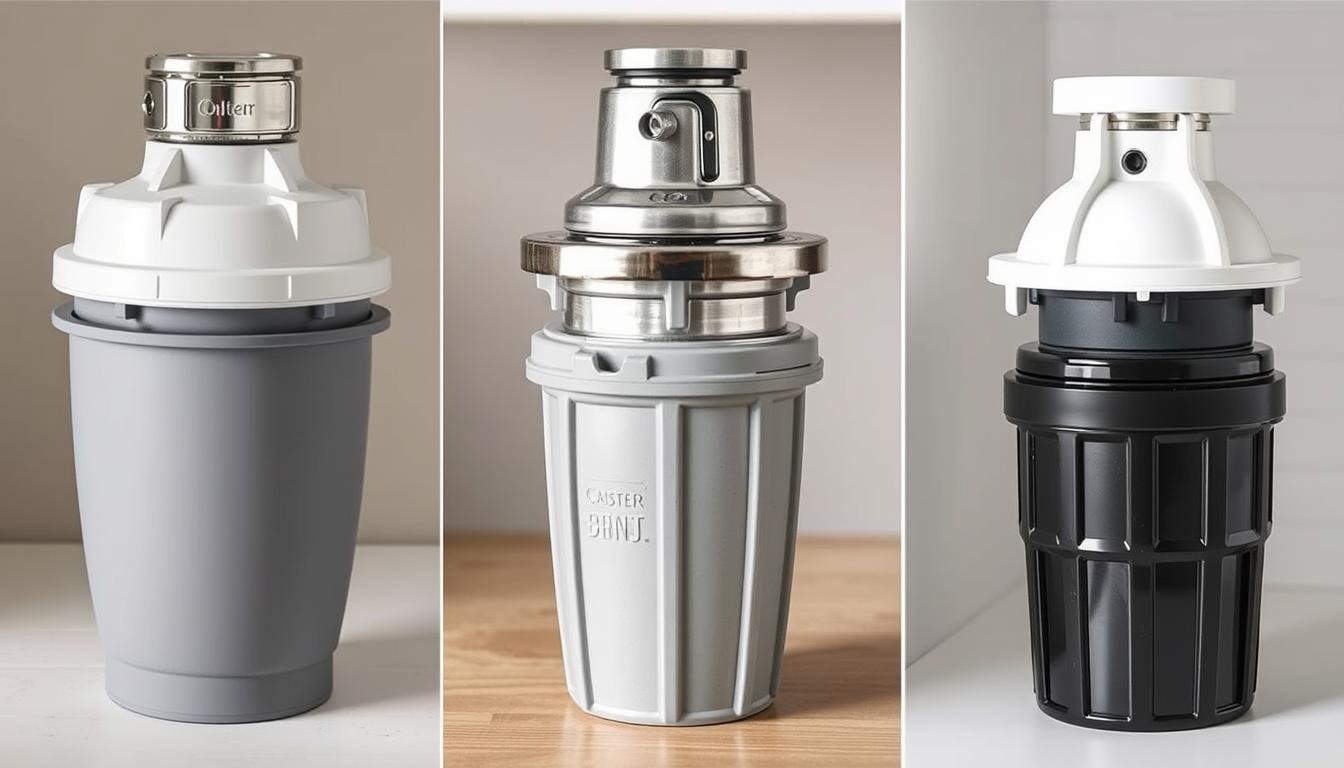
Types of Garbage Disposals
Choosing a garbage disposal for your kitchen comes down to two main types: batch feed and continuous feed. Knowing the differences helps you pick the best one for your home.
Batch feed disposals work in “batches.” You need a special stopper or grinding plate to start them. This makes them safer, as they won’t start unless the stopper is in place. They are quieter and more controlled, great for homes with kids or pets.
Continuous feed disposals keep running when you turn them on. You can add waste as you go. They’re more powerful and good for big households or lots of use. But, they can be louder than batch feed models.
Garbage disposals vary in horsepower (HP), from 1/3 to 1 HP. A higher HP means finer grind and less clogs. If you have a septic system, pick a disposal safe for septic systems.
Think about your home’s needs, kitchen size, and what features matter to you. The right disposal makes cleaning up easier and keeps your home running well.
Removing the Old Garbage Disposal
Before you put in a new garbage disposal, you must take out the old one. This means you need to be careful and disconnect some parts. Here are the steps to remove the old garbage disposal safely.
Safety Precautions
First, make sure you’re safe. Turn off the power to the disposal at the circuit breaker. This stops any chance of electrical shock while you work.
Disconnecting the Disposal
Then, you need to take apart the drain trap from the disposal’s tube. If it’s hooked up to a dishwasher, disconnect the drain pipe too. Unplug the electrical connections to the disposal, remembering where they go for later.
Removing the Mounting Assembly
With the disposal off, take it out of the mounting ring. Use pliers or a wrench to loosen and remove it. Then, take off the cover plate over the electrical connections. Finally, pry the flange from the sink drain. You can do this by gently pulling it off or using pliers to turn it a quarter turn to get rid of any plumber’s putty.
By doing these steps, you’ll safely take out the old garbage disposal. This clears the way for your new one.
Garbage Disposal Installation
Installing a new garbage disposal in your kitchen is easy and makes your sink work better. You need to prepare the sink and mount the disposal right for a good install. Here’s how to do it:
Preparing the Sink
Start by putting plumber’s putty on the drain flange for the new garbage disposal. This makes a tight seal. Then, put the fiber gasket, backup flange, and mounting ring under the flange and fit them together. End by putting the snap ring on and snapping it into place for a secure fit.
Installing the Drain Flange
After getting the sink ready, put the drain flange in the drain hole. Make sure the plumber’s putty seals well. Then, use a wrench to tighten the mounting assembly screws slowly and evenly.
Mounting the Disposal Unit
Next, hang the garbage disposal unit by lining up the tabs with the mounting ring slots. Use the wrench to turn the tabs clockwise and lock the disposal in place.
With these steps done, you’ve got a new garbage disposal ready to use in your kitchen.
Wiring the Garbage Disposal
Properly wiring your new garbage disposal is key. It’s important whether you’re replacing an old one or installing a new one. Knowing how to connect the wires is crucial for safety and proper function.
First, make sure the power is off at the circuit breaker before starting. This is a key safety step to avoid electric shock. If your disposal has a power cord, wiring is easy. Just match the wire colors – white to white, black to black, and green to the ground screw.
- Locate the cover plate on the underside of the disposal and remove it.
- Carefully insert the power cord through the opening and secure it with the cord clamp.
- Connect the wires, matching the colors – white to white, black to black, and green to the ground screw.
- Tuck the wires neatly back into the disposal and replace the cover plate.
For hardwired garbage disposals, the process is a bit more complex. But, it’s still doable for DIY fans. You’ll need to connect the disposal to the electrical circuit. This usually requires a licensed electrician to follow local building codes.
It’s important to work carefully, double-check your connections, and make sure the power is off. With the right safety steps and focus, you can wire your new garbage disposal well. This way, it will work without problems for many years.
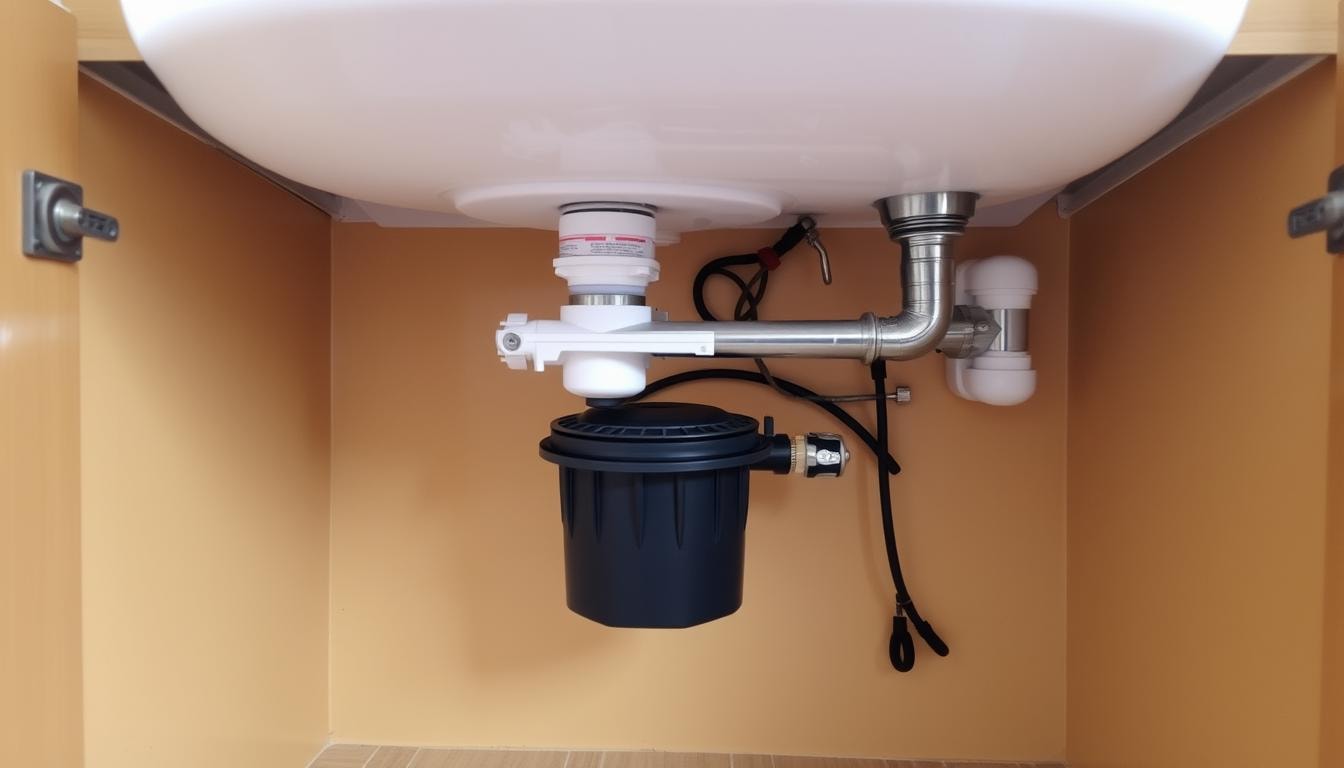
Connecting the Drain Pipes
After mounting the new garbage disposal, it’s time to connect the drain pipes. This step is key to avoid leaks and ensure good drainage. Begin by putting the gasket into the disposal’s outlet. Then, attach the discharge tube with the flange and bolts.
Attaching the Discharge Tube
If your disposal connects to the dishwasher, remove the plastic drain plug first. Then, attach the dishwasher discharge tube to the inlet. Make sure it’s securely connected.
Connecting to the Dishwasher
To finish, line up the discharge pipe and use a tee pipe before the P-trap. This makes sure the drain pipe connection works well for your garbage disposal and dishwasher.
If you’re not sure about installing it, get help from a professional plumber. They can make sure the connection of the discharge tube and dishwasher drain is right. They’ll also check your new garbage disposal works well.
Testing and Troubleshooting
After putting in your new garbage disposal, make sure to test it well. Start by putting a stopper in the sink drain and filling it with water. Look for any leaks around the mounting assembly, discharge pipe, or dishwasher connection. If you find leaks, tighten the connections or adjust them as needed.
Then, plug in the disposal and turn on the power to see if it works. If it doesn’t start, check the circuit breaker to see if it tripped. Don’t use chemical drain cleaners, as they can harm the disposal and void the warranty.
- Test the disposal by running it with a cup of ice cubes. This keeps the blades sharp and the unit running well.
- If the disposal jams or makes strange noises, try resetting it by pressing the reset button on the bottom or side.
- If the disposal still doesn’t work or you have ongoing issues, consider hiring a professional plumber or electrician for help.
Remember, testing and troubleshooting are key to making sure your new garbage disposal works right. It should run smoothly and without leaks or power problems. If you’re not sure how to fix issues, it’s best to get help from a skilled professional installation expert.
Need a Reliable Garbage Disposal Pro? FindPros Can Help.
When it comes to your garbage disposal replacement or any other home project, FindPros can make the process simple and stress-free. Just answer a few questions about your needs, and we’ll match you with top-rated local professionals who can handle the job.
With FindPros, you’ll get the best pricing when multiple pros compete for your business. And you can choose the pro you feel most comfortable working with, based on their qualifications and customer reviews. Whether you need help with the sink surface, drain opening, air gap, hose clamp, or any other aspect of the installation, FindPros has you covered.
Our network of experienced professionals can handle the electrical work, old wiring, and ensure proper installation, so you don’t have to worry about permits or additional costs. From basic model replacements to more complex kitchen sink projects, FindPros connects you with the right pro for the job. Get started today and find the perfect match for your garbage disposal or home improvement needs.
Conclusion
Installing a new garbage disposal needs careful planning and the right tools. You must follow a step-by-step guide for success and safety. Each step is key for a working garbage disposal system.
Start by removing the old disposal and then wire the new one. Make sure to connect the drain pipes correctly. Always follow the manufacturer’s instructions and be safe.
If you’re not sure, you can hire professionals to do it. They have the skills for a smooth installation.
When installing a garbage disposal, know the different types available. Make sure to remove the old one safely and prepare the sink well. Mount and wire the new unit right.
Pay attention to details and ensure good drainage to avoid leaks. This keeps your kitchen clean and sanitary.
Whether you do it yourself or hire a pro, it’s worth it for less kitchen clean-up and better waste management. Think about the motor strength, brand, and how it affects the environment. Choose the right disposal that fits your needs and budget.
With the right steps, you’ll enjoy a working garbage disposal for many years. It makes kitchen tasks easier and more efficient.
Frequently Asked Questions (Garbage Disposal Installation)


MOST POPULAR CITIES
Browse by State- Alameda
- Costa Mesa
- Laguna Beach
- Orange
- Alhambra
- Culver City
- Lancaster
- Oroville
- Anaheim
- Daly City
- Livermore
- Oxnard
- Antioch
- Davis
- Lodi
- Pacific Grove
- Arcadia
- Downey
- Lompoc
- Palm Springs
- Bakersfield
- El Centro
- Long Beach
- Palmdale
- Barstow
- El Cerrito
- Los Angeles
- Palo Alto
- Belmont
- El Monte
- Malibu
- Pasadena
- Berkeley
- Escondido
- Martinez
- Petaluma
- Beverly Hills
- Eureka
- Marysville
- Pomona
- Brea
- Fairfield
- Menlo Park
- Port Hueneme
- Buena Park
- Fontana
- Merced
- Rancho Cucamonga
- Burbank
- Fremont
- Modesto
- Red Bluff
- Calexico
- Fresno
- Monterey
- Redding
- Calistoga
- Fullerton
- Mountain View
- Redlands
- Carlsbad
- Garden Grove
- Napa
- Redondo Beach
- Carmel
- Glendale
- Needles
- Redwood City
- Chico
- Hayward
- Newport Beach
- Richmond
- Chula Vista
- Hollywood
- Norwalk
- Riverside
- Claremont
- Huntington Beach
- Novato
- Roseville
- Compton
- Indio
- Oakland
- Sacramento
- Concord
- Inglewood
- Oceanside
- Salinas
- Corona
- Irvine
- Ojai
- San Bernardino
- Coronado
- La Habra
- Ontario
- San Clemente