Plaster Repair Near You
Can’t find what you are looking for?
How It Works
-
 Answer a few questions about your home project.
 -
 Within seconds, get matched with top-rated local pros.
 -
 Compare quotes and choose the best pro for the job.
Plaster Repair In Your Area
Need Plaster Repair? Here’s What You Need to Know
Meta Description: Discover expert tips for effective plaster repair. Learn techniques to fix cracks, holes, and damaged walls. Restore your home’s beauty with our comprehensive guide.
Is your plaster wall cracked or damaged? Don’t worry! With the right tools and know-how, you can fix it yourself. Let’s explore how to restore your walls’ beauty and strength.
Plaster walls face many issues over time. These range from age-related wear to accidental damage. But with proper techniques, you can make them look new again.
Key Takeaways
- Plaster walls can suffer from cracks, holes, loose sections, and water damage, requiring various repair methods.
- Matching the thickness of the existing plaster is important, often using a 3/8-inch drywall patch.
- Proper drying times and sanding between coats are crucial for achieving a seamless finish.
- Applying two coats of paint to the repaired area is recommended for a complete and professional look.
- Plaster repair may involve different techniques based on the type and extent of the damage.
Tools and Materials for Plaster Repair
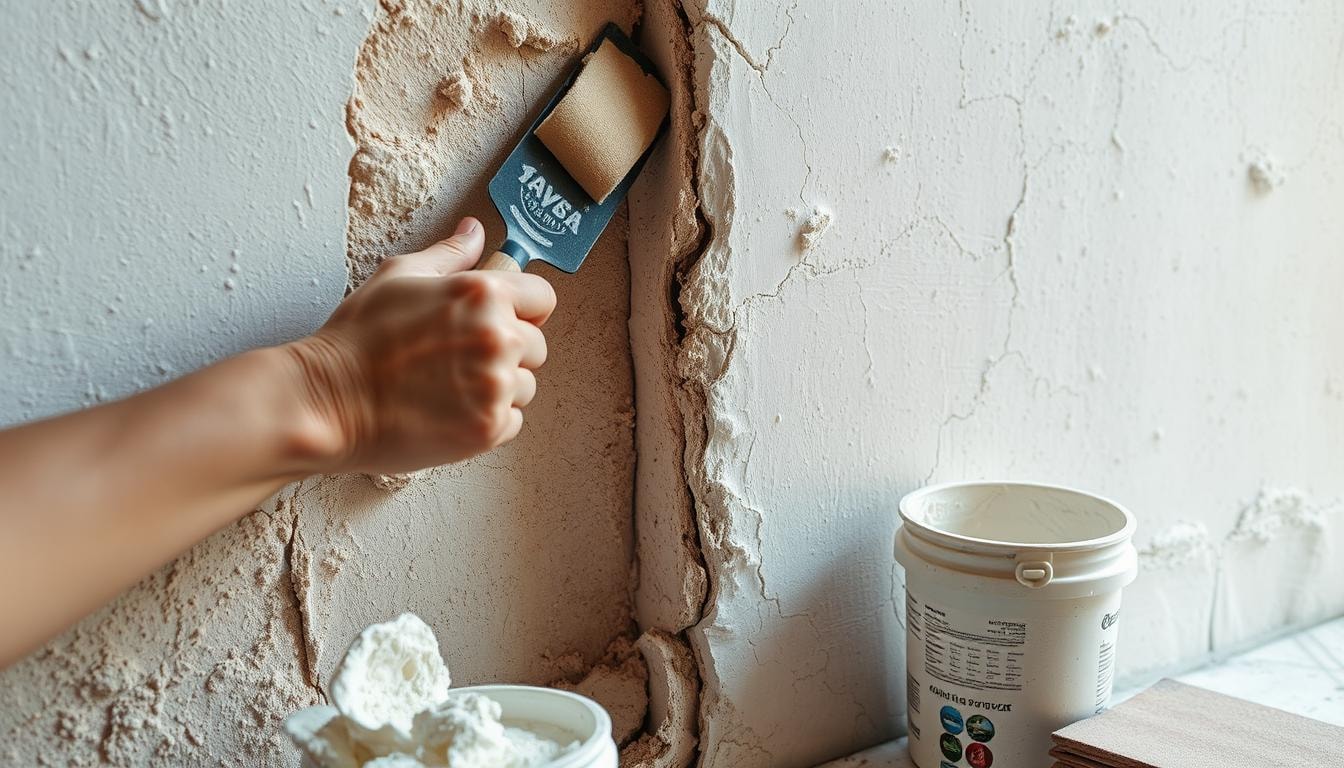
Plaster repair needs the right tools and materials for a pro-quality finish. Having the essentials on hand can make a big difference. These include putty knives, sandpaper, and joint compound.
Essential Tools
- Putty knives – For smoothing and applying joint compound or plaster patching compound.
- Sandpaper – Used to smooth repaired areas and blend them into the surrounding plaster.
- Utility knife – Helpful for cutting away damaged plaster and creating clean edges.
- Paintbrushes and rollers – Needed for applying primer and paint to the repaired surface.
Required Materials
- Joint compound – Used to fill cracks and holes in the plaster.
- Plaster patching compound – Specifically formulated for repairing plaster walls.
- Adhesive-backed nylon joint tape – Reinforces repaired areas and helps prevent future cracking.
- Primer – Ensures a good bond between the plaster and new paint.
- Paint – Matches the existing wall color and texture.
With these tools, you’ll be ready to fix plaster like a pro. You can tackle repairs with ease and get great results.
Your toolkit should include putty knives, sandpaper, and a utility knife. Don’t forget paintbrushes, rollers, and the right compounds for a smooth finish.
Preparing for Plaster Repair
Proper preparation is key for a successful plaster repair project. Follow these steps to ensure a smooth process and seamless results.
Clearing the Work Area
Remove loose debris and damaged plaster from the affected area. Use a putty knife or utility knife to scrape away crumbling material. This will create a clean, stable surface for the repair.
Cleaning the Surface
Clean the surface to remove dust, dirt, or grease. This helps the new plaster adhere properly. Wipe the area with a damp cloth or vacuum up any remaining particles.
Protecting Surrounding Areas
- Cover nearby furniture, floors, and fixtures with plastic sheeting or drop cloths to protect them from any stray plaster or debris.
- This ensures your work area is clean and tidy, and prevents accidental damage to your home’s interior.
Proper preparation sets the stage for a successful plaster repair project. With the surface ready, you can confidently move on to the next steps.
Repairing Small Cracks and Holes
Fixing small cracks and holes in plaster walls is easy. With the right tools and materials, you can patch these flaws quickly. Your walls will look smooth and seamless again.
Use a putty knife to apply joint compound or plaster patching compound. Smooth the surface to make it level. Let the compound dry completely overnight before moving on.
- Skill level required: 2 out of 5, rated as easy to moderate
- Cost estimate: Under $30
- Estimated time to complete: 4 hours
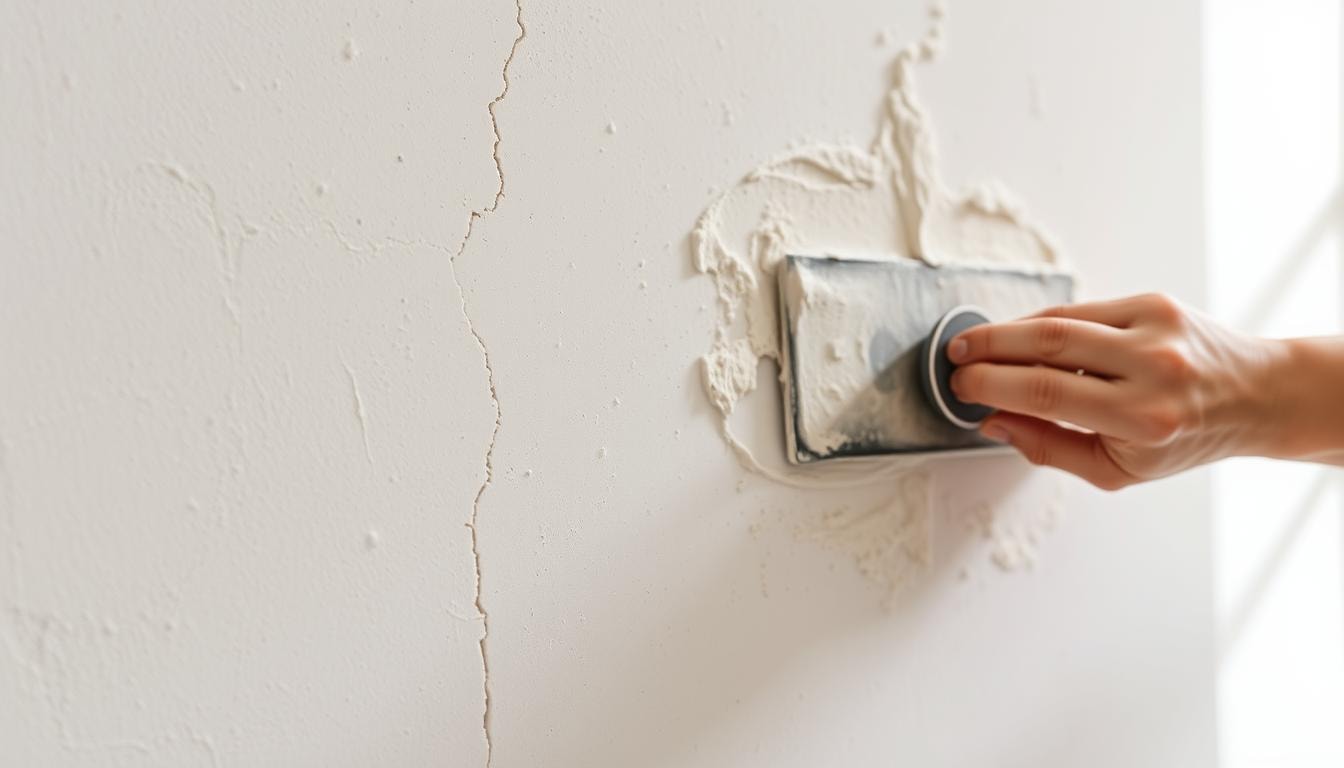
Hairline cracks and small holes often come from settling or temperature changes. These small cracks and holes are easy to fix.
Make sure the compound is fully dry before sanding and painting. Follow these steps to fix those ugly small cracks and holes. Your wall will soon have a smooth surface.
Plaster Repair: Larger Areas
Repairing large plaster damage requires extra steps. You’ll need to measure the area and cut a drywall patch. This patch will be the base for your repair.
- Measuring and Cutting the Patch: Use a tape measure to find the damaged area’s size. Cut the drywall patch slightly larger with a utility knife or drywall saw.
- Securing the Patch: Score the plaster around the damaged area with a utility knife. This helps the patch stick better. Use screws to attach the drywall patch flush with the surrounding plaster.
- Applying Joint Compound: Cover the seams with adhesive-backed nylon joint tape. Press it firmly into place. Apply joint compound over the tape with a putty knife.
Sand between each coat for a smooth finish. Repeat until the surface is even and seamless.
These steps will help you fix large plaster damage effectively. Take your time to ensure a proper, long-lasting repair. The surface will be ready for priming and painting.
Sanding and Finishing Touches
After the patching compound dries, sand the repaired areas. Use fine-grit sandpaper to smooth the surface. Wipe away dust to prep for the next steps.
Sanding the Repair Area
Start with 220-grit sandpaper and gently sand the patches. Work in small circles to avoid uneven surfaces. Use finer grits for a smoother finish if needed.
Regular sanding ensures a seamless transition between repaired and existing surfaces. This step is crucial for a professional-looking result.
Priming and Painting
Apply primer to the repaired areas for better paint adhesion. Once dry, paint to match the existing wall color and finish.
Use two coats for best results. This care will make the plaster repair blend in perfectly.
These sanding and finishing steps create a smooth, cohesive look. Careful sanding, priming, and painting ensure a high-quality finish.
Your repaired wall will look as good as new. No one will notice the difference!
Common Mistakes to Avoid in Plaster Repair
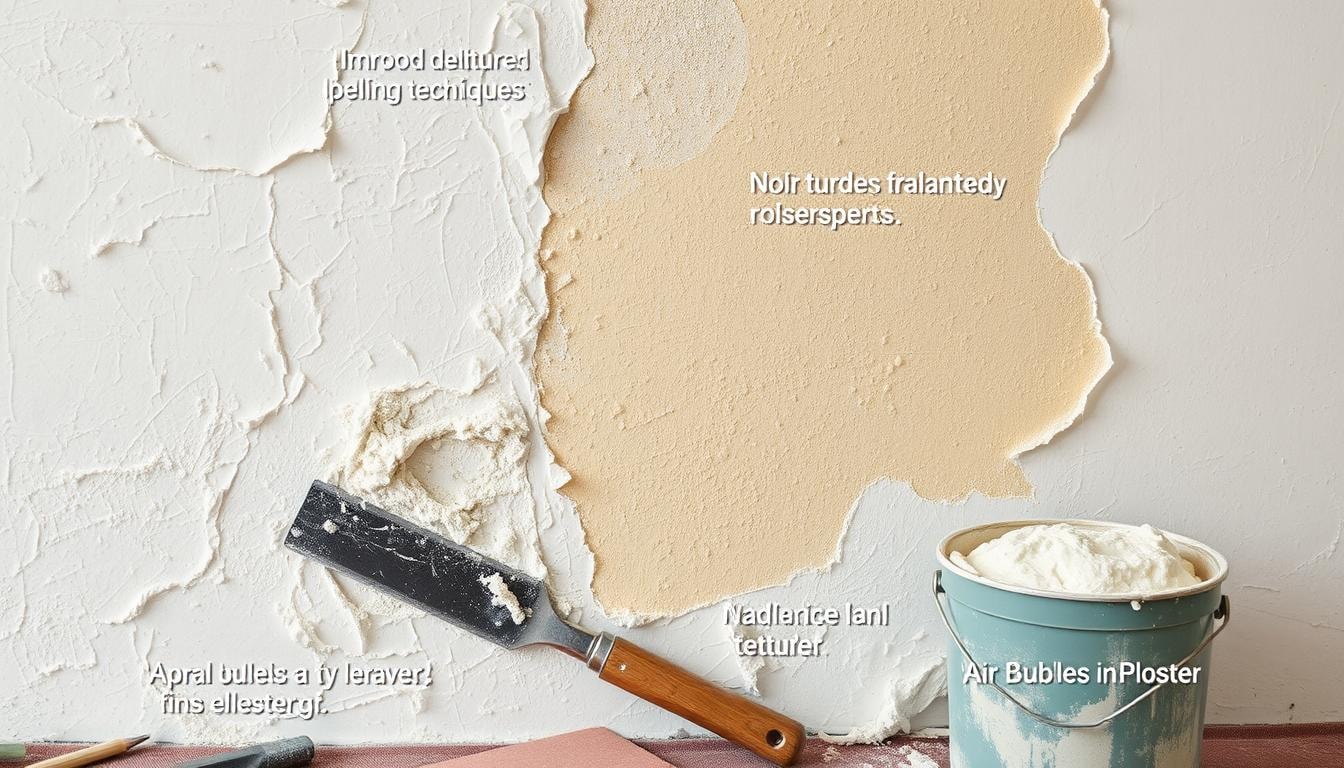
Plaster wall repair requires careful attention to detail. Avoid applying too much joint compound or plaster patching. This can create an uneven surface, needing extra sanding and priming.
Don’t rush the drying process. Let the compound dry fully before moving on. Hurrying can lead to a poor finish and potential repair failure.
Use the right tools for the job. A too-big putty knife or coarse sandpaper can hinder your work. Choose tools that fit the task for a smooth, professional look.
Patience is key in plaster repair. Pay attention to the details. With care, your walls will look great and last long.
Troubleshooting Plaster Repair Issues
Plaster repair can be tricky, but you can solve problems with the right techniques. Common issues include cracking and uneven surfaces.
Cracking
Hairline cracks often appear in older buildings due to shrinkage or settling. These are usually cosmetic but need attention. Sand the area and remove loose material.
Reapply compound and let it dry fully. Then sand again for a smooth finish.
Severe “stair-like” cracks may signal structural problems. Have a construction pro check these out before repairing.
Uneven Surfaces
Use fine-grit sandpaper to smooth out uneven areas. This creates a seamless look between new and old plaster.
Add an extra layer of compound to fill low spots. This ensures a level surface throughout.
Quick action on cracks and unevenness keeps walls looking great. Proper care leads to long-lasting, attractive results.
Safety Precautions for Plaster Repair
Safety is key when fixing plaster walls. The right gear can protect you from harm. Use gloves to shield your hands and goggles for your eyes. Keep the area well-aired to avoid harmful fumes.
Plaster repair often means working up high. Use strong ladders and avoid stretching to prevent falls. Safety training and health checks can lower accident risks for plasterers.
- Wear dust masks, safety goggles, and protective clothing during plaster repair work.
- Ensure the work area has adequate ventilation to control exposure to hazardous materials.
- Use reliable and well-maintained ladders to access high areas safely.
- Participate in regular safety training to stay informed and work collaboratively.
Follow these tips for a safe plaster repair job. Your health should always come first. Stay safe and enjoy your successful project.
Hiring Plaster Repair Experts for Professional Solution
Complex plaster wall repairs are best handled by professional contractors. These experts have specialized knowledge and advanced equipment for challenging problems. They excel in restoring historical buildings and treating lead-based paint.
If a plaster repair task seems daunting, consider hiring professionals. They can provide a comprehensive and long-lasting solution. Experienced experts ensure the job is done right without risking further damage.
Professional plaster repair services offer several key benefits. These include expertise in complex repairs and access to specialized tools. They can identify root causes of plaster issues and prevent future problems.
Professionals follow safety protocols and properly dispose of hazardous materials. They often provide warranties, giving you peace of mind and long-term assurance.
Look for companies with proven success and ample experience. Choose those committed to customer satisfaction. With the right help, your plaster walls can be restored beautifully.
FindPros: Your Trusted Plaster Repair Solution
Struggling with those tricky plaster repairs? Let FindPros handle it for you! Simply answer a few questions about your home project, and we’ll match you with top-rated local professionals who can get the job done right. Our experts have the skills and experience to tackle everything from fixing ceiling cracks to restoring old brick walls.
And with our unique platform, you’ll get the best pricing as pros compete for your business. Find the perfect pro who fits your needs and budget, without the hassle. Get started today and turn your plaster woes into a stress-free success story.
Conclusion
Plaster wall repair can be a manageable DIY project with the right tools and techniques. This guide helps you fix small cracks and holes effectively. For complex repairs, consider hiring professional experts for long-lasting results.
We’ve covered key aspects of plaster wall repair, from spotting damage to choosing proper materials. This guide offers valuable insights for both DIY enthusiasts and those preferring professional help.
The right approach can restore your plaster walls’ beauty and structural integrity. Plaster offers superior soundproofing, durability, and historical preservation. Regular inspections and quick action are vital for maintaining healthy plaster surfaces.
Frequently Asked Questions (Plaster Repair)


MOST POPULAR CITIES
Browse by State- Alameda
- Costa Mesa
- Laguna Beach
- Orange
- Alhambra
- Culver City
- Lancaster
- Oroville
- Anaheim
- Daly City
- Livermore
- Oxnard
- Antioch
- Davis
- Lodi
- Pacific Grove
- Arcadia
- Downey
- Lompoc
- Palm Springs
- Bakersfield
- El Centro
- Long Beach
- Palmdale
- Barstow
- El Cerrito
- Los Angeles
- Palo Alto
- Belmont
- El Monte
- Malibu
- Pasadena
- Berkeley
- Escondido
- Martinez
- Petaluma
- Beverly Hills
- Eureka
- Marysville
- Pomona
- Brea
- Fairfield
- Menlo Park
- Port Hueneme
- Buena Park
- Fontana
- Merced
- Rancho Cucamonga
- Burbank
- Fremont
- Modesto
- Red Bluff
- Calexico
- Fresno
- Monterey
- Redding
- Calistoga
- Fullerton
- Mountain View
- Redlands
- Carlsbad
- Garden Grove
- Napa
- Redondo Beach
- Carmel
- Glendale
- Needles
- Redwood City
- Chico
- Hayward
- Newport Beach
- Richmond
- Chula Vista
- Hollywood
- Norwalk
- Riverside
- Claremont
- Huntington Beach
- Novato
- Roseville
- Compton
- Indio
- Oakland
- Sacramento
- Concord
- Inglewood
- Oceanside
- Salinas
- Corona
- Irvine
- Ojai
- San Bernardino
- Coronado
- La Habra
- Ontario
- San Clemente