Privacy Fence Installation Near You
Can’t find what you are looking for?
How It Works
-
 Answer a few questions about your home project.
 -
 Within seconds, get matched with top-rated local pros.
 -
 Compare quotes and choose the best pro for the job.
Privacy Fence Installation In Your Area
Privacy Fence Installation: A Step-by-Step Guide
Meta Description: Learn how to install a privacy fence with our comprehensive guide. From materials to post-setting, we cover every step of privacy fence installation for your yard.
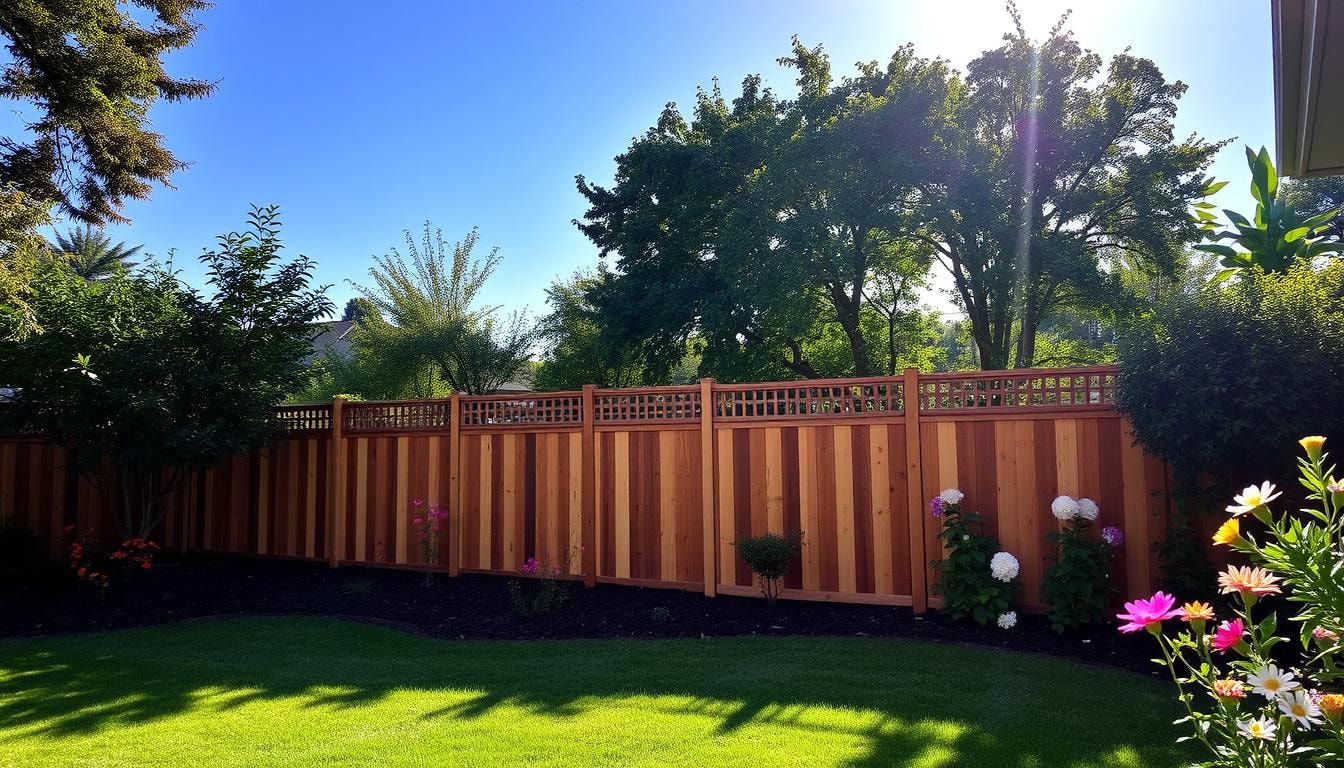
Want to boost your outdoor privacy and security? Learn how to build a stunning privacy fence. This guide will help you create the perfect blend of style and function.
Privacy fences offer many benefits to homeowners. They can increase property value, improve outdoor privacy, and enhance security. This guide will help you tackle your own fence project.
Key Takeaways
- Privacy fences can significantly enhance outdoor privacy and security for homeowners
- Wood is a popular choice for privacy fences, offering a range of styles and durability
- Proper planning, tool selection, and attention to local regulations are crucial for a successful fence installation
- Concrete and gravel are essential for securing fence posts and preventing wood rot
- Regular maintenance is key to extending the lifespan of your privacy fence
Understanding the Purpose and Planning
Decide why you want a privacy fence. It could be for boundaries, security, privacy, or pet containment. Your choice will guide material, height, and design decisions. Check local building codes and HOA guidelines before starting.
Your property’s size and layout affect fence design. Measure the perimeter and note any slopes or elevation changes. This info helps determine fence length, height, and special installation needs.
- Determining the Purpose of the Fence: Your property’s features impact fence design. Measure where you’ll install the fence. Note slopes and other elements affecting placement. This helps plan fence length, height, and special considerations.
- Choosing the Right Fence Type: Various fence materials offer different benefits. Wood fences look classic but need more upkeep. Vinyl resists weathering and needs little maintenance. Metal fences look stately but may rust.
Chain-link is practical and cheap but less private. Composite fencing mixes wood fibers and plastic for durability. Consider cost, durability, and maintenance when choosing your fence type.
Researching Local Building Codes and Regulations
Check local building codes before installing your fence. Many areas require permits for fence construction. There may be rules about fence height and placement. Learn these regulations to avoid fines or removal later.
Gathering Tools and Materials
Successful privacy fence installation starts with the right tools and materials. Quality equipment ensures a smooth and efficient process. Each component is crucial for creating a durable and attractive fence.
Essential tools include a tape measure, post hole digger, auger, and level. You’ll also need a saw, hammer, and screwdrivers. Don’t forget safety gear like gloves and eye protection.
For materials, gather pressure-treated fence posts, rails, and pickets or panels. You’ll also need concrete mix, gravel, and corrosion-resistant fasteners. Measure your fence area carefully to determine the right sizes.
Having all fence installation tools and fence construction materials ready ensures a smooth process. This preparation helps create a privacy fence that meets your needs and looks great.
Measuring and Marking Post Locations
Measuring the fence length is crucial for your privacy fence project. Use a tape measure, staying 30 centimeters from obstacles. Record measurements for each fence section to ensure you have enough materials.
Next, mark the post locations. Space posts 6 to 8 feet apart, following local codes. Use stakes, string lines, or spray paint to mark post holes clearly.
Purchasing Fence Supplies
Now, buy the supplies for your privacy fence installation. Get posts, rails, pickets, concrete, fasteners, and any needed tools. Find these at home improvement stores or online.
Buy extra materials for possible errors or challenges during installation. Check local building codes before finalizing your fence design and buying supplies.
Digging Post Holes
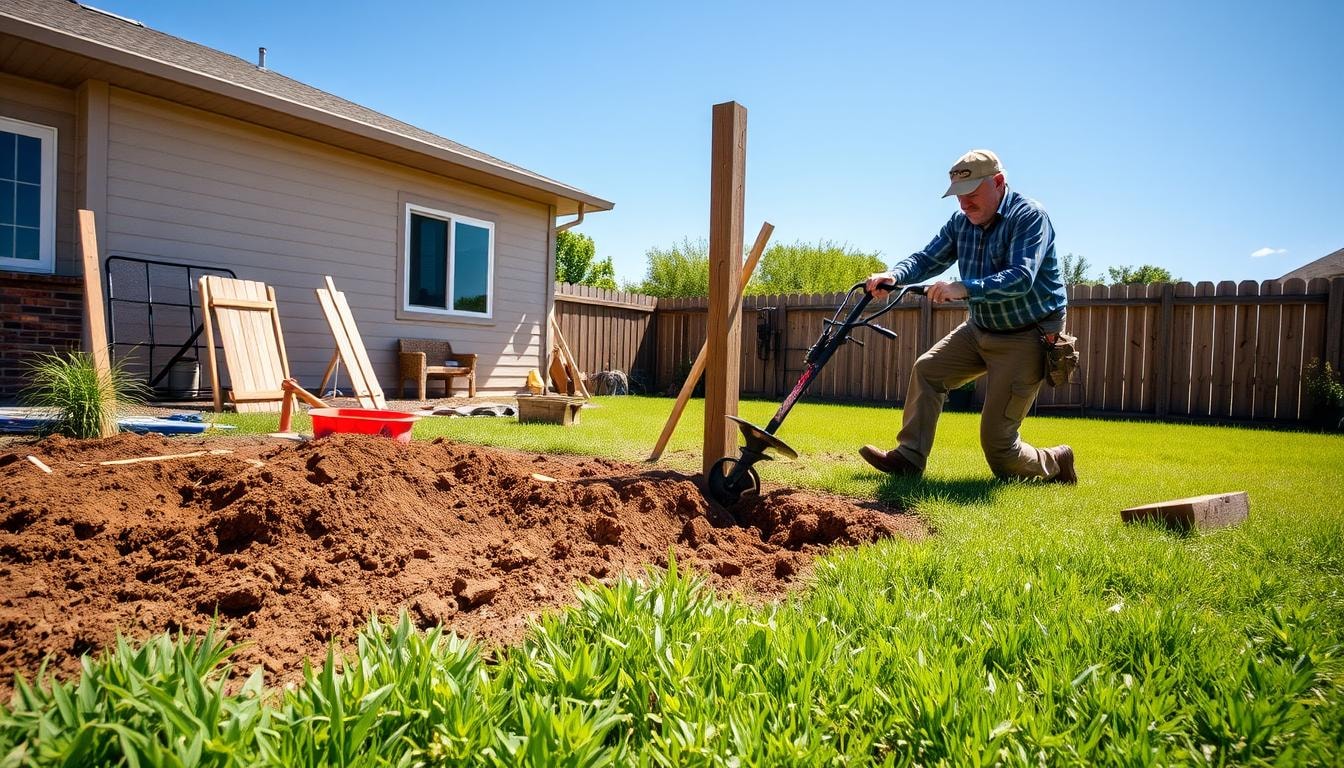
Digging post holes is crucial for a sturdy fence. It sets the foundation for a long-lasting structure. Let’s look at key points for digging holes for your privacy fence.
Preparing for Digging
Safety comes first when digging post holes. Wear safety gear like gloves and a hard hat. Check for underground utilities and remove large tree roots near the fence line.
Post hole depth depends on local codes and fence height. Generally, dig holes a quarter to third of the fence height. This ensures a secure base for your privacy fence.
Digging Holes and Setting Gravel Base
- Use a manual post hole digger or power auger to create holes.
- Dig 16 to 24 inches deep and add gravel at the bottom.
- Gravel provides drainage and prevents post rot.
- Call 811 to check for underground utility lines before digging.
Proper ground prep and hole depth are vital. They ensure your privacy fence stays stable for years to come.
Setting Fence Posts
It’s time to set the fence posts after preparing the holes. Start by positioning the first post. Use a post level to make sure it’s perfectly vertical.
Brace the post to keep it aligned while pouring concrete. Use string lines to position and align the other posts. Check each post with a level to keep them straight.
Pouring and Setting Concrete
Now, it’s time to pour the concrete. You can use regular-set or fast-set concrete. Follow the maker’s instructions for mixing and pouring.
For regular-set concrete, mix it to a thick, cake-like texture. Fill the holes around each post, leaving a few inches at the top.
With fast-set concrete, pour the dry mix around the posts and add water. Let the concrete harden for at least 24 hours before removing braces.
Proper post placement, plumbing, and bracing are key to a sturdy fence. These steps ensure your fence posts are secure and ready for the next phase.
Installing Fence Rails
Now that fence posts are secure, let’s focus on horizontal rails. These rails support fence pickets or panels. Proper placement and spacing are vital for stability and appeal.
Position the top rail 7-8 inches from the fence top. Place the bottom rail 7-8 inches from the ground. For a 6-foot fence, use three rails per bay.
For a 4-foot fence, two rails per bay will do. Cedar is less likely to bow than treated or pine alternatives.
Cut rails to size, extending fully between posts. Attach them to post outsides using corrosion-resistant screws. Stagger rail joints on different posts for stability.
Create support boards for gate openings. Trim post tops flush with the top rail. This improves the fence’s look and prevents potential hazards.
Consider rail placement, rail spacing, and rail joints carefully. This will create a sturdy, appealing fence that lasts long.
To ensure proper gate support and post trimming, follow these additional guidelines:
- Position fence posts every 6-8 feet along the fence line.
- Use two 16-penny nails to install the rail where it covers the post.
- Allow the rails to flow with the grade of the land when the installation is complete.
- Treat the base of the posts with a wood preservative to prevent rot.
Follow these best practices for a durable, long-lasting privacy fence. It will enhance your property’s look and provide privacy and security.
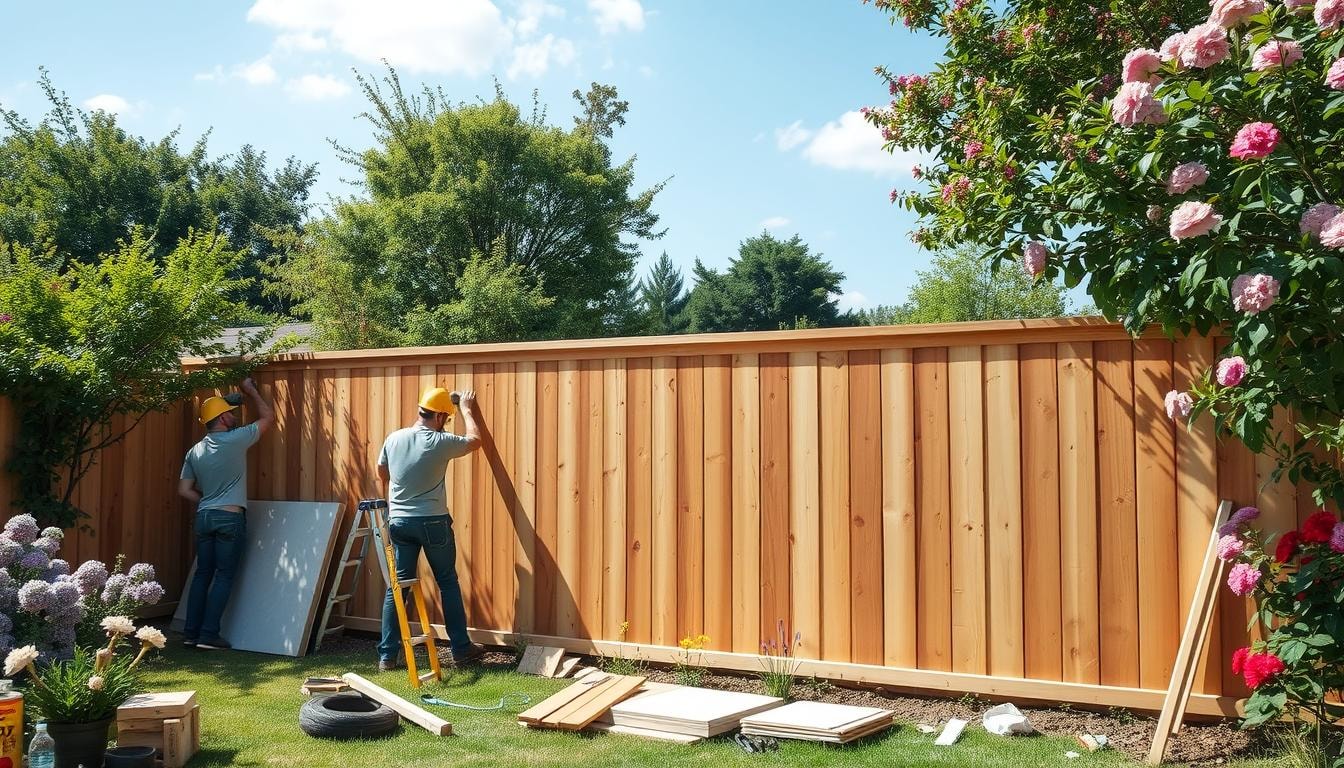
Attaching Fence Pickets or Panels
Installing fence pickets is key to privacy fence construction. Start with the exterior side. Align the first picket flush with rail ends and secure it.
Use a pneumatic nailer, stapler, or screws. Keep 3.5-inch spaces between pickets. A 2×4 board works great as a spacer and guide.
Make sure pickets are plumb and level. Check alignment often with a level as you go along the fence.
Installing Pickets on the Exterior Side
For a shadowbox design, install pickets on the interior side too. Alternate their placement with exterior pickets for a decorative look.
Use the 2×4 board spacer again. This helps keep spacing and alignment consistent on both sides.
Attaching Interior Pickets
At the fence’s end, adjust final picket spacing. Make sure they fit flush with rail ends. This creates a uniform height and appealing look.
The skill level for this task is moderate. It takes about 2 hours to install an 8-foot section with 2 posts.
Good planning, right tools, and best practices will make your project a success.
Adding Gates and Finishing Touches
Now it’s time to install your gate. Use the right hinges, latches, and hardware. Make sure there’s enough space for the gate to swing freely.
Add decorative elements like top trim or lattice. Paint or stain the fence to match your home’s exterior. This will give your fence a polished look.
Installing the Gate
Attach gate hinges to the posts. Make sure they’re properly aligned. Hang the gate and test its movement.
Check that it swings smoothly without binding. Install the gate latch or other hardware to secure it in place.
Decorative Touches
- Add a decorative top trim or lattice to the fence for visual interest.
- Paint or stain the fence to complement your home’s exterior color scheme.
- Consider installing decorative gate hardware like custom-made hinges or latches.
These finishing touches will transform your privacy fence. They’ll make it both functional and attractive. Your gate and decorative elements will enhance your outdoor space.
Maintenance and Upkeep
Keeping your privacy fence in top shape is key to its long-lasting appeal. Regular cleaning, repairs, and care against weather and pests can make a big difference. These steps will help your fence look great for years.
Clean your fence once or twice a year to remove dirt and mildew. Use a power washer every two years for a deeper clean. This helps keep your fence looking good and staying strong.
Check your fence often for loose or damaged parts. Fix any issues quickly to avoid more weather damage. Look out for pest problems like woodpecker holes or termites. Take pest control steps to protect your fence.
You may need to paint or stain your fence every few years. This keeps it looking nice and protected. Use UV-stabilized wood sealants to slow down color fading.
Regular care can help prevent wood defects like warping and splitting. A good fence cleaning routine will keep your privacy fence looking great. It will also help it last for decades.
Tips for Hiring Privacy Fence Installation Experts
Installing a privacy fence can be a DIY project. However, some homeowners prefer hiring professional fence installation experts. Look for licensed, experienced professionals who provide detailed estimates, timelines, and warranties.
Ask for references and check reviews to ensure quality work. Hiring licensed contractors saves time and ensures correct installation. It typically costs more than DIY approaches.
Fence installation labor costs range from $30 to $80 per hour. Permits can cost between $400 to $800. Materials and labor make up to 50% of overall costs.
Chain-link fences are budget-friendly. Iron fences tend to be more expensive. Ensure the fence contractor has at least ten years of experience.
- Ensure the fence contractor has at least ten years of experience to obtain a license, and look for the Certified Fence Contractor (CFC) designation, which is valid for three years.
- Verify that the contractor has general liability insurance to protect homeowners from liability in case of property damage or injuries during the job.
- Handypersons are not legally allowed to install fences without proper certification and licensing in most states.
Most fencing contractors offer free estimates after on-site assessments. Industry training programs involve a week of combined classroom and hands-on installation training.
Professional fence companies ensure expert workmanship for durable fences. They save time by completing installations quickly. They also provide expert advice on design, materials, and maintenance.
When researching contractors, focus on expertise, work ethic, and reputation. Don’t just consider cost estimates and project timelines. Look for companies offering warranties and exceptional customer service.
Simplify Your Privacy Fence with FindPros
Are you ready to install a new wood fencing, fence gate, or picket fence, but feeling overwhelmed by the process? FindPros can help. Simply answer a few questions about your backyard, desired height, and location, and we’ll match you with top-rated local pros who can provide competitive quotes. No more guessing about the right materials, from pressure-treated wood to concrete for securing those posts.
Let the professionals handle the labor-intensive tasks, from digging holes to ensuring the dry concrete hardens properly. With FindPros, you can sit back and compare options to find the perfect pro who fits your needs and budget, whether it’s a simple DIY project or a complex vinyl fence installation. Get started today and simplify your privacy fence journey.
Conclusion
Installing a privacy fence can boost your home’s value, security, and appeal. With the right tools and preparation, homeowners can install a fence themselves. Alternatively, they can hire professionals for the job.
Careful planning ensures your new fence will last and enhance your outdoor space. Privacy fences offer many benefits, including protection for families with children and pets.
These fences can also increase property value and curb appeal. They act as sound barriers, creating a peaceful environment within your property.
For garden enthusiasts, a well-designed fence can protect their outdoor oasis. Success in privacy fence installation depends on thorough project planning.
Consider the privacy fence benefits that match your needs. By following this guide, you can transform your outdoor space and enjoy your new fence.
Frequently Asked Questions (Privacy Fence Installation)


MOST POPULAR CITIES
Browse by State- Alameda
- Costa Mesa
- Laguna Beach
- Orange
- Alhambra
- Culver City
- Lancaster
- Oroville
- Anaheim
- Daly City
- Livermore
- Oxnard
- Antioch
- Davis
- Lodi
- Pacific Grove
- Arcadia
- Downey
- Lompoc
- Palm Springs
- Bakersfield
- El Centro
- Long Beach
- Palmdale
- Barstow
- El Cerrito
- Los Angeles
- Palo Alto
- Belmont
- El Monte
- Malibu
- Pasadena
- Berkeley
- Escondido
- Martinez
- Petaluma
- Beverly Hills
- Eureka
- Marysville
- Pomona
- Brea
- Fairfield
- Menlo Park
- Port Hueneme
- Buena Park
- Fontana
- Merced
- Rancho Cucamonga
- Burbank
- Fremont
- Modesto
- Red Bluff
- Calexico
- Fresno
- Monterey
- Redding
- Calistoga
- Fullerton
- Mountain View
- Redlands
- Carlsbad
- Garden Grove
- Napa
- Redondo Beach
- Carmel
- Glendale
- Needles
- Redwood City
- Chico
- Hayward
- Newport Beach
- Richmond
- Chula Vista
- Hollywood
- Norwalk
- Riverside
- Claremont
- Huntington Beach
- Novato
- Roseville
- Compton
- Indio
- Oakland
- Sacramento
- Concord
- Inglewood
- Oceanside
- Salinas
- Corona
- Irvine
- Ojai
- San Bernardino
- Coronado
- La Habra
- Ontario
- San Clemente