Sink Installation Near You
Can’t find what you are looking for?
How It Works
-
 Answer a few questions about your home project.
 -
 Within seconds, get matched with top-rated local pros.
 -
 Compare quotes and choose the best pro for the job.
Sink Installation In Your Area
Sink Installation: A Guide for Homeowners
Meta Description: Discover the essentials of sink installation with our comprehensive guide. Learn step-by-step techniques, tool requirements, and expert tips for a successful DIY project.
Ready to upgrade your kitchen sink? This guide will help you through the process. We’ll cover everything from tools to techniques for a successful installation.
Don’t worry if you’re new to this. Our step-by-step instructions will make the task manageable. We’ll help you transform your kitchen with a new sink.
Key Takeaways
- Sink installation is a moderately skilled DIY project, typically taking 4-6 hours to complete.
- Costs can range from $500 to $1,500, depending on the size and type of sink.
- Accurate measurement and preparation are critical for a seamless installation process.
- Proper plumbing connections and leak testing are essential for a fully functional new sink.
- Hiring a professional plumber is recommended for significant plumbing modifications or if you lack prior experience.
This guide suits both experienced DIYers and homeowners new to upgrades. You’ll find expert tips for a successful sink installation project. Let’s explore how to transform your kitchen with a high-quality sink.
Benefits of Installing a New Kitchen Sink
A new kitchen sink can boost your space’s look and function. It can transform your kitchen’s appearance and make daily tasks easier.
Enhances Kitchen Aesthetics
A new sink can instantly elevate your kitchen’s visual appeal. Undermount sinks create a sleek, modern look by blending with countertops.
They maximize counter space and give your kitchen a clean appearance. This seamless integration can dramatically improve your kitchen’s overall aesthetics.
Improves Functionality
A new sink can greatly improve your kitchen’s functionality. It can restore water pressure and reduce clogs, making tasks more efficient.
Deeper basins and better drainage make washing dishes more convenient. These features can make your daily kitchen activities more enjoyable.
A new sink can enhance the kitchen aesthetics and improve the overall functionality. It creates a more practical and visually appealing space for your daily activities.
Types of Kitchen Sinks
Kitchen sinks come in various styles, each with unique features. The most common types are drop-in/top mount, undermount, and farmhouse sinks. Let’s explore these options to help you choose the best one.
Drop-in/Top Mount Sinks
Drop-in sinks are the most popular choice for kitchens. They fit into a pre-cut hole in the countertop, making installation easy. These sinks offer a classic look that suits many kitchen styles.
Undermount Sinks
Undermount sinks are installed below the countertop for a seamless look. They make it easier to wipe spills directly into the sink. These sinks are often chosen for their modern aesthetic.
Undermount sinks work well with solid surface countertops like granite or quartz. They create a clean, uninterrupted appearance in your kitchen.
Farmhouse Sinks
Farmhouse sinks, also called apron-front sinks, have gained popularity recently. They feature a large, exposed front wall that extends beyond the countertop. These sinks offer a classic, rustic look to your kitchen.
Farmhouse sinks are known for their generous size. They’re perfect for washing large pots and pans with ease.
Consider your kitchen’s style, countertop space, and personal needs when choosing a sink. The right sink can enhance your home and make kitchen tasks more enjoyable.
Tools and Materials Required
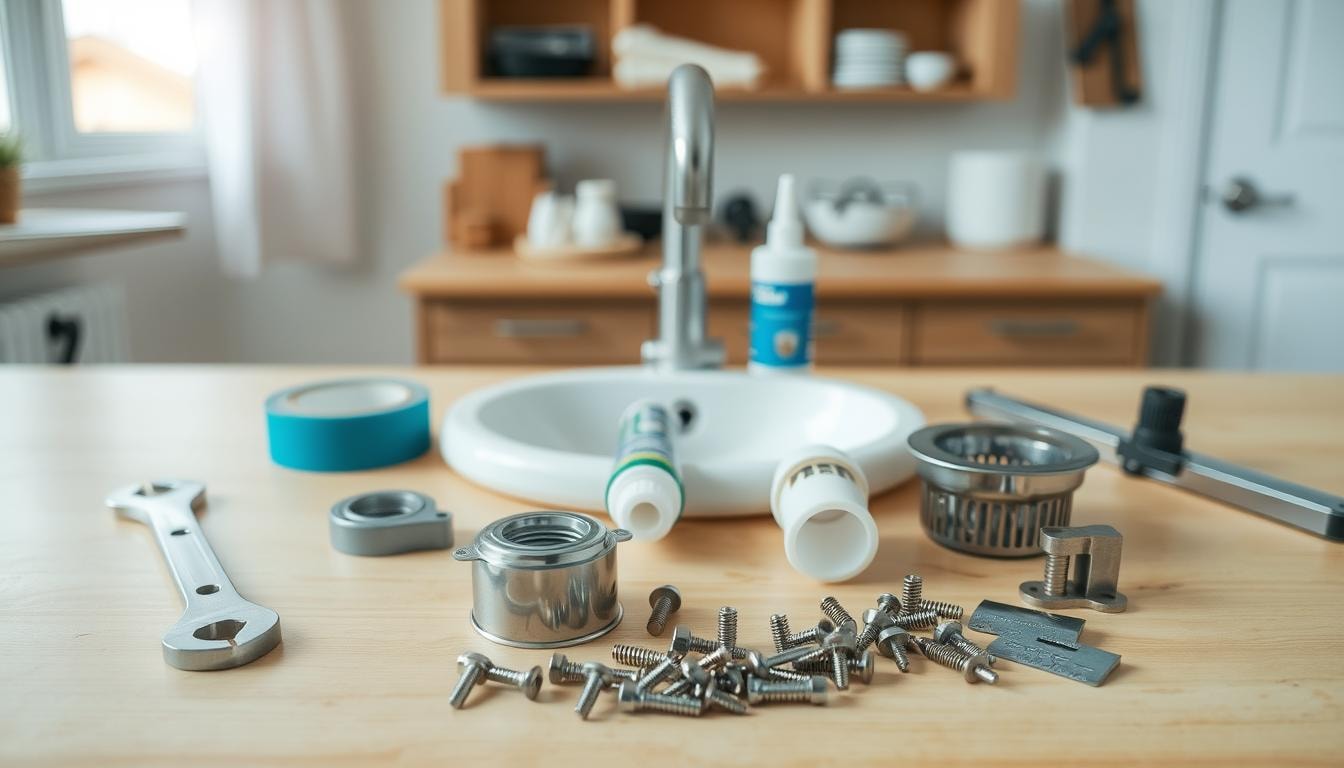
Installing a new kitchen sink needs specific tools and materials. Having the right equipment ready helps ensure a smooth installation process. Let’s look at what you’ll need for this project.
Here are the essential tools for installing a kitchen sink:
- Tubing cutter
- Jigsaw
- Drill
- Screwdriver
- Pliers
- Adjustable wrench
- Tape measure
- Hacksaw
- Utility knife
- Straight edge
- Spade bit
Now, let’s go over the materials you’ll need:
- The new kitchen sink
- Sink installation kit
- Plumbing tape
- Putty knife
- PVC piping
- Circular saw or reciprocating saw (if you need to modify the countertop opening)
Getting these items ready beforehand will make your sink installation go smoothly. You’ll be well-prepared to tackle the project with confidence.
Planning and Preparation
Proper planning is key for a smooth sink installation. Measure your countertop space carefully. Choose the right sink size for your kitchen to ensure a perfect fit.
- Measuring the Countertop Space: Start by measuring your existing countertop space. Include dimensions for the sink, surrounding cabinet, and plumbing. Accurate measurements help you avoid costly mistakes during installation.
- Choosing the Right Sink Size: With your measurements, explore different sink options. Consider your kitchen size, household members, and personal preferences. The right sink size will contribute to a successful installation.
Good planning sets the stage for a successful sink installation. Careful measurements and the right sink size are crucial. These steps will help ensure a seamless process.
Step-by-Step Installation Guide
A new kitchen sink can transform your kitchen’s look and function. The process may seem tough, but with the right tools, you can do it. Let’s explore the key steps for step by step sink installation.
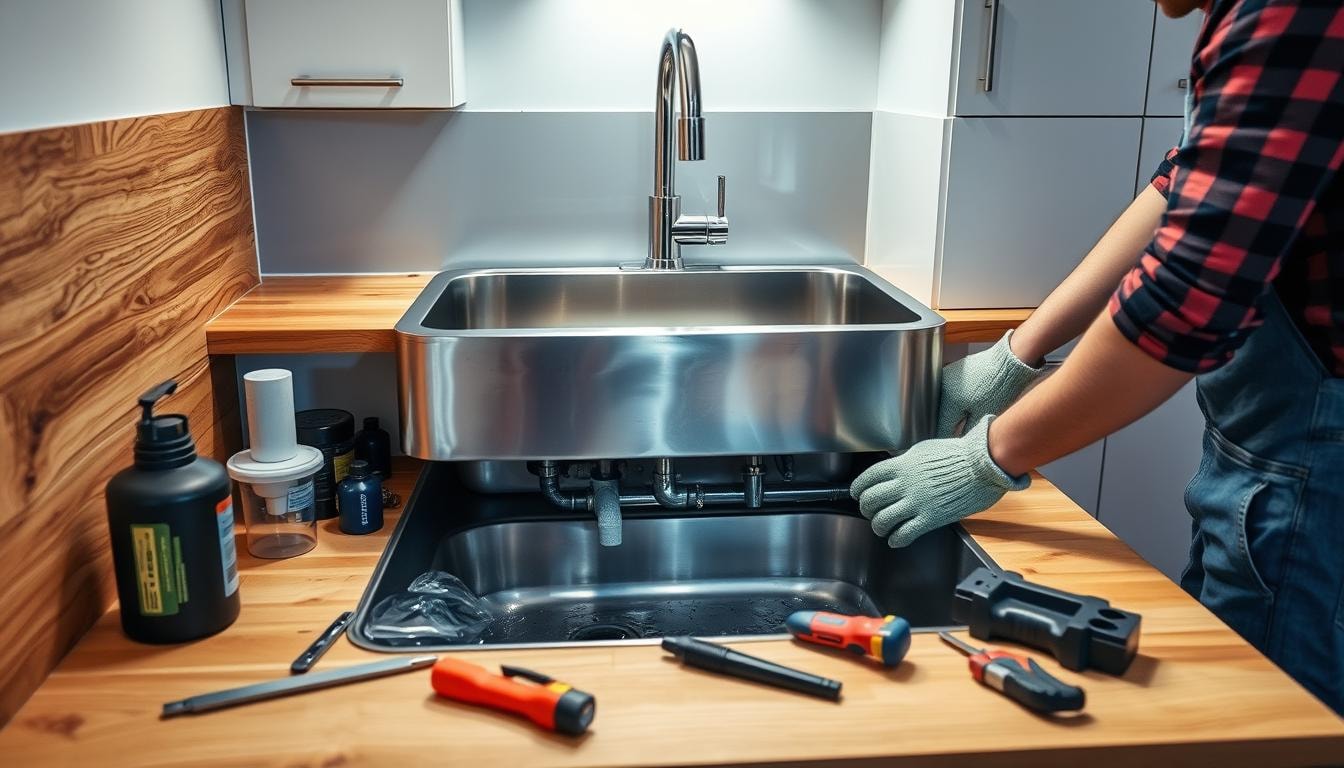
Removing the Old Sink
Start by taking out the old sink. This can be tricky, especially for under-mount sinks. Disconnect the plumbing and any fasteners holding the sink in place.
Gently lift the sink out of the opening. Be careful not to damage the countertop during this process.
Cutting the Countertop Opening
You might need to cut a new opening for the new sink. Measure the new sink’s dimensions carefully. Use a jigsaw to cut the opening, making sure it fits perfectly.
Installing the Faucet and Sink Components
Now you can start installing the faucet and sink parts. Follow the maker’s instructions to secure the sink properly. Make sure everything fits tightly before moving on.
By following these steps, you can replace your kitchen sink successfully. You’ll soon enjoy a beautiful new addition to your kitchen space.
Always put safety first during the installation process. Follow the manufacturer’s guidelines for a successful and lasting installation.
Connecting the Plumbing
Connecting the plumbing is vital for a leak-free, functional sink. This step involves hooking up water supply lines and drain pipes correctly. Let’s dive into these two key plumbing aspects.
- Water Supply Lines: First, attach faucet tailpieces to water supply lines. These connect to shut-off valves that control water flow. Make sure all connections are tight to avoid leaks.
- Drain Pipes: Assemble drain pipes from the sink’s tailpiece down to the P-trap and waste line. This requires measuring, cutting, and gluing PVC pipes for a proper fit. If you’re unsure, consider hiring a pro plumber.
Proper water supply lines and drain pipes connections are key to successful sink installation plumbing. Follow the right steps and take precautions for a smooth connect plumbing process.
Sealing and Securing the Sink
Sealing and securing the sink is crucial after plumbing connections are made. Silicone caulk is the top choice for plumbing fixtures. It creates a waterproof seal and is easy to apply.
Apply a continuous bead of silicone caulk around the sink’s lip. Lower the sink into the countertop cutout, ensuring proper alignment. Install mounting clips if required by the sink model.
Wipe away excess caulk and let it cure. Different sink types may need specific sealants. Stainless steel sinks can use silicone or plumber’s putty.
Porcelain sinks require non-silicone acrylic latex caulk. For kitchens and bathrooms, use mold and mildew-resistant sealant. Sealing plumbing pipes under the sink prevents potential leaks.
Inspect seals under the sink yearly to maintain installation integrity. If unsure about sealing, seek professional help. Proper sealing ensures a leak-free installation.
Regular maintenance of sink plumbing prevents major issues. This ensures the longevity and safety of your plumbing system. A well-sealed sink enhances your kitchen’s appearance and functionality.
Testing and Finishing
After sealing and securing the sink, it’s time to test it. Turn on the water supply valves slowly. Check all connections for leaks.
If you spot any leaks, tighten the connections carefully. Fill the sink with water to check for drain leaks. Ensure proper drainage too.
Checking for Leaks
- Turn on the water supply valves slowly
- Inspect all connections along the supply and drain lines for leaks
- Tighten any connections that are leaking to resolve the issue
- Fill the sink with water and check for leaks around the drain
Final Touches
Now, it’s time for the finishing touches. Reinstall the aerator and clean up any excess caulk. Make sure the sink is level and properly aligned.
These final steps will make your new sink installation look great. It will also help it work well for years to come.
Thorough testing ensures your new sink will provide reliable service. With final touches done, your sink installation is ready for use.
Maintenance and Care

Proper sink care is vital for long-lasting, optimal performance. Clean regularly with mild soap and water. Avoid harsh chemicals that can damage the finish.
Clean the aerator every few months to maintain good water flow. Check under the sink for leaks periodically.
Use a sink grid to protect the bottom from scratches. These simple steps will keep your sink looking and working great.
Cleaning and Care Tips for Different Sink Materials
- Stainless steel sinks require daily rinsing with mild soap and warm water to prevent water spots and mineral buildup.
- Granite composite sinks can be cleaned with a 50% bleach solution for stubborn stains.
- Porcelain enameled steel sinks should be cleaned with a 50/50 water and bleach solution for harder stains.
- Fireclay sinks should be cleaned with gentle, non-abrasive cleaners to avoid damaging the surface.
- Hand-hammered copper sinks need regular application of beeswax to maintain their beautiful finish.
Wipe faucets with a soft, dry cloth to prevent mineral scale buildup. Gently disassemble and rinse the aerator periodically.
Follow the manufacturer’s cleaning and maintenance guidelines. This ensures your sink’s beauty and functionality. With proper care, your sink will serve you well for years.
Tips for Hiring the Best Sink Installation Professionals
Professional help is often the best choice for kitchen sink installation. This is especially true if your project requires major plumbing changes. Experts ensure a smooth and successful installation process.
Follow these tips to find a qualified and cost-effective sink installation professional:
- Research local kitchen sink installation professionals and read reviews to assess their expertise and customer satisfaction.
- Request quotes from multiple providers to compare services, costs, and warranties.
- Look for licensed and reputable plumbers who understand your specific needs and can provide a detailed installation plan.
- Ask potential contractors about their qualifications, experience, and to provide examples of their previous work.
- Ensure the selected professional is capable of handling any necessary plumbing or carpentry work for a seamless sink installation process.
Hiring an expert can save you time and money. They can help source materials and connect pipes properly. This ensures your new kitchen sink meets the highest standards.
Let FindPros Handle Your Sink Installation
Are you looking to install a new drop-in sink, but unsure about the labor costs and process? FindPros can help. We’ll connect you with top-rated local professionals who can handle the entire sink installation, from the initial measurements to the final plumbing connections. Save money by letting multiple pros compete for your job and find the one you get along with best. Simply answer a few questions about your home project, and within seconds, we’ll match you with the perfect contractor for the task. No more guesswork on pricing or struggling to DIY the installation. Let the pros at FindPros handle your new sink, faucet, and all the necessary fittings, washers, and debris cleanup. Get started on your budget-friendly bathroom or kitchen upgrade today.
Conclusion
A new sink can boost your kitchen’s style and function. With proper prep and care, you can install a sink successfully. This guide helps homeowners confidently install a new kitchen sink that looks great and works well.
The right tools, materials, and patience lead to professional-quality results. Your new sink will enhance your kitchen for years to come. This guide covers everything from sink selection to plumbing connections.
A new sink can make your kitchen more appealing and efficient. With these sink installation tips, you can tackle this project with confidence. Enjoy your beautifully updated kitchen for years to come.
Frequently Asked Questions (Sink Installation)


MOST POPULAR CITIES
Browse by State- Alameda
- Costa Mesa
- Laguna Beach
- Orange
- Alhambra
- Culver City
- Lancaster
- Oroville
- Anaheim
- Daly City
- Livermore
- Oxnard
- Antioch
- Davis
- Lodi
- Pacific Grove
- Arcadia
- Downey
- Lompoc
- Palm Springs
- Bakersfield
- El Centro
- Long Beach
- Palmdale
- Barstow
- El Cerrito
- Los Angeles
- Palo Alto
- Belmont
- El Monte
- Malibu
- Pasadena
- Berkeley
- Escondido
- Martinez
- Petaluma
- Beverly Hills
- Eureka
- Marysville
- Pomona
- Brea
- Fairfield
- Menlo Park
- Port Hueneme
- Buena Park
- Fontana
- Merced
- Rancho Cucamonga
- Burbank
- Fremont
- Modesto
- Red Bluff
- Calexico
- Fresno
- Monterey
- Redding
- Calistoga
- Fullerton
- Mountain View
- Redlands
- Carlsbad
- Garden Grove
- Napa
- Redondo Beach
- Carmel
- Glendale
- Needles
- Redwood City
- Chico
- Hayward
- Newport Beach
- Richmond
- Chula Vista
- Hollywood
- Norwalk
- Riverside
- Claremont
- Huntington Beach
- Novato
- Roseville
- Compton
- Indio
- Oakland
- Sacramento
- Concord
- Inglewood
- Oceanside
- Salinas
- Corona
- Irvine
- Ojai
- San Bernardino
- Coronado
- La Habra
- Ontario
- San Clemente