Sliding Door Installation Near You
Can’t find what you are looking for?
How It Works
-
 Answer a few questions about your home project.
 -
 Within seconds, get matched with top-rated local pros.
 -
 Compare quotes and choose the best pro for the job.
Sliding Door Installation In Your Area
Sliding Door Installation: A Simple Guide for Homeowners
Meta Description: Learn how to install sliding doors with our step-by-step guide. Enhance your home’s functionality and aesthetics with expert tips for Sliding Door Installation.
Ready to add a sliding door to your home? This guide will help you through the process. You’ll learn how to install a sliding door step-by-step.
This guide works for both DIY fans and new homeowners. You’ll discover how to transform your space with a beautiful sliding door.
Key Takeaways
- Understand the essential measurements and preparation needed for a seamless sliding door installation.
- Explore the different styles and features to choose the perfect sliding door for your home.
- Learn the step-by-step process of securing the door frame, insulating, and adding the finishing touches.
- Discover the benefits of hiring a professional installer and how to find the right one for your project.
- Gain practical tips and expert advice to ensure a smooth and successful sliding door installation.
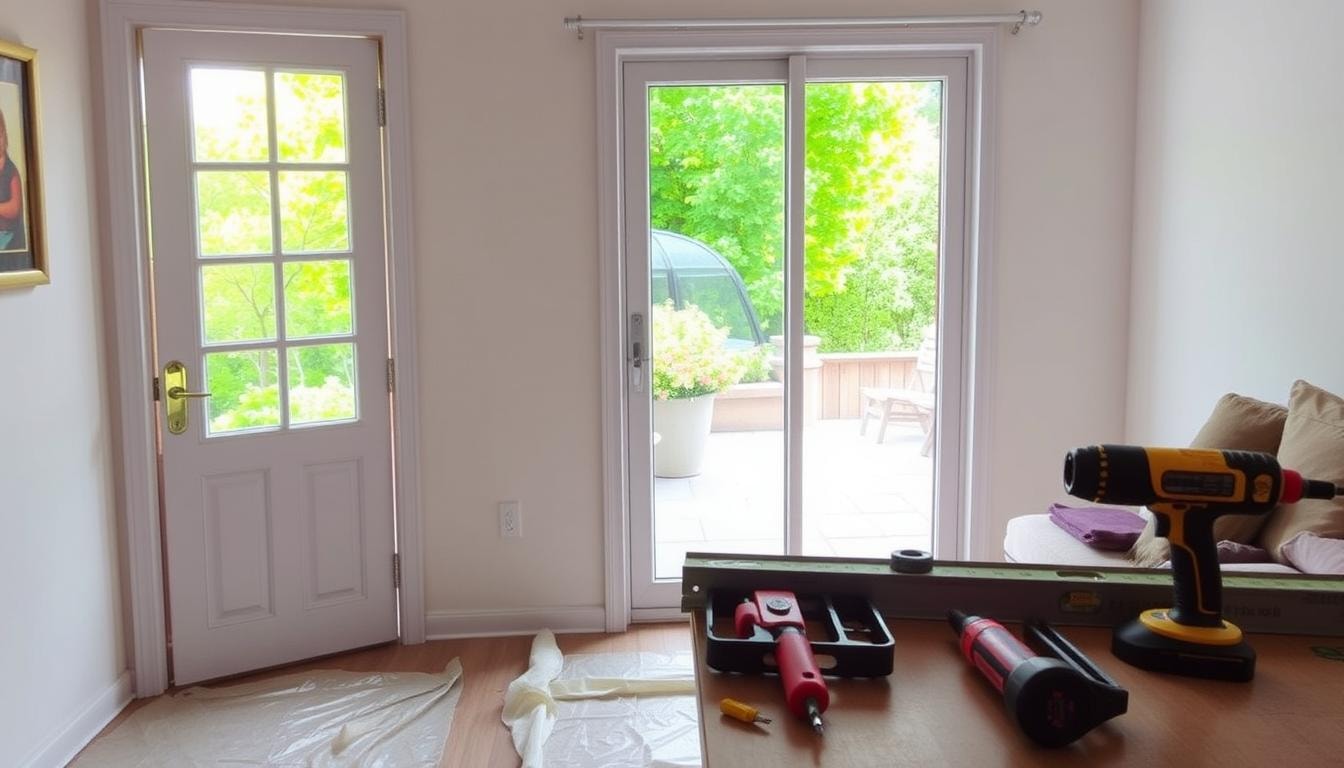
Sliding Door Installation Preparation Phase
Proper preparation is key for a smooth sliding door installation. Measure the opening’s height and width accurately. Include the track hardware at the top in your measurements.
Consider a prehung door option. It comes with the jamb attached, saving time and effort. Review manufacturer’s instructions and local building codes for compliance.
Measure the Opening
Use a reliable tape measure for the door opening. Record the height and width at top, middle, and bottom. This accounts for any frame irregularities.
Purchase Door and Hardware
Buy the sliding door and required hardware with your measurements. Choose a door that fits snugly but allows smooth operation. Remember to factor in the track hardware size.
Gather Tools and Safety Gear
- Drill and screws
- Shims
- Level
- Tape measure
- Caulk gun
- Safety gloves and eye protection
Collect necessary tools like drill, screws, shims, level, and caulk gun. Don’t forget safety gear such as gloves and eye protection.
Thorough preparation sets the stage for a successful installation. It ensures your sliding door meets your needs and local building requirements.
Choose the Right Size Sliding Door
Picking the perfect sliding door size is key for a smooth install. Standard doors are 80 inches tall. Widths range from 60 to 72 inches or more.
Two-panel doors come in 60, 72, and 96-inch widths. For bigger openings, three-panel doors offer 108 and 144-inch widths.
- Remove the Old Door Frame: Take off the casing from the existing frame to find the studs. This gives you a clear view of the opening. You’ll be able to figure out the best size for your new sliding door.
- Measure the Rough Opening: After removing the old frame, measure the opening’s width and height. Use the smallest measurements to find the best-fitting sliding door. Larger doors cost more due to materials and upgrades. Keep your budget in mind when choosing.
- Consider Door Style and Features: Pick a style that matches your home’s design. Safety glass is best for sliding doors. It doesn’t break into sharp pieces. Look for energy-efficient options like low-E glass and double-pane glass. Doors with internal blinds offer extra security and privacy.
Prepare the Opening
Before installing your sliding door, prepare the opening properly. Inspect the rough opening for size, condition, and structural soundness. Check if the sill is level and the opening is plumb and square.
Fix any issues before moving on to the next steps. This ensures a smooth installation process.
Create a Drip Edge and Sill Pan
Create a drip edge and sill pan to protect the door frame. Cut flashing to fit the rough opening.
Apply silicone caulk between the siding and house wrap. This drip edge will guide water away from the frame.
Build a sill pan using roll flashing. It will collect and redirect any water entering the opening.
Preparing the opening ensures a secure, watertight installation for your sliding door. This helps prevent structural decay and other future problems.
Caulk the Opening
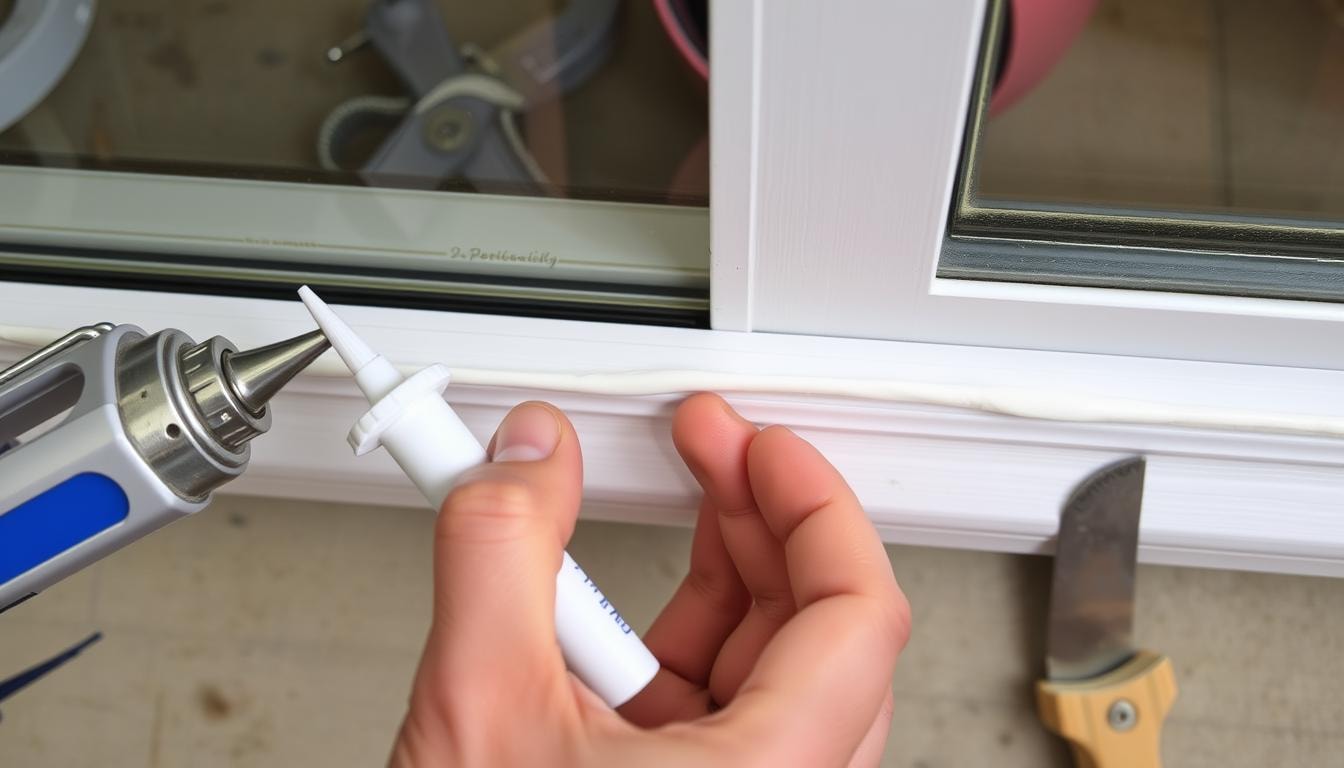
Properly caulking the opening is crucial before installing your new sliding door. This ensures a secure, weather-tight seal, preventing air leaks and moisture intrusion. Apply high-quality silicone caulk where the siding and house wrap meet.
Pay extra attention to the bottom edge, as it needs a tight seal. Press the sill pan firmly into the caulk to create a sturdy foundation.
The sill pan helps direct water away from the opening, protecting your home. Apply another caulk bead along the bottom edge for a secure barrier.
Use high-quality exterior silicone caulk for flexibility and durability. Take your time to apply it evenly and smoothly for the best results.
Proper caulking creates a tight seal, boosting energy efficiency and protecting your home. This crucial step deserves your full attention during installation.
Position the New Door
Get ready to place your new sliding door. Tilt it from the outside, bottom first. This makes installation easier.
Insert the door into the opening. Make sure you have all your tools and materials handy.
Use Shims for a Secure Fit
Add shims around the door frame edges and top. Place them every 12 inches for proper alignment. Adjust as needed for a perfect fit.
Attach Hinges
Now it’s time to secure the hinges. Use a drill to fasten them to the door and frame. Check that they’re aligned for smooth operation.
You’re making great progress on your sliding door installation. Take your time to ensure everything is aligned correctly. This will help your door work well and look great.
Secure the Door
After positioning the sliding door and frame, it’s time to secure it firmly. This step ensures stability and security for your home.
Nail the Brick Mould
Check if the brick mould is flat against the frame outside. Use 10d finishing nails every 12 inches to secure it.
This creates a seamless connection between the door and surrounding structure. It helps make the door more stable and secure.
Secure the Frame with Nails
Inside the house, use 10d finishing nails to secure the frame. Drive nails outward through shims into the framing.
Remember to countersink the nail heads. This creates a flush surface for a cleaner look.
Trim Excess Shims
Use a utility knife to cut any excess shims. Trim them so they don’t stick out beyond the door frame.
A flush finish is key for smooth door operation. It also improves the overall look of your sliding door.
These steps will give you a secure sliding door. It will protect your home and work smoothly for years to come.
Secure the Threshold
Securing the threshold is crucial for sliding door installation. Attach it firmly to the door, hiding screws for a clean look. Use foam insulation to seal any gaps between the door frame and wall.
After the foam dries, remove excess with a putty knife. This step ensures a tight seal and improves energy efficiency.
Insulate and Caulk
Cover the foam insulation with trim for a seamless look. Apply silicone caulk to the joint between trim and interior wall.
This step helps insulate the door and prevent air leaks. It also improves your home’s energy efficiency.
Add Trim and Spackle
Fill nail holes in the door frame with spackle. This creates a finished look and enhances your home’s overall appearance.
Following these steps ensures a durable and visually appealing sliding door installation. Your new door will be both functional and attractive.
The DIY Approach
Installing a sliding door yourself can be done step-by-step. Start by taking out the old door frame and sliding door. This gives you a clean space to work with.
Remove Old Door Frame
Carefully pry away the old door frame. Be sure not to damage the surrounding wall. Once it’s out, you can get ready for the new sliding door.
Install Bottom Track
First, level the floor where the door will go. Make the surface smooth by scraping or sanding. Use shims if needed to fill gaps or level uneven spots.
Next, place the bottom track and mark where to secure it. Attach the track with screws for a strong base.
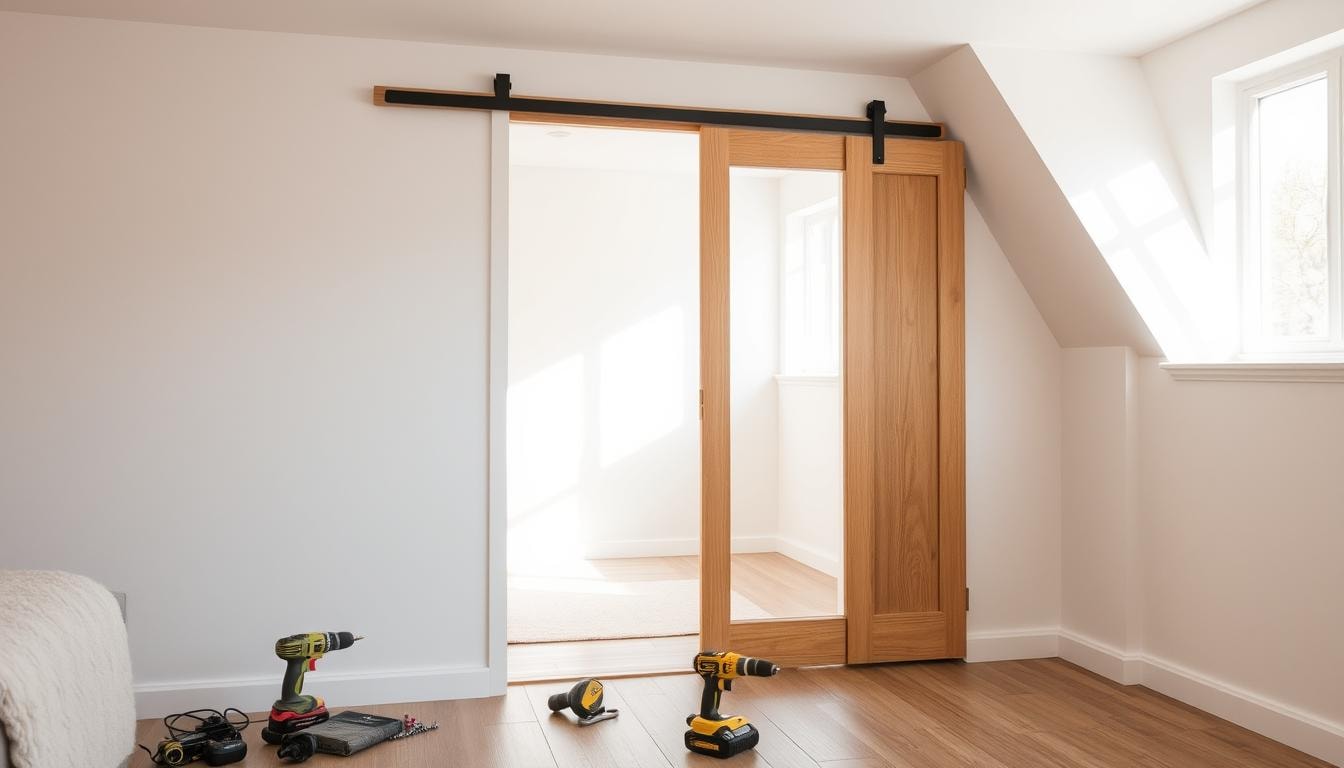
Hang and Adjust Door
Now it’s time to hang the sliding door. Lift the door into the track and place it in the opening.
Install side jambs around the door. Secure them to wall studs with shims to keep the door straight. Adjust the roller height for smooth sliding.
These steps will help you install a new sliding door. You’ll create a great addition to your home.
Finishing Touches
Now that your new sliding door is installed, let’s focus on the final details. These steps ensure your door looks great and works well for years.
- Install Locks and Hardware: Start by adding handles, locks, and latches. Make sure the lock lines up with the strike plate. This will give your door a professional look.
- Caulk and Weatherstrip: Caulk the exterior jamb and where it meets the wall. This seals gaps and stops air and water from getting in. Add weatherstripping for better energy efficiency and comfort.
- Paint or Stain: Paint or stain the wooden door and jamb to match your home. Use the right primer and finishing coats for a lasting look. Clean the glass before painting or staining.
Check that the door slides smoothly. Adjust rollers or lubricate parts as needed. Your new sliding door is now ready to use and looks great.
Benefits of Professional Sliding Door Installation
Hiring a professional contractor for sliding door installation is highly recommended. Professional installers have the expertise to position, seal, and secure doors properly. They can guide you on advanced sliding door technologies and specialized installation techniques.
A professional sliding door installation offers several benefits to homeowners:
- Improved Thermal Efficiency: Experts ensure proper installation and sealing. This enhances energy-efficiency and lowers energy bills.
- Increased Accessibility: Professionals guarantee smooth operation and ease of use for all family members.
- Structural Stability: Reliable installation techniques by professionals boost stability and longevity.
Investing in professional sliding door installation brings peace of mind. You’ll get a quality, durable, and energy-efficient patio door that meets your needs.
Tips for Hiring the Right Professionals
Hiring skilled professionals is crucial for sliding door installation. Find a reputable company with a proven track record. Check their licenses, insurance, and warranties before hiring.
Discuss your design preferences during the consultation. A reliable partner will guide you through product selection and installation. This ensures a smooth and successful project.
Here are some tips to help you hire the right professionals:
- Check for licensing and insurance. Reputable companies will have the necessary licenses and insurance to protect you and your home.
- Ask about warranties and guarantees. A good company will stand behind their work and offer warranties on the products and installation.
- Seek out experienced and reliable professionals. Look for a team with a history of delivering quality results and excellent customer service.
- Schedule a consultation to discuss your custom needs and design preferences. A professional installer should be able to provide personalized recommendations.
- Compare quotes and estimates from multiple providers to ensure you’re getting the best value for your investment.
Follow these tips to find the best professionals for your project. You’ll enjoy a seamless sliding door installation experience.
FindPros: Your Trusted Partner for Sliding Door Installation
Searching for the right professionals to handle your sliding door installation can be a daunting task. That’s where FindPros steps in to simplify the process. By answering a few questions about your home project, you’ll be quickly matched with top-rated local pros who can provide the best pricing through our competitive bidding system.
Compare quotes, read reviews, and choose the pro that you feel most comfortable with to ensure your sliding door is installed securely and efficiently. Whether you’re looking to replace an existing door or explore other options like wood, windows, or screen grilles, FindPros has you covered. Don’t leave the rest of your home project up to chance – let us connect you with the perfect professional to get the job done right.
Conclusion
Sliding door installation can greatly improve your home’s functionality and looks. This guide offers a step-by-step approach to the process. It covers key aspects from preparation to finishing touches.
Following expert tips helps homeowners make smart choices about their sliding door project. These doors offer many benefits. They improve energy efficiency, reduce noise, and increase natural light.
Careful planning is crucial for successful sliding door installation. Pay attention to details, whether you choose DIY or hire pros. This approach ensures your project reaches its full potential.
By using this guide, you can create a more inviting and efficient living space. Your new sliding door will transform your home’s look and feel.
Frequently Asked Questions (Sliding Door Installation)


MOST POPULAR CITIES
Browse by State- Alameda
- Costa Mesa
- Laguna Beach
- Orange
- Alhambra
- Culver City
- Lancaster
- Oroville
- Anaheim
- Daly City
- Livermore
- Oxnard
- Antioch
- Davis
- Lodi
- Pacific Grove
- Arcadia
- Downey
- Lompoc
- Palm Springs
- Bakersfield
- El Centro
- Long Beach
- Palmdale
- Barstow
- El Cerrito
- Los Angeles
- Palo Alto
- Belmont
- El Monte
- Malibu
- Pasadena
- Berkeley
- Escondido
- Martinez
- Petaluma
- Beverly Hills
- Eureka
- Marysville
- Pomona
- Brea
- Fairfield
- Menlo Park
- Port Hueneme
- Buena Park
- Fontana
- Merced
- Rancho Cucamonga
- Burbank
- Fremont
- Modesto
- Red Bluff
- Calexico
- Fresno
- Monterey
- Redding
- Calistoga
- Fullerton
- Mountain View
- Redlands
- Carlsbad
- Garden Grove
- Napa
- Redondo Beach
- Carmel
- Glendale
- Needles
- Redwood City
- Chico
- Hayward
- Newport Beach
- Richmond
- Chula Vista
- Hollywood
- Norwalk
- Riverside
- Claremont
- Huntington Beach
- Novato
- Roseville
- Compton
- Indio
- Oakland
- Sacramento
- Concord
- Inglewood
- Oceanside
- Salinas
- Corona
- Irvine
- Ojai
- San Bernardino
- Coronado
- La Habra
- Ontario
- San Clemente