Shed Repair Near You
Can’t find what you are looking for?
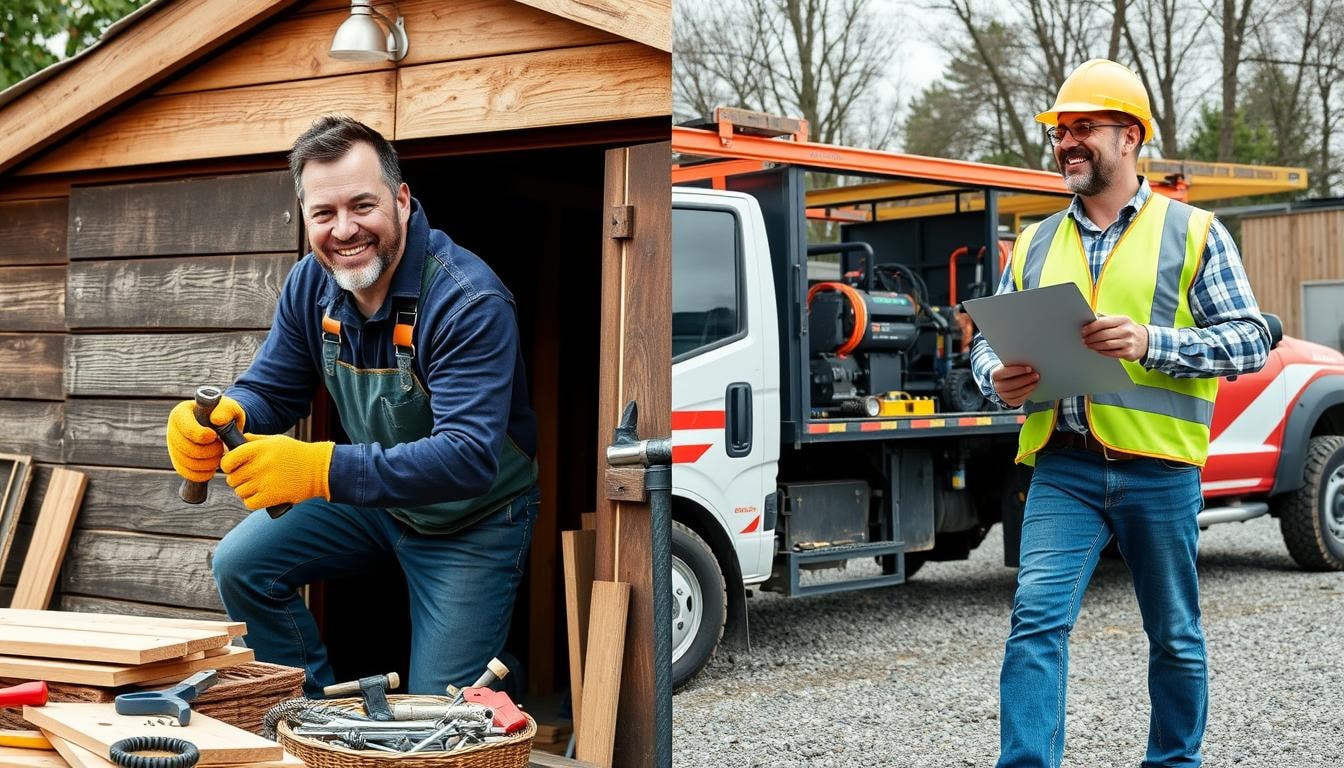
How It Works
-
 Answer a few questions about your home project.
 -
 Within seconds, get matched with top-rated local pros.
 -
 Compare quotes and choose the best pro for the job.
Shed Repair In Your Area
Need Shed Repair? Here’s What to Expect
Key Takeaways
- The average cost of shed repair ranges from 0 to ,450, with labor and material costs varying by location.
- Common shed repair issues include water damage, rust, and pest problems that can lead to rot, mold, and structural damage.
- Factors to consider when deciding to repair or replace a shed include the shed’s age, quality, and the need for upgrades.
- DIY shed repairs can be cost-effective for minor issues, but larger projects may require the expertise of a professional contractor.
- Regular maintenance and inspections can help extend the life of a shed and identify problems early before they become more costly to address.
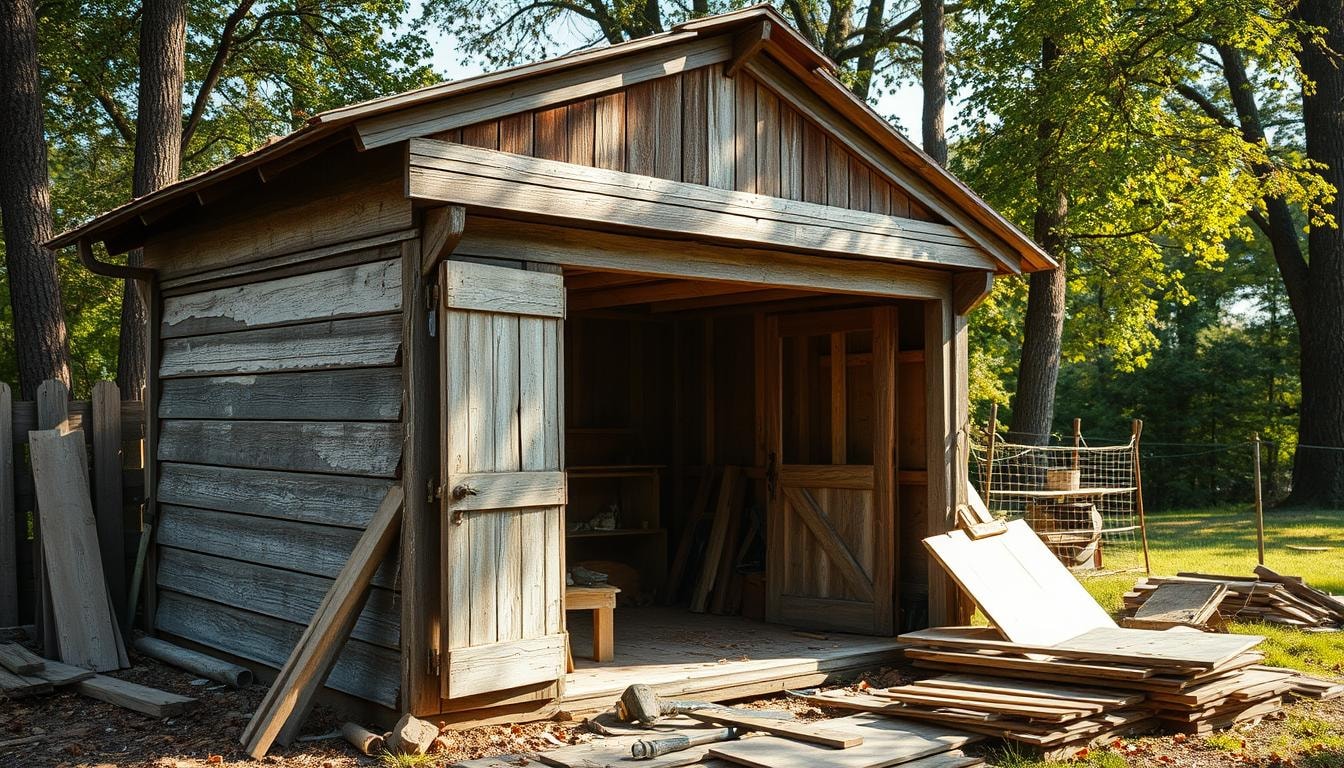
Signs Your Shed Needs Repair
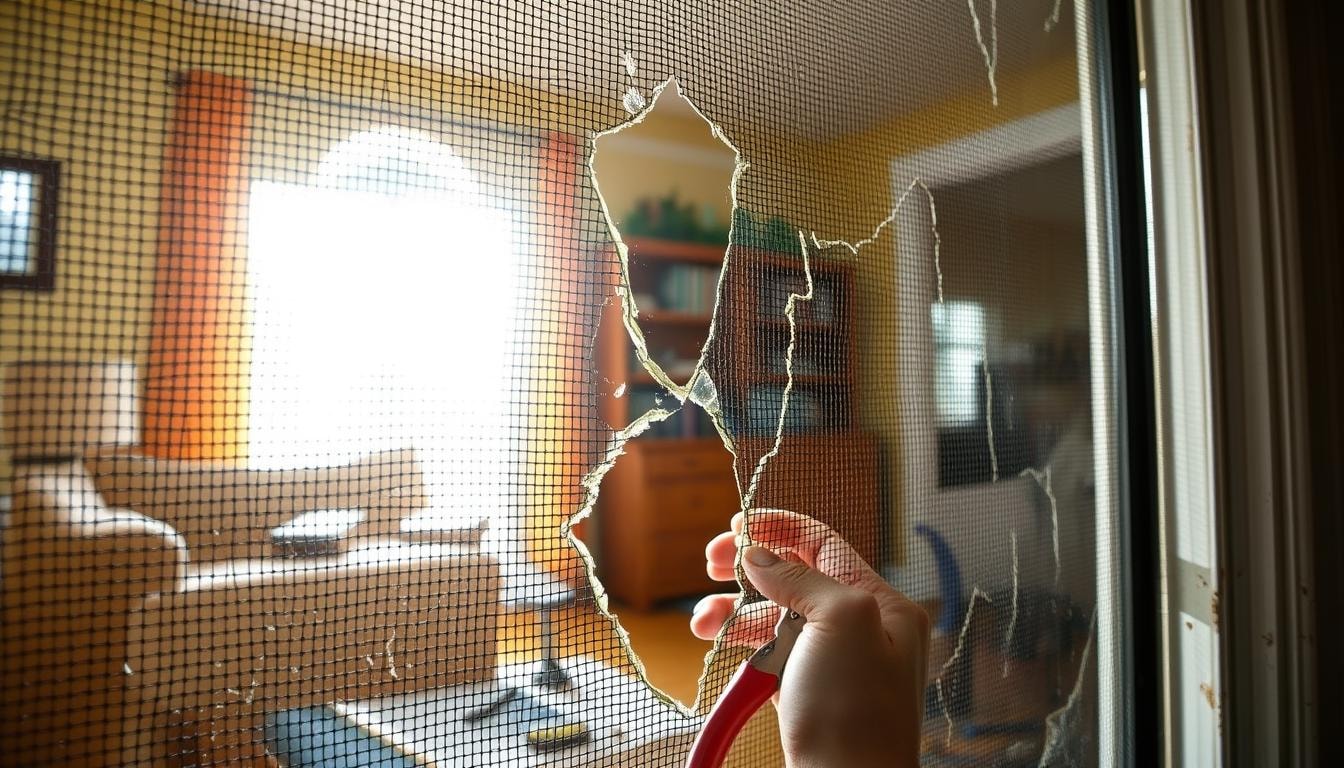
Regular shed inspections help catch problems early. This prevents further damage and keeps your shed valuable. Look out for water damage, rot, rust patches, and pests.
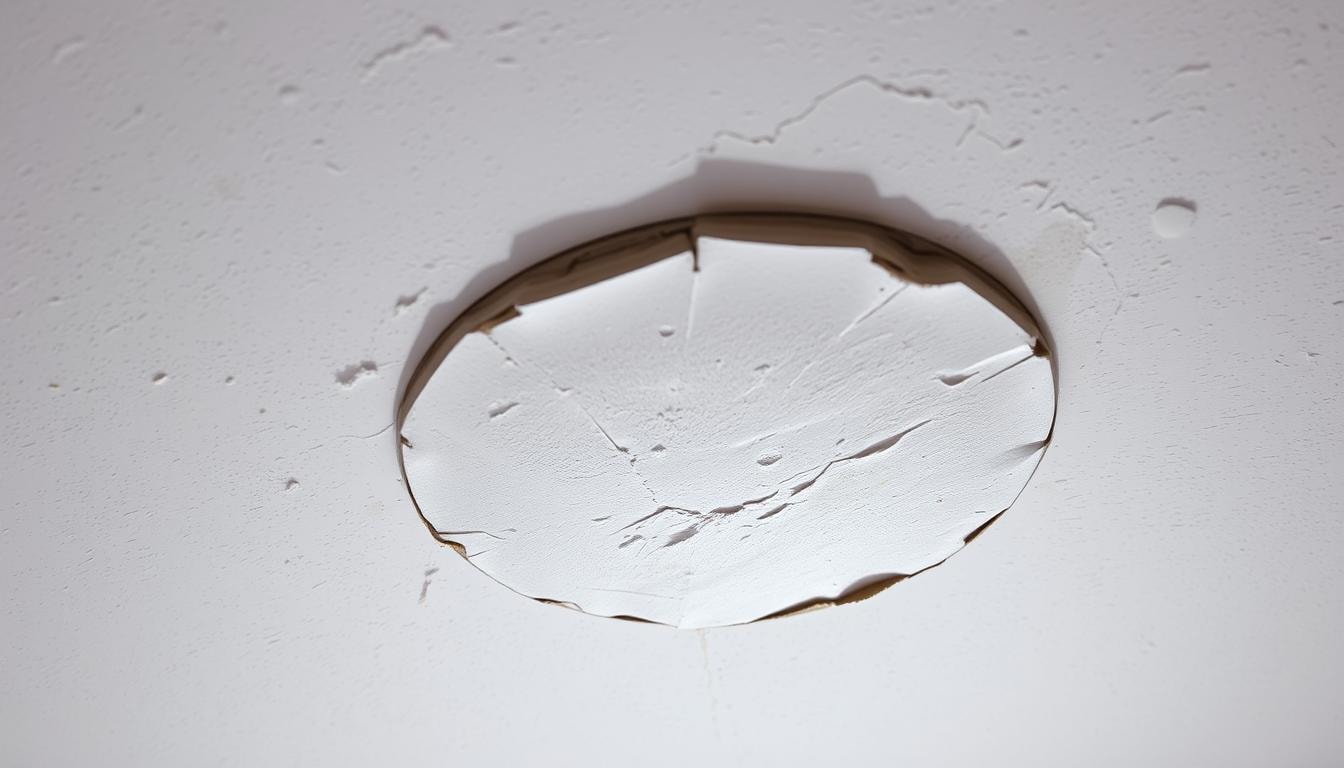
Water Damage and Rot
Too much moisture can harm your shed’s wood or siding. Check for water stains, warped boards, or soft spots. Fix these issues quickly to avoid mold growth.
Rust Patches
Metal sheds can rust over time. This weakens the frame and panels. Check for rust often and fix it fast to make your shed last longer.
Pest Problems
Pests like termites or ants can damage your shed’s frame and inside. Look for holes, sawdust, or droppings. Take action right away if you see these signs.
Keep a close eye on your shed and fix problems quickly. This will help it stay in good shape for years. Regular checks and repairs are key to keeping your shed useful.
Factors to Consider When Repairing vs. Replacing
Deciding to repair or replace a shed involves several key factors. The shed’s age is crucial, as older structures may not be worth fixing. The quality of construction also matters greatly.
Consider your current storage needs. If your shed no longer meets them, replacing it might be better. Your budget and long-term storage requirements will influence the final decision.
Age of the Shed
Sheds over 10-15 years old may not justify repair costs. Their structural integrity and lifespan are often limited. Wooden decks typically last 10-15 years, while composite and PVC decking can exceed 25 years.
Aging wooden structures can develop moisture-related problems after long winters. This can further weaken their overall structure.
Quality of the Shed
A well-built, high-quality shed is more likely worth repairing. It will last longer and resist issues like rust, splintering, and warping. Cheap, low-quality sheds may be better replaced.
Repair costs for poor-quality sheds can often exceed the structure’s value.
Need for Upgrade
If your storage needs have changed, replacing your shed might be best. A new, larger model can offer more space and functionality. This could be a better long-term solution than fixing your current shed.
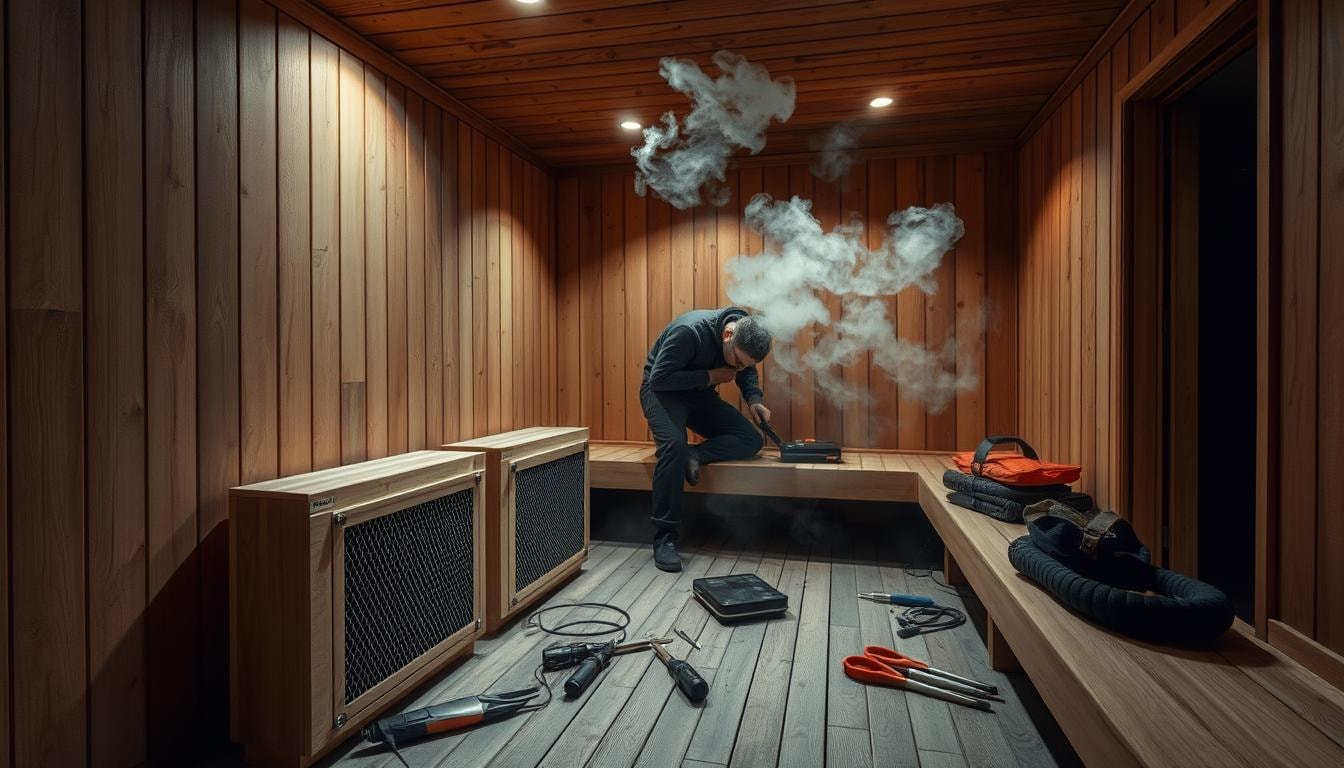
Common Shed Repair Issues
Shed repairs can range from minor cosmetic fixes to major structural work. Homeowners face various challenges when fixing their sheds. Understanding these issues helps in deciding the best repair approach.
Water damage and rot are frequent shed problems. Moisture can weaken wood and siding over time. Metal sheds often suffer from rust, which damages frames and panels.
Pest infestations like termites or ants can harm a shed’s interior and structure. Roof leaks, wall leaks, and cracked floors may signal a need for replacement.
Severe mold can make a shed unsafe or unusable. These issues require immediate attention to prevent further damage.
Simple fixes like door trim, roof shingles, and windows can be DIY projects. Complex repairs may need professional help. Careful assessment of your shed’s condition is crucial.
Seeking expert advice when needed ensures your outdoor storage lasts longer. This approach helps maintain the safety and durability of your shed.
Shed Repairs Worth Doing
Some shed repairs are worth undertaking. Minor cosmetic fixes can refresh your shed’s look without breaking the bank. Replacing roof shingles or fixing damaged windows can maintain functionality and prevent further damage.
Door Trim
Fixing door trim is a simple yet impactful shed repair. It enhances the overall look of your outdoor structure. This task can be done by you or a handyman.
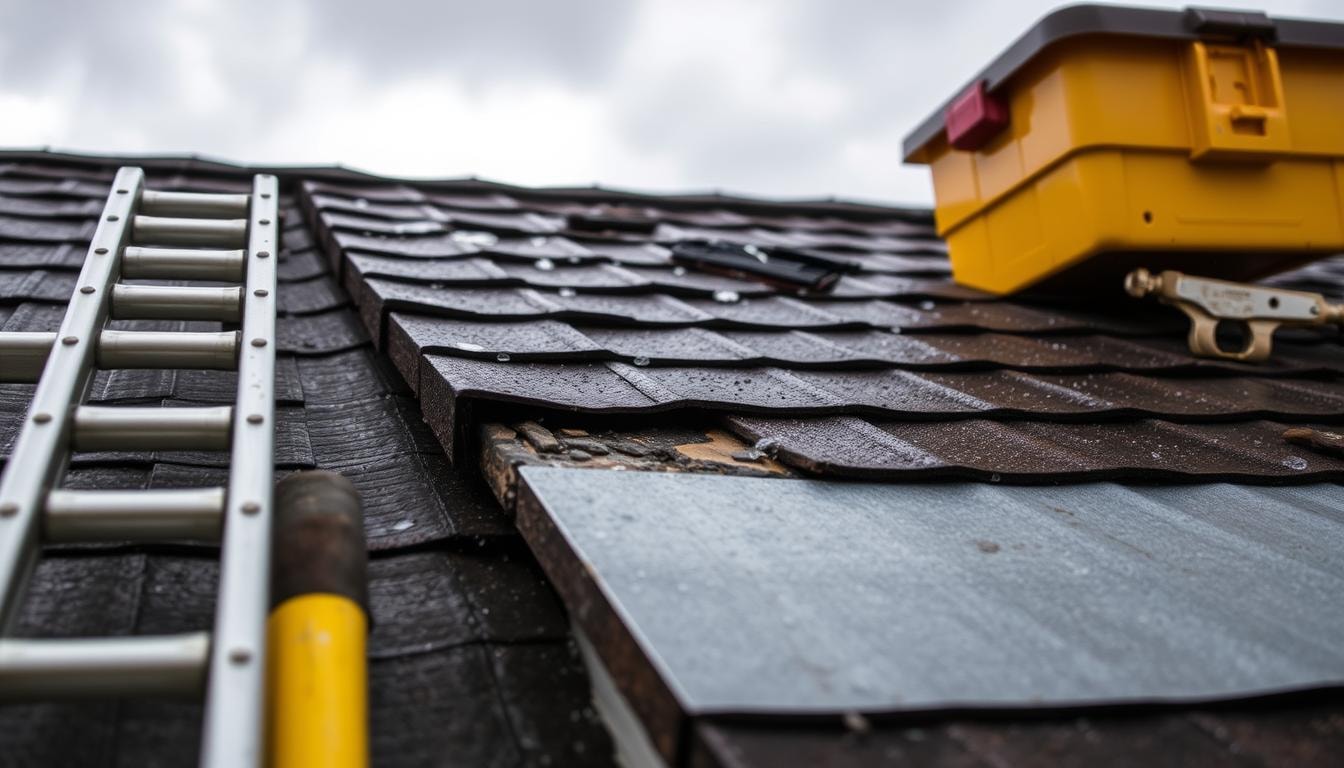
Missing Roof Shingles
Replacing missing roof shingles helps prevent water damage. It extends your shed’s life and maintains its structural integrity. This task is relatively straightforward and cost-effective.
Damaged Windows
Fixing cracked or broken windows improves your shed’s appearance and functionality. It prevents further damage and ensures proper ventilation. Most homeowners or local handymen can handle this repair.
Minor Mold Growth
Addressing small mold areas early prevents costly future repairs. It helps maintain the shed’s overall condition. Tackling mold issues proactively stops further deterioration.
These repairs can often be done by homeowners or handymen. They’re practical and cost-effective ways to maintain your outdoor structure.
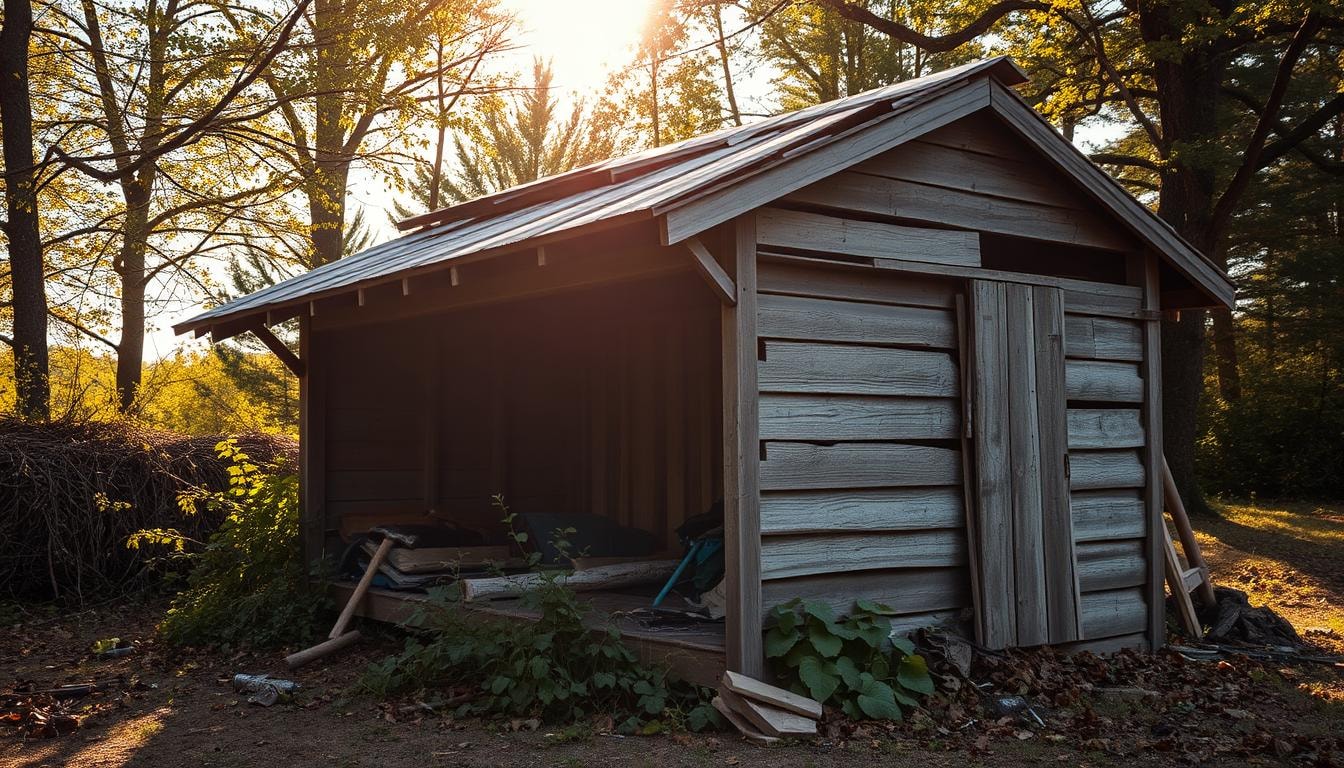
When to Replace Rather Than Repair
Some shed repairs are worth it. But certain issues mean it’s time to replace the structure. Serious roof leaks can lead to water damage and mold growth.
These issues often signal the need for a new roof. Leaking walls can point to bigger structural issues. Cracked floors might mean foundation problems, best fixed with a new shed.
- Serious Roof Leaks: Roof leaks can cause major water damage and mold growth. This can hurt the shed’s structure. Severe leaks often make replacing the whole roof more cost-effective and safer.
- Wall Leaks: Wall leaks can show bigger structural problems. They can cause water damage and rot the framing. These issues might even affect the foundation. In such cases, replacing the shed is usually best.
- Cracked Floors: Cracked floors often point to bigger structural problems. They might mean foundation issues. Fixing cracked floors may only work for a short time. Replacing the shed ensures a strong, long-lasting structure.
- Severe Mold Infestation: A bad mold infestation throughout the shed shows structural damage. It’s often safer and cheaper to replace the shed. Mold is hard and costly to remove.
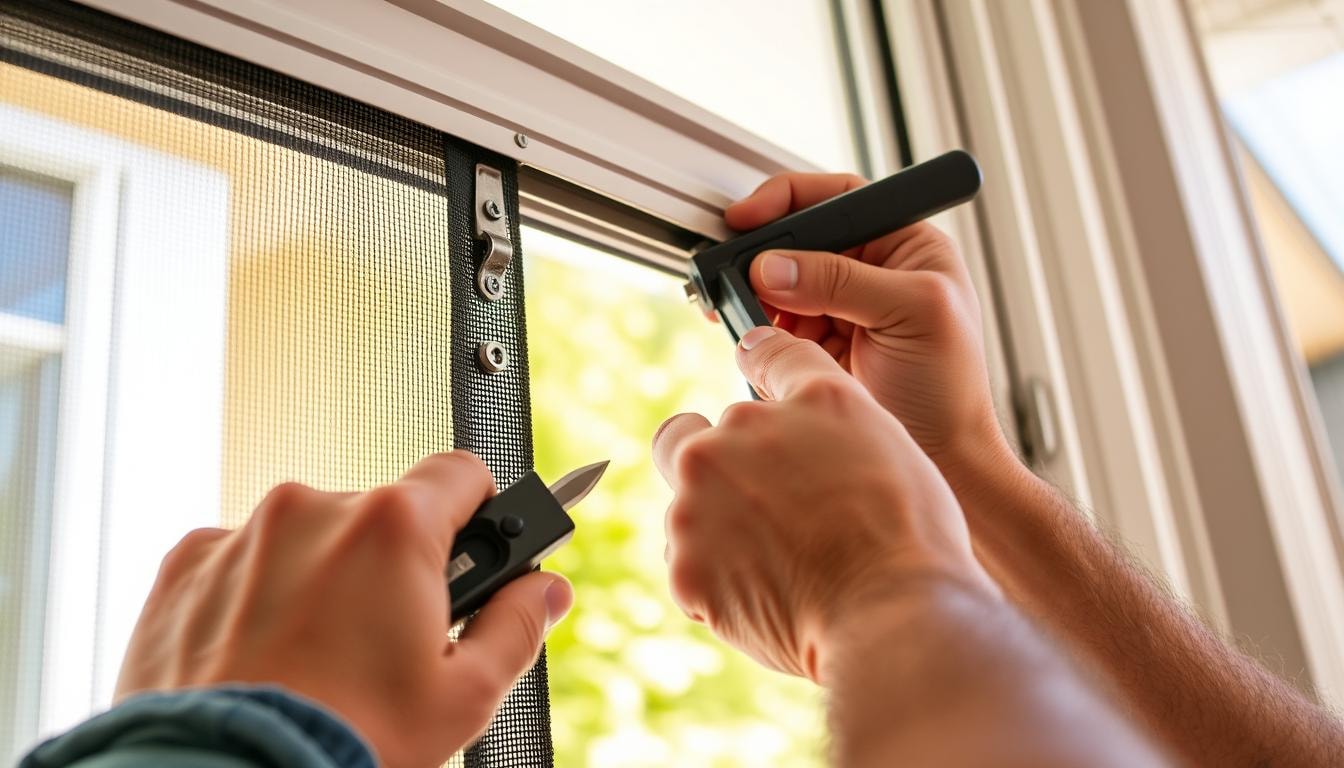
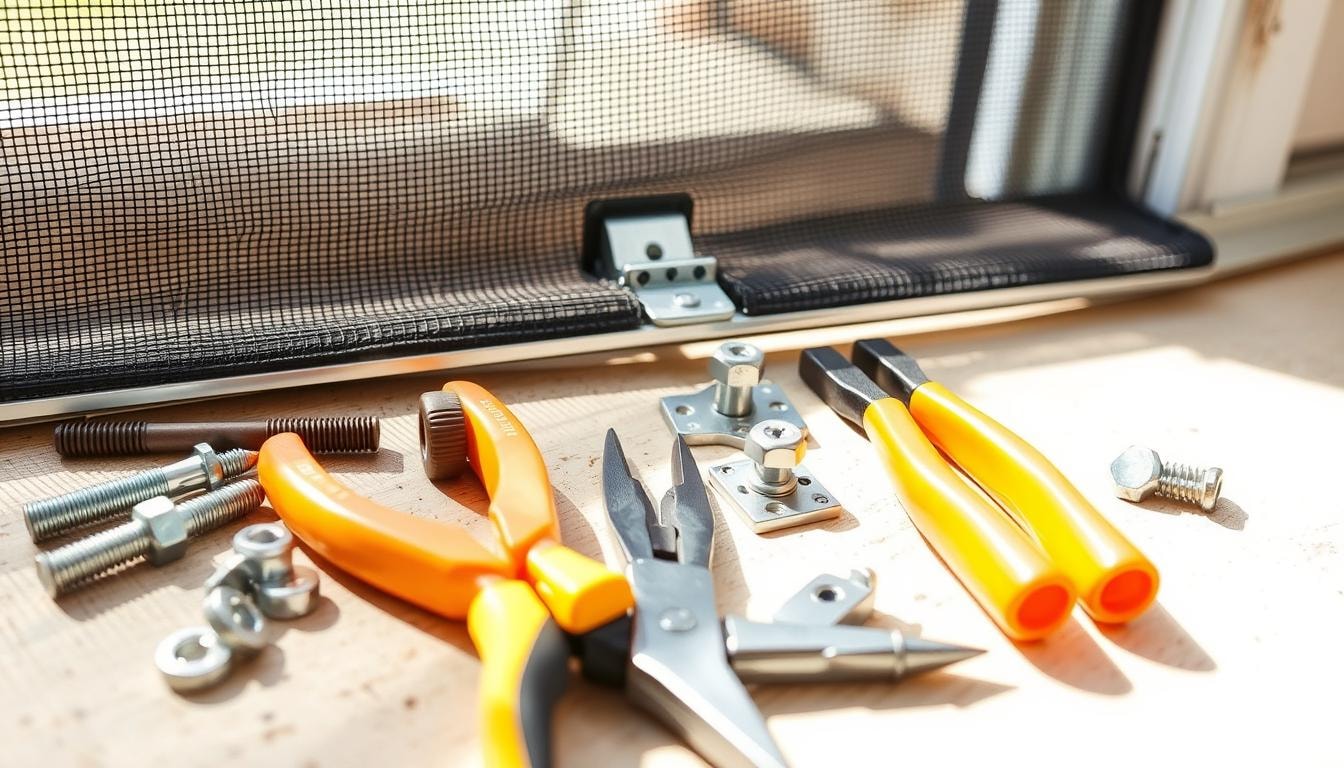
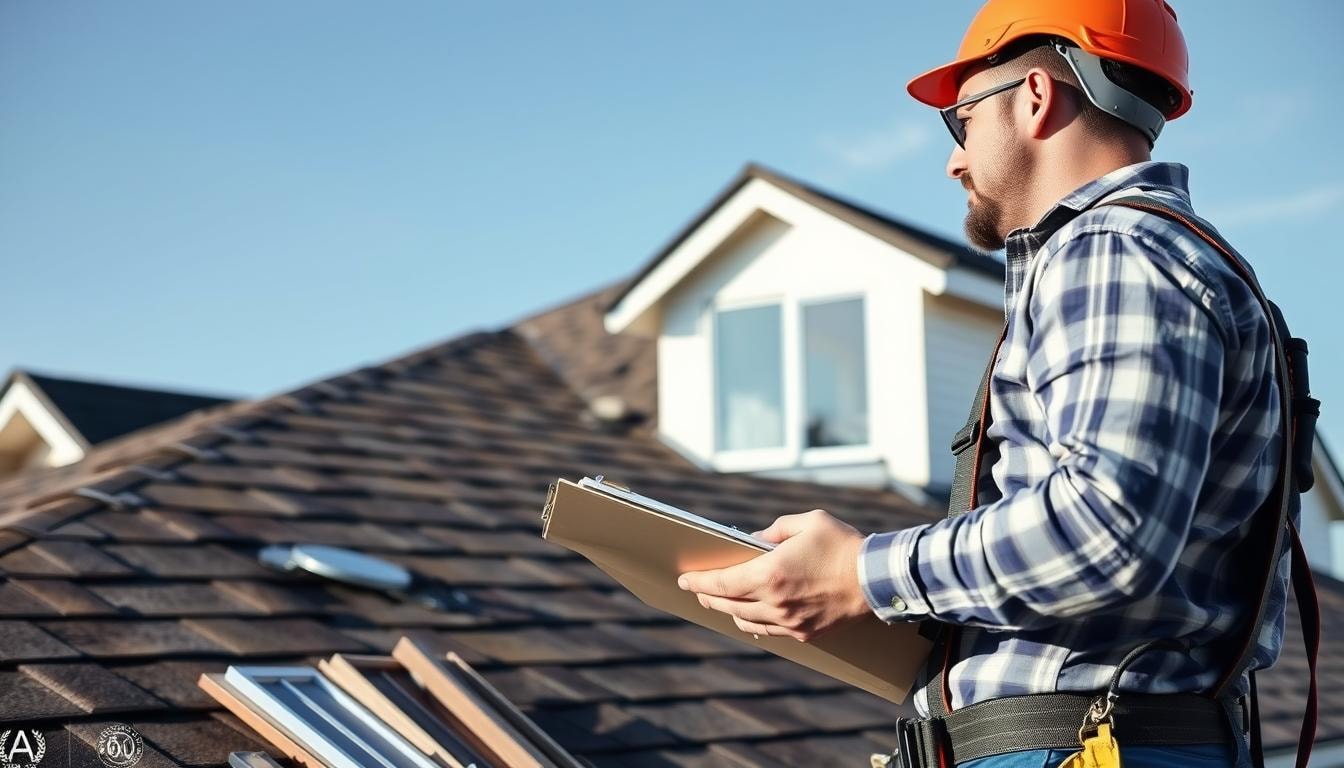
DIY vs Professional Shed Repair
Homeowners can repair sheds themselves or hire professionals. DIY shed repairs work well for minor issues like door trim or shingle replacement. However, complex structural repairs may require a professional contractor’s expertise and tools.
Choosing between DIY shed repair and professional help depends on several factors. These include the homeowner’s skill level, available tools, and the extent of repairs needed. Safety concerns should also be considered.
Shed repair costs typically range from $481 to $1,843. Materials cost $20 to $1,950. Labor for specialized tasks costs $65 to $85 per hour. Replacing a shed averages around $3,000.
- For minor repairs, a DIY approach may be more cost-effective.
- Complex issues often require a professional contractor with the right skills, tools, and experience.
- Homeowners should compare DIY cost savings with professional safety, expertise, and insurance coverage.
The choice between DIY shed repair and hiring a professional depends on individual circumstances. Consider your shed’s needs and your abilities. This will help you make the best decision for your situation.
FindPros: Get Matched with the Right Pros for Your Shed Repair
Need a reliable pro to handle your shed repair project? Look no further than FindPros. Simply answer a few questions about your house, panel, window, or other repair needs, and we’ll match you with top-rated local professionals who can get the job done right. No more pulling out your hair trying to decide which pro to hire.
Let the pros compete for your business and find the one you get along with best. With FindPros, you’ll get the best pricing and a seamless experience from start to finish, whether you need to repair rotted boards, cover a leak, or replace the entire building. Take the stress out of your shed repair project – let FindPros do the heavy lifting.
Conclusion
Maintaining a shed is crucial for homeowners. It protects the structure and items inside. Even well-built sheds can face issues like water damage, rust, and pests over time.
Understanding repair signs helps homeowners make smart decisions. They can choose between repairing or replacing their shed. This knowledge helps address common repair issues effectively.
DIY repairs or professional help can extend a shed’s life. This ensures it meets storage needs. Investing in repairs protects the homeowner’s investment and maintains functionality.
Shed repairs can enhance aesthetics and avoid replacement costs. They may also increase the property’s resale value. Prompt attention to issues keeps sheds reliable for years.
Frequently Asked Questions (Shed Repair)


MOST POPULAR CITIES
Browse by State- Alameda
- Costa Mesa
- Laguna Beach
- Orange
- Alhambra
- Culver City
- Lancaster
- Oroville
- Anaheim
- Daly City
- Livermore
- Oxnard
- Antioch
- Davis
- Lodi
- Pacific Grove
- Arcadia
- Downey
- Lompoc
- Palm Springs
- Bakersfield
- El Centro
- Long Beach
- Palmdale
- Barstow
- El Cerrito
- Los Angeles
- Palo Alto
- Belmont
- El Monte
- Malibu
- Pasadena
- Berkeley
- Escondido
- Martinez
- Petaluma
- Beverly Hills
- Eureka
- Marysville
- Pomona
- Brea
- Fairfield
- Menlo Park
- Port Hueneme
- Buena Park
- Fontana
- Merced
- Rancho Cucamonga
- Burbank
- Fremont
- Modesto
- Red Bluff
- Calexico
- Fresno
- Monterey
- Redding
- Calistoga
- Fullerton
- Mountain View
- Redlands
- Carlsbad
- Garden Grove
- Napa
- Redondo Beach
- Carmel
- Glendale
- Needles
- Redwood City
- Chico
- Hayward
- Newport Beach
- Richmond
- Chula Vista
- Hollywood
- Norwalk
- Riverside
- Claremont
- Huntington Beach
- Novato
- Roseville
- Compton
- Indio
- Oakland
- Sacramento
- Concord
- Inglewood
- Oceanside
- Salinas
- Corona
- Irvine
- Ojai
- San Bernardino
- Coronado
- La Habra
- Ontario
- San Clemente