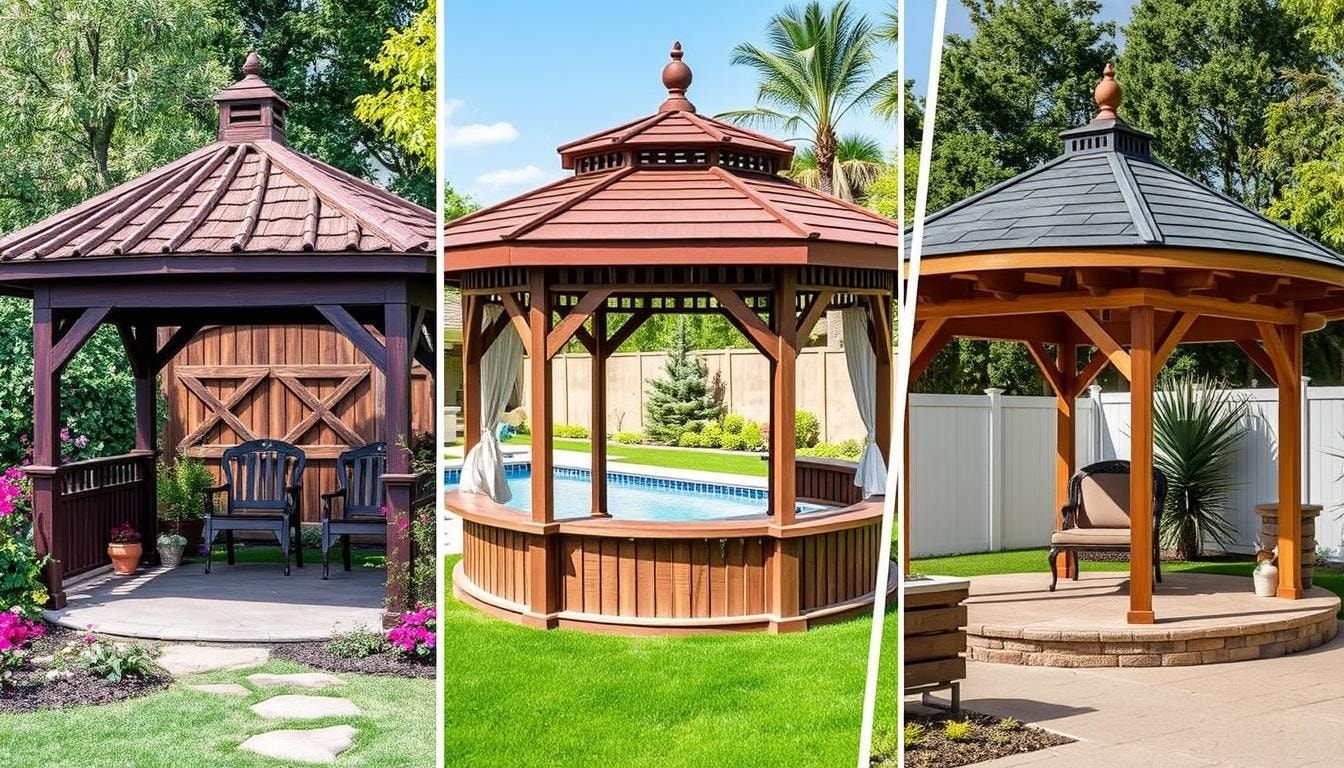
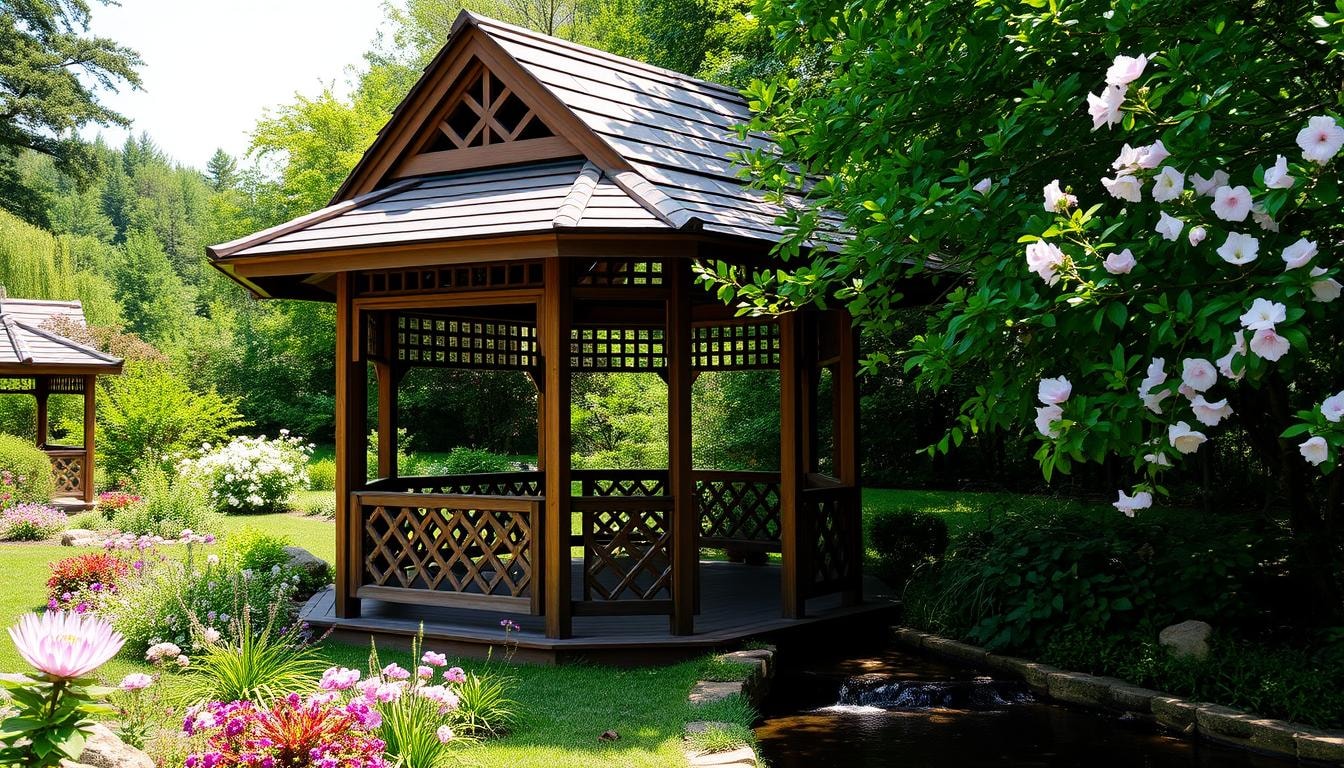
Greenhouse Builders Near You
Can’t find what you are looking for?
How It Works
-
 Answer a few questions about your home project.
 -
 Within seconds, get matched with top-rated local pros.
 -
 Compare quotes and choose the best pro for the job.
Greenhouse Builders In Your Area
Factors to Consider When Choosing Greenhouse Builders
Meta Description: Discover key factors for selecting top greenhouse builders. Learn about materials, design options, and expertise to create your perfect custom greenhouse space.
Selecting the right greenhouse builders is crucial for your home or business project. A skilled team can help you achieve your gardening goals. They ensure your investment lasts for years to come.
Custom greenhouses and luxury commercial structures require expert builders. These professionals can turn your vision into reality. They’ll create a space that meets your specific needs.
Key Takeaways
-
01
Understand the importance of greenhouse location and positioning for optimal sunlight exposure and protection from wind
-
02
Determine the appropriate size and capacity requirements based on your gardening needs and available space
-
03
Explore the different types of greenhouses, from freestanding to lean-to, and choose the one that best fits your property
-
04
Evaluate the materials used, including glass vs. plastic, and their impact on greenhouse performance and longevity
-
05
Prioritize ventilation and climate control systems to ensure a thriving growing environment
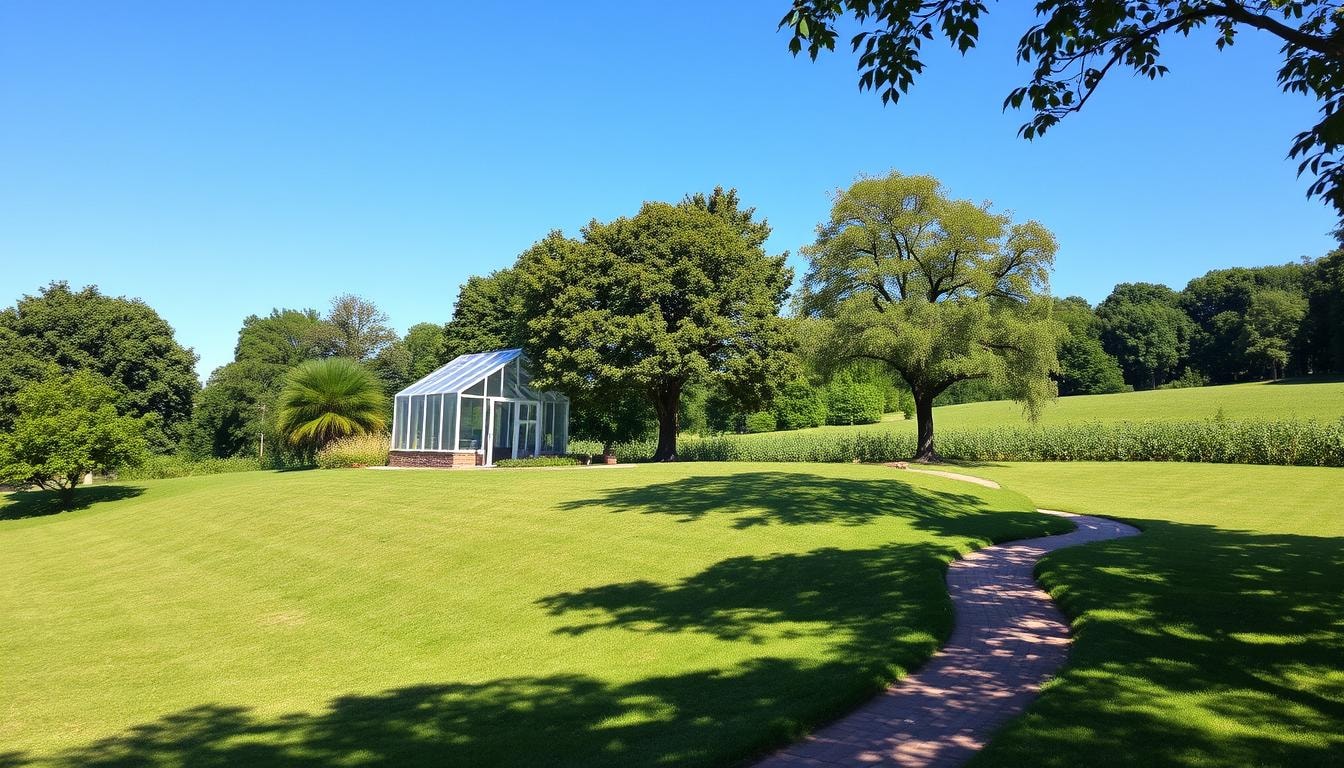
Greenhouse Location and Positioning
The location of your greenhouse is vital for its success. Choosing the right spot ensures optimal plant growth and a great gardening experience.
Sunlight Exposure
Greenhouses need plenty of sunlight to thrive. Face the longest side south to maximize sunlight absorption.
This positioning provides the warmth and light plants need to flourish. Proper sunlight exposure is key to a productive greenhouse.
Protection from Wind
Protecting your greenhouse from strong winds is crucial. Good air circulation prevents mold and fungal growth. However, powerful gusts can damage the structure and stress plants.
Place the greenhouse in an area shielded by natural or built windbreaks. This strategy helps balance air flow and plant protection.
Convenience of Access
Easy access to your greenhouse is important. Place it close to your backyard or garden with a level walking path. This ensures frequent visits to care for your plants.
Plan for access to water and electricity. These utilities will enhance the functionality of your greenhouse space.
Size and Capacity Requirements
Greenhouse size and capacity are crucial factors to consider. Your available space and plant quantity will determine the ideal greenhouse size. Options range from small hobby structures to large commercial models.
- Mini Greenhouses for Small Spaces: Mini greenhouses under 10 square feet are perfect for limited spaces. These compact structures fit on decks, patios, or small backyards. They provide a controlled environment for growing a few plants.
- Mid-Sized Greenhouses for Average Needs: Mid-sized greenhouses, between 10 to 30 square feet, suit medium-sized backyards or gardens. These structures can house various plants. They cater to everyday gardening needs for enthusiasts.
- Large Greenhouses for Avid Gardeners: Large greenhouses, from 30 to hundreds of square feet, are ideal for dedicated gardeners. These spacious structures allow for diverse plant cultivation. You can grow a wide range of vegetables, flowers, and herbs.
Proper ventilation, temperature control, and sunlight access are vital for plant health. Consider these factors when choosing your greenhouse size. This will help create a thriving garden that meets your needs.
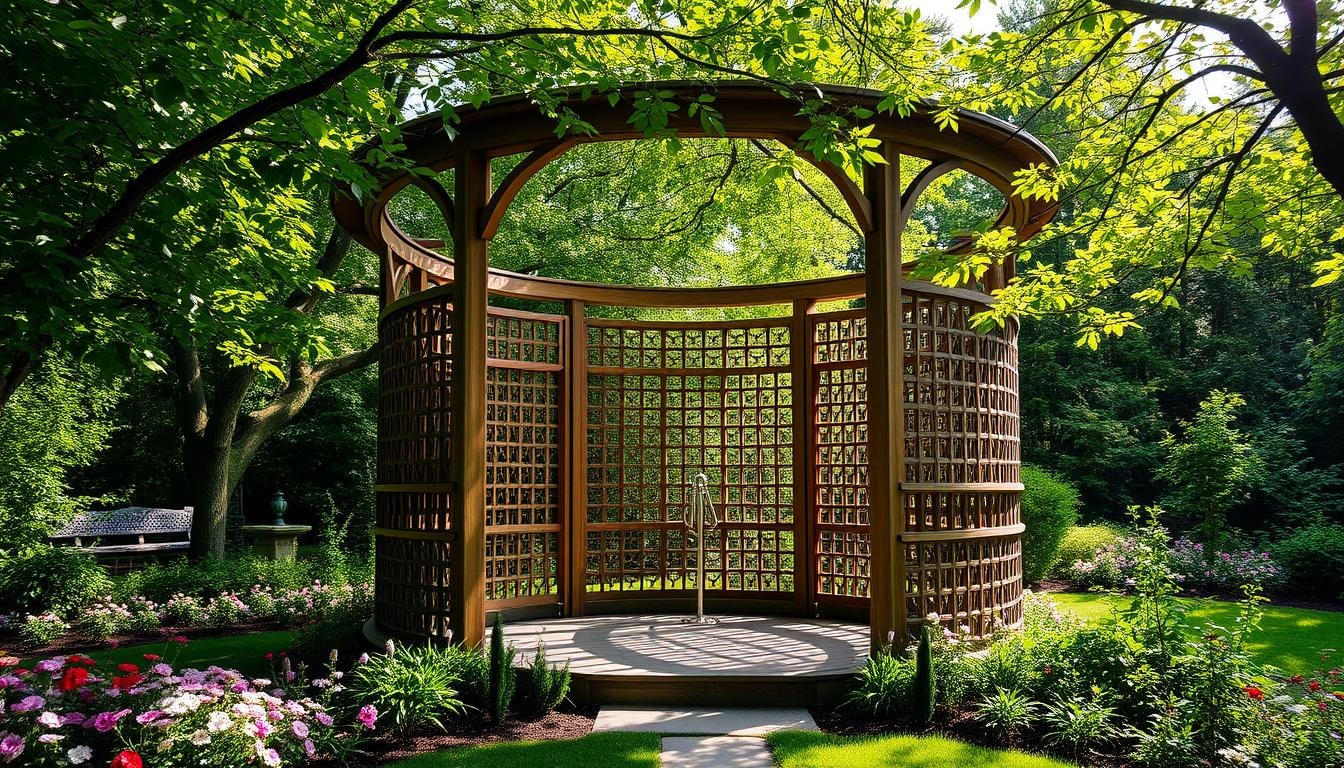
Types of Greenhouses
Greenhouses come in various styles, each with its own pros and cons. Choosing the right one depends on your needs and available space.
- Freestanding Greenhouses: Freestanding greenhouses are standalone structures offering design flexibility. They can be tailored to fit your garden space. However, they may need extra insulation and heating.
- Lean-to Greenhouses: Lean-to greenhouses attach to existing buildings like houses or sheds. This option can be more cost-effective. However, size and shape may be limited compared to freestanding models.
- Cold Frames: Cold frames are smaller, simpler structures that extend the growing season. They’re often made of wood or metal frames with a clear cover. You can place them directly in your garden or backyard.
Each greenhouse type offers unique benefits for creating the perfect growing environment. They help maximize available space in your backyard or garden.
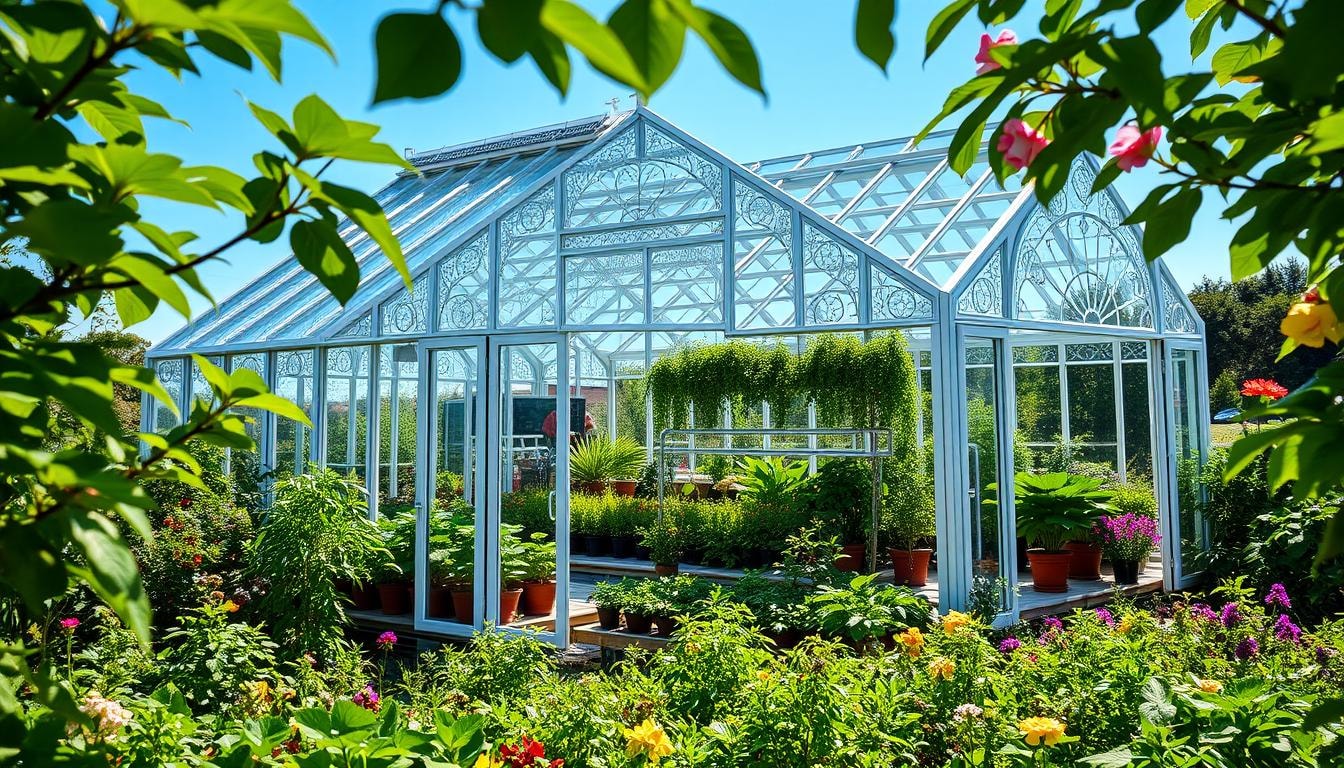
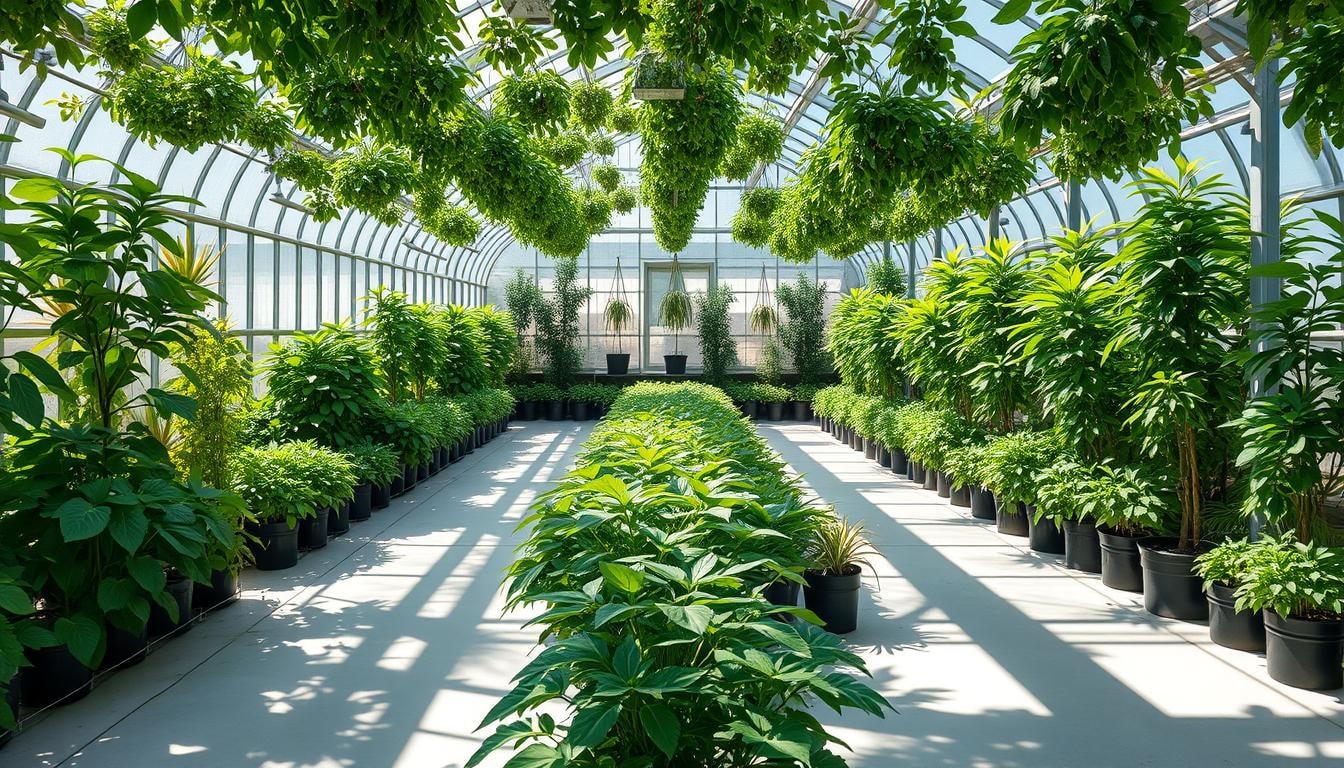
Greenhouse Builders Materials
Choosing the right materials for your greenhouse affects its function, durability, and appearance. Glass and plastic are two popular options for greenhouse builders. Each material has its own benefits and drawbacks.
Glass Greenhouses
Glass greenhouses offer top-notch insulation and long-lasting durability. They cost more upfront but provide excellent temperature control and protection. Glass structures work well in cold climates and for high-end, custom greenhouses.
Plastic Greenhouses
Plastic greenhouses are a more budget-friendly option for homeowners and gardeners. They’re often made of sturdy polycarbonate or polyethylene materials. These materials resist damage from UV rays and wind better than glass.
Plastic greenhouses may not insulate as well as glass ones. However, they offer a good solution for creating a controlled growing space on a budget.
Your choice between glass and plastic depends on your needs, climate, and budget. Both materials can enhance your custom greenhouse’s function and enjoyment.
Ventilation and Climate Control
Proper ventilation is crucial for a greenhouse to avoid overheating. Most greenhouses have ventilation systems, but their effectiveness can vary. Gardeners should think about their greenhouse’s climate control needs.
The Munters Green Climate Controller uses sensors to monitor greenhouse conditions. It tracks temperature, humidity, and other environmental factors. Effective ventilation can prevent fungal diseases and cut energy costs.
Exhaust fans are key for greenhouse climate control. They remove hot, humid air and boost plant growth. This also lowers the risk of pests and diseases.
Forced ventilation with evaporative cooling keeps the climate stable in warm areas. This works well during heatwaves too. In colder climates, heating incoming air is vital for plant growth.
Munters offers various greenhouse controllers. These include the Green Climate Controller, Green Field Irrigation, and Green JET. They help maintain ideal greenhouse conditions.
Foundation: Freestanding or Attached
Choosing the right greenhouse foundation impacts its functionality and longevity. You can build freestanding or attached greenhouses, each with unique advantages.
Freestanding greenhouses offer design flexibility and custom shapes. They provide independent ventilation systems for better heat insulation and energy efficiency. These structures can be expanded as your gardening needs grow.
Attached greenhouses use your home’s heat source, reducing energy costs. They offer easy access to water and utilities for convenient gardening. These structures can add value to your property.
Foundation materials include wood, concrete, bricks, cinder blocks, and terracotta. Wood suits hobby greenhouses under 120 square feet. Larger structures may need concrete or 6″ x 6″ timber beams.
Ensure a level and square base to anchor the greenhouse properly. Your choice depends on space, budget, and preferences. Consider the pros and cons to select the best foundation for your garden oasis.
Orientation and Length-Width Proportions
The orientation and length-width proportions are key to a greenhouse’s performance. In North America, greenhouses should face south or southeast. This positioning captures early morning sun and maintains consistent lighting and warmth.
A 3:1 length-width ratio is ideal, with the longer side running east-west. This layout optimizes solar exposure and energy use. It leads to better growing conditions and increased productivity in the greenhouse space.
Consider local climate and site-specific factors when planning your greenhouse orientation. Adjust for wind patterns, nearby shading, and desired growing conditions. These factors affect the proportions of your greenhouse.
The design of a custom greenhouse impacts its efficiency and functionality. Careful planning of these elements creates a productive, energy-efficient growing environment. Your greenhouse can be tailored to your specific needs and location.
Greenhouse Builders Roof Slope and Framing
Roof slope and framing are vital for a greenhouse’s structure and efficiency. A 6/12 slope is ideal for shedding heavy snow loads. The freeboard should be 3-4 feet to prevent snow buildup.
- Roof Slope for Snow Load: Roof slope is crucial for managing snow load in greenhouses. A 6/12 pitch is recommended for snowy regions. This means 6 inches of rise for every 12 inches of horizontal run.
- Wood vs. Metal Framing: Wood and metal are common framing materials for greenhouses. Wood offers design flexibility and can be cost-effective for custom projects. Metal is durable and long-lasting, making it popular for commercial structures.
Your choice depends on size, purpose, local codes, and personal preferences. Both options provide sturdy and functional greenhouses. They can enhance your backyard garden or growing space effectively.
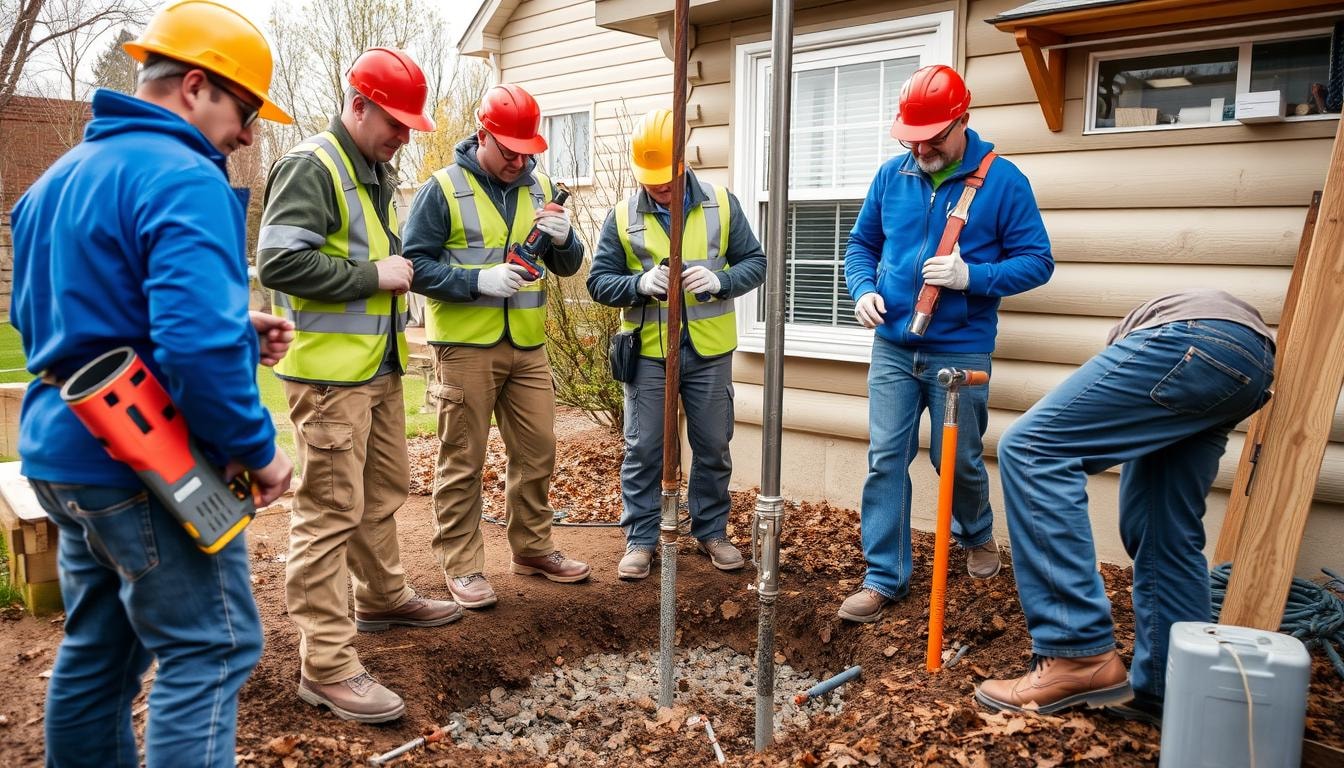
Qualities to Look For in a Greenshouse Builder
Choose a greenhouse builder with key qualities for a successful project. Look for current licensing and certifications. These show their adherence to local regulations and codes.
A reliable builder provides a realistic construction timeline. They keep you informed throughout the process. They should be transparent about additional costs and offer fair pricing.
- Commitment to quality work and safety
- Open communication and project updates
- Clean and organized work area
- Adherence to OSHA safety guidelines
- Expertise in greenhouse construction
- Positive references and past project reviews
Find a builder who takes pride in their craft. They should be dedicated to meeting your specific needs. Their attention to detail and project management skills are crucial.
A good builder ensures safety and quality in your project. This applies to both small backyard oases and large commercial spaces.
Review past projects and speak with previous clients. This helps assess their work ethic and problem-solving skills. You’ll also learn about customer satisfaction levels.
Selecting the right builder is crucial. It affects the benefits and enjoyment you’ll get from your custom greenhouse.
FindPros – Find Your Greenhouse Experts
Searching for the best greenhouse builders, pool enclosures, or conservatory experts for your home project? Look no further than FindPros. Our network of top-rated local professionals can help you find the perfect fit for your needs, whether you’re looking to install a pit greenhouse, reduce heating costs, or build the strongest, most energy-efficient structure that adheres to all relevant building codes. Simply answer a few questions about your project, and we’ll match you with vetted pros who can provide the best value and customer service. Get started today and transform your living space into the greenhouse, pool enclosure, or conservatory of your dreams.
Conclusion
Building a custom greenhouse is rewarding for gardening enthusiasts. Key factors include location, size, materials, ventilation, and construction details. A skilled greenhouse builder can create a structure that meets your needs perfectly.
The right builder can help achieve your greenhouse goals. They ensure optimal sunlight exposure and ideal temperature and humidity levels. This creates the perfect environment for your plants to thrive.
A custom greenhouse offers many benefits. You can grow fresh produce and enjoy the therapeutic experience of gardening. A reputable builder can create a space that enhances your property’s aesthetic and value.
Your greenhouse journey can be exciting and fulfilling. It allows you to cultivate your own green oasis. With expert guidance, you’ll reap the rewards of your custom greenhouse for years to come.
Frequently Asked Questions (Greenhouse Builders)


MOST POPULAR CITIES
Browse by State- Alameda
- Costa Mesa
- Laguna Beach
- Orange
- Alhambra
- Culver City
- Lancaster
- Oroville
- Anaheim
- Daly City
- Livermore
- Oxnard
- Antioch
- Davis
- Lodi
- Pacific Grove
- Arcadia
- Downey
- Lompoc
- Palm Springs
- Bakersfield
- El Centro
- Long Beach
- Palmdale
- Barstow
- El Cerrito
- Los Angeles
- Palo Alto
- Belmont
- El Monte
- Malibu
- Pasadena
- Berkeley
- Escondido
- Martinez
- Petaluma
- Beverly Hills
- Eureka
- Marysville
- Pomona
- Brea
- Fairfield
- Menlo Park
- Port Hueneme
- Buena Park
- Fontana
- Merced
- Rancho Cucamonga
- Burbank
- Fremont
- Modesto
- Red Bluff
- Calexico
- Fresno
- Monterey
- Redding
- Calistoga
- Fullerton
- Mountain View
- Redlands
- Carlsbad
- Garden Grove
- Napa
- Redondo Beach
- Carmel
- Glendale
- Needles
- Redwood City
- Chico
- Hayward
- Newport Beach
- Richmond
- Chula Vista
- Hollywood
- Norwalk
- Riverside
- Claremont
- Huntington Beach
- Novato
- Roseville
- Compton
- Indio
- Oakland
- Sacramento
- Concord
- Inglewood
- Oceanside
- Salinas
- Corona
- Irvine
- Ojai
- San Bernardino
- Coronado
- La Habra
- Ontario
- San Clemente