Highlights
- Average national cost range: $1,398-$4,874
- Material costs vary significantly: $150-$1,200 per linear foot
- Labor represents 40-60% of total cost
- DIY installation saves 40-60% on labor
- Custom builds cost 2-3 times more than pre-made units
- Location and design complexity affect final pricing
- Premium features increase costs by 20-30%
- Strategic timing and material choices can reduce costs by up to 40%
Built-in bookshelves typically cost between $1,398 and $4,874, with most homeowners paying around $3,071 for professional installation. The final price depends mainly on your chosen materials and the size of the project. Premium materials like hardwood or glass can push costs up to $9,600, while basic materials like MDF or plywood offer more budget-friendly options starting at $400.
Per linear foot, expect to pay $150 to $1,200, depending on material quality and whether you choose custom-built or pre-made units. These prices include both materials and professional installation costs for a standard floor-to-ceiling design.
Average Cost of Built-In Bookshelves: National Price Overview
Installing built-in bookshelves involves various costs that differ across the country. According to recent cost data and market studies, the total project cost for built-in shelving units ranges significantly based on material cost, labor statistics, and installation location. Custom built-ins typically provide better storage space and home value compared to premade bookshelves from your local home improvement store.
Cost Ranges by Region
The cost to install built-in shelving varies by region, with urban areas generally commanding higher prices. Based on real world projects and pricing data, here’s what you can expect:
- Northeast: $1,800 – $5,500
- Midwest: $1,400 – $4,200
- South: $1,200 – $4,000
- West: $1,600 – $5,800
Professional carpenter rates also vary by location, affecting the overall cost. It’s recommended to get at least three estimates from furniture builders in your area for accurate pricing.
What Most Homeowners Pay
Most homeowners investing in custom built shelves spend around $3,071 for a complete installation. This typically includes quality materials like solid wood or medium density fiberboard, professional installation, and basic custom finishes. Adding features like glass doors, crown molding, or built-in lighting will increase the total cost. High-end materials and custom jobs can push prices higher, while choosing cheaper materials can help save money.
Cost Breakdown Per Linear Foot
Understanding linear foot costs is crucial when planning built-in bookshelf installation. The price per linear foot installed varies based on whether you choose custom built bookshelves or semi custom options. This measurement helps calculate costs for existing space utilization, whether you’re creating a reading nook or an entertainment center.
Standard Size Pricing Examples
Here’s a breakdown of costs for different shelf configurations:
| Configuration | Basic Materials | High Quality Materials |
|---|---|---|
| 3 linear feet | $450-$900 | $900-$3,600 |
| 6 linear feet | $900-$1,800 | $1,800-$7,200 |
| 10 linear feet | $1,500-$3,000 | $3,000-$12,000 |
These prices include both materials and labor costs for standard built-in shelving with wood frame construction. Custom finishes, panel drawers, or glass panel additions would increase these base prices.
How Height Affects the Price
The height of your built-in bookshelves significantly impacts the total project cost. Floor-to-ceiling installations (typically 8-10 feet) cost more than standard height units (6-7 feet) due to:
- Additional material requirements
- Increased installation complexity
- Need for specialized equipment
- Extra labor time for proper mounting
For example, a standard height installation might cost $150-$400 per linear foot installed, while floor-to-ceiling units could range from $400-$1,200 per linear foot depending on the materials and complexity. Adding built-in desks or hardwood veneer can further affect pricing. These prices reflect the installation process complexity and unused space utilization in your home.
Material Costs Compared
The cost to install built shelving varies significantly based on material choices. According to market studies and real world projects, material cost represents 30-40% of your total project cost. When adding built-in bookshelves, choosing between cheaper materials and high-quality materials can dramatically affect the overall cost and home value.
| Material Type | Cost per Linear Foot | Durability Rating |
|---|---|---|
| Budget Options | $150-$400 | 3-5 years |
| Mid-Range | $450-$800 | 10-15 years |
| Premium | $800-$1,200 | 20+ years |
Budget-Friendly Options (MDF, Plywood)
Medium density fiberboard (MDF) and plywood offer cost-effective solutions for installing built-in bookshelves. These materials help save money while still providing adequate storage space. MDF costs $150-$400 per linear foot installed, making it popular for those seeking money saving tips. Plywood, slightly more durable, ranges from $150-$600 per linear foot installed. Both materials accept paint well and can be finished to match existing space décor.
Mid-Range Materials (Metal, Basic Wood)
Metal or wood frame combinations offer durability and style at moderate prices. Basic solid wood options cost $500-$800 per linear foot installed. Metal shelving units, often combined with wood elements, range from $450-$1,000 per linear foot. These materials work well for built-in bookcase projects and entertainment center installations, providing reliable support for heavy items while maintaining aesthetic appeal.
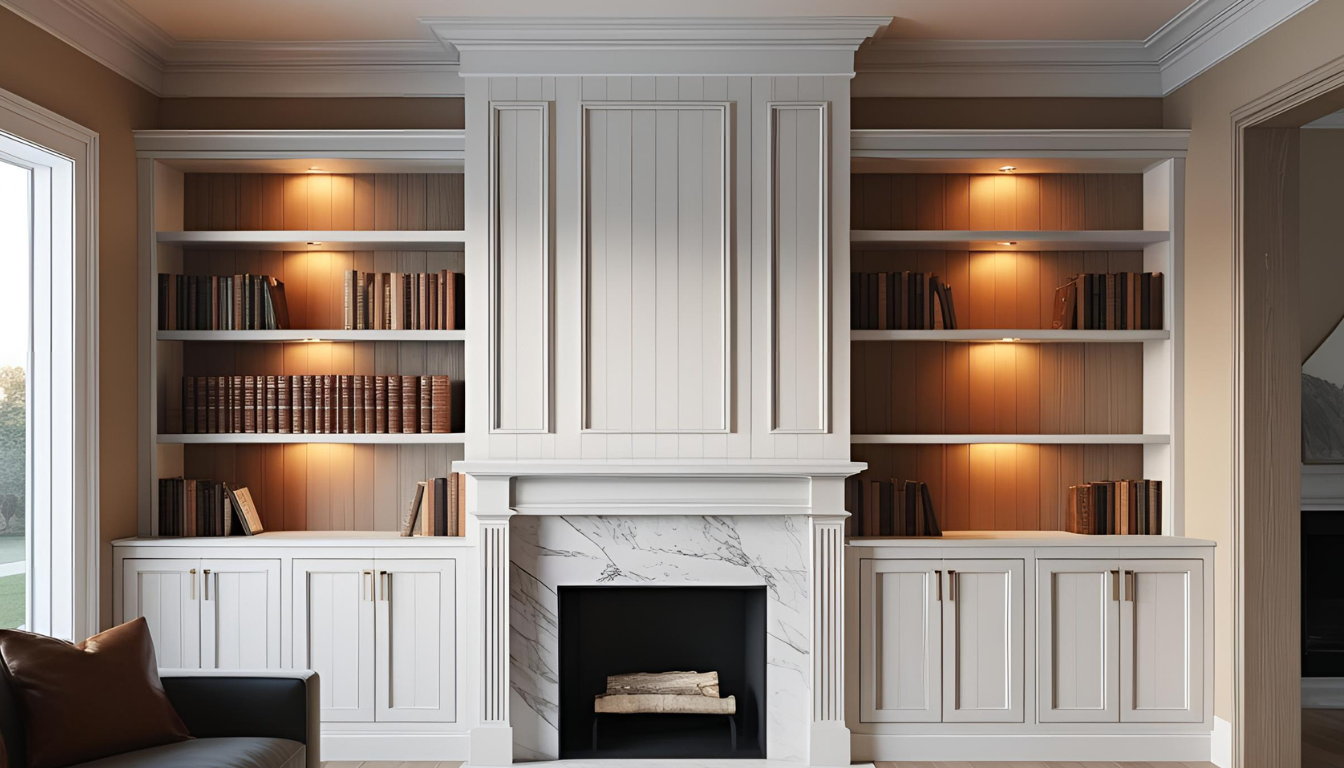
Premium Materials (Hardwoods, Glass, Marble)
High-end materials elevate custom built-ins to luxury status. Hardwood veneer and premium solid wood options cost $700-1,200 per linear foot. Glass panel installations with custom finishes range from $750-$1,200, while marble, ideal for built-in bookshelves surrounding fireplaces, costs $800-$1,300 per linear foot installed.
Additional Costs That Impact Your Final Price
Beyond basic material and labor costs, several factors influence the total project cost when building custom built in shelves. Professional carpenter rates and installation location significantly affect pricing, while custom jobs require additional consideration for features and finishing touches.
| Location | Basic Install | Complex Install |
|---|---|---|
| Living Room | $1,500-$4,000 | $4,000-$8,000 |
| Home Office | $1,000-$3,500 | $3,500-$7,000 |
| Library | $2,000-$5,000 | $5,000-$11,000 |
Installation Location Costs
The cost of built-in bookshelf installation varies by location within your home. Creating a reading nook might cost less than a full wall of built-in shelving units. Installing shelves around windows or creating a built-in desk typically requires more labor and materials. Unused space utilization, such as converting alcoves or under-stairs areas, may require special considerations and additional costs.
Design Features & Add-ons
Custom features enhance functionality but increase costs:
- Built-in lighting: $20-$30 per LED set
- Crown molding: $75-$300
- Glass doors: $100-$200 per panel
- Panel drawers: $100-$250 each
These custom finishes add both aesthetic value and practical utility to shelf style choices.
Hardware & Finishing Costs
Quality materials for hardware and finishing typically add 10-15% to the project cost. This includes:
- Door hinges and handles
- Shelf supports and brackets
- Paint or stain
- Protective coatings
Local home improvement store prices for these items vary, but furniture builders often include premium hardware in their quotes for custom built-in shelves.
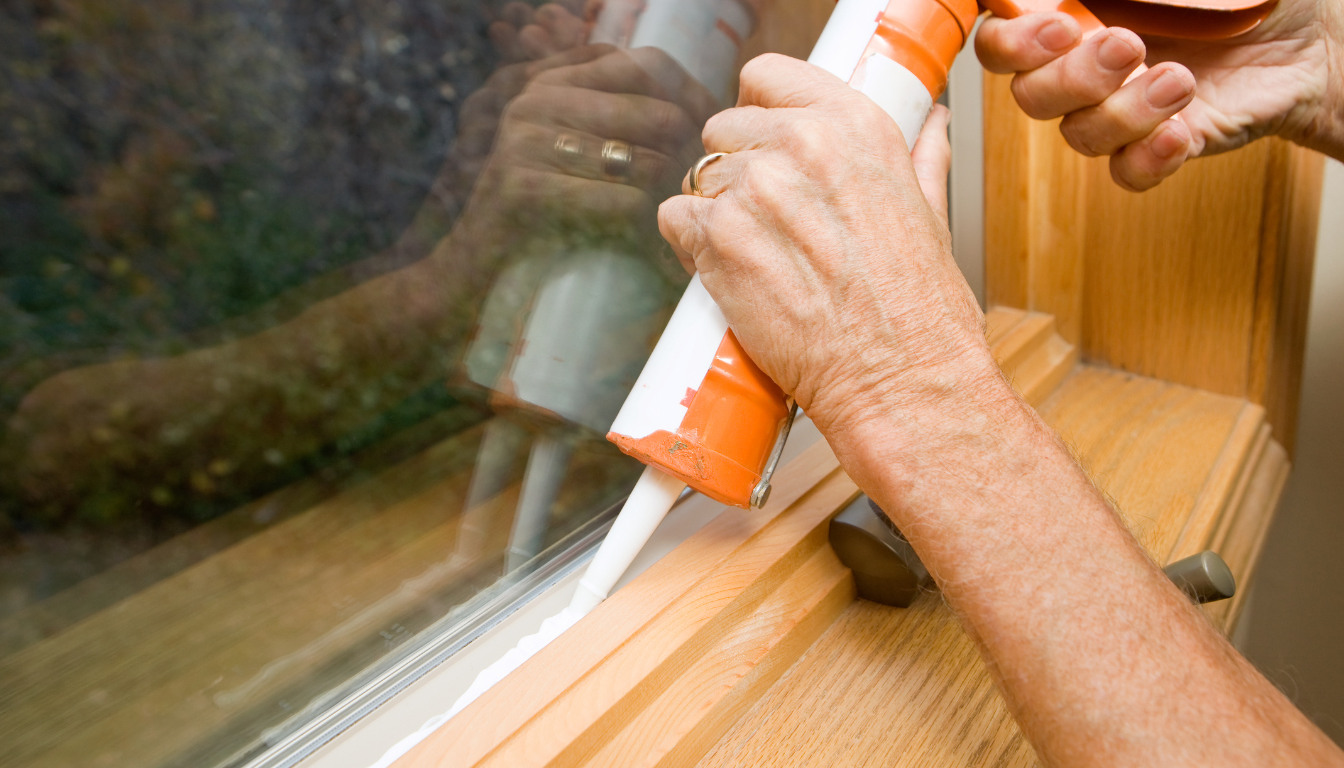
Labor Costs & Installation Expenses
The installation process for built-in bookshelves represents a significant portion of the total project cost. According to labor statistics and market studies, professional installation typically accounts for 40-60% of the overall cost. Real world projects show that labor costs vary based on installation location and project complexity.
| Service Type | Base Rate | Complex Install |
|---|---|---|
| Basic Installation | $30-$75/hr | $75-$100/hr |
| Custom Work | $85-$110/hr | $110-$130/hr |
| Design Services | $50-$80/hr | $80-$100/hr |
Professional Installation Rates
A professional carpenter typically charges between $30-$130 per hour for installing built-in shelves. The rate depends on their experience level and the complexity of your custom built-ins. High-end materials and custom finishes require more skilled labor, increasing costs. Getting at least three estimates helps ensure competitive pricing for your next project.
Time Required for Installation
The installation process timeline varies based on project scope:
- Basic built-in bookcase (single wall): 5-8 hours
- Entertainment center with storage space: 10-15 hours
- Full room of built-in shelving units: 15-20 hours
Adding features like glass doors, crown molding, or built-in lighting extends installation time.
Extra Labor Charges to Consider
Additional labor costs may include:
- Design consultation
- Material transportation
- Site preparation
- Cleanup services
- Custom finish application
These charges typically add 15-25% to the base labor costs.
Custom vs Pre-Made Bookshelf Costs
When adding built-in bookshelves, choosing between custom built in shelves and premade bookshelves significantly impacts the total cost. While local home improvement store options offer money saving tips, custom solutions provide better use of existing space and increased home value.
| Product Type | Materials Only | Installed Cost |
|---|---|---|
| Premade Units | $150-$400/linear ft | $300-$600/linear ft |
| Semi Custom | $400-$800/linear ft | $600-$1,000/linear ft |
| Full Custom | $800-$1,200/linear ft | $1,000-$1,500/linear ft |
Store-Bought Unit Prices
Premade bookshelves offer cheaper materials and faster installation:
- Basic wood frame units: $150-$300 per linear foot
- Medium density fiberboard options: $200-$400 per linear foot
- Metal or wood frame combinations: $300-$500 per linear foot
These units work well for simple storage needs but may not maximize unused space.
Custom Design & Build Costs
Custom built-in bookshelves depends on several factors:
- Quality materials selection (solid wood, hardwood veneer)
- Built-in features (panel drawers, glass panel inserts)
- Shelf style and design complexity
- Installation location challenges
Custom jobs typically cost $800-1,200 per linear foot installed but offer perfect fits for your space and design preferences. While more expensive initially, furniture builders can create solutions that enhance both functionality and home value, whether for a reading nook, built-in desk, or entertainment center.
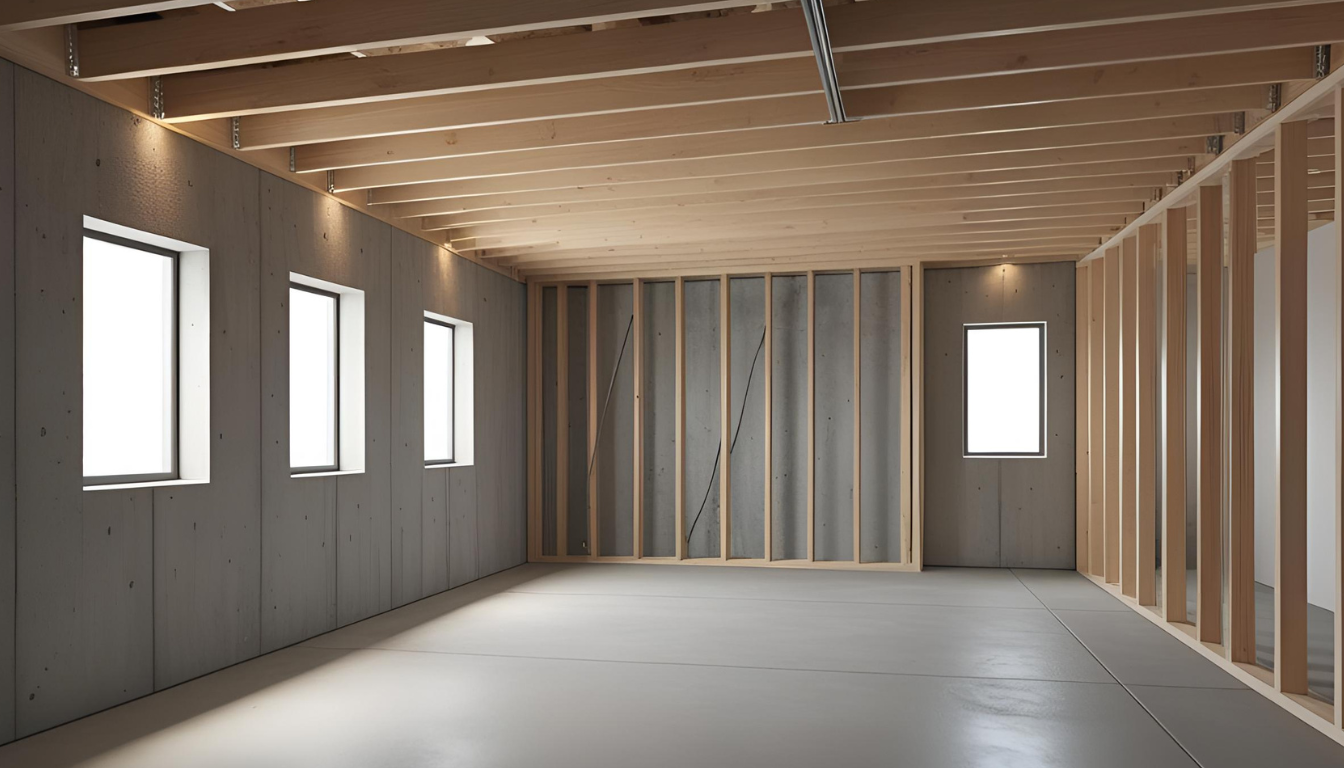
DIY Installation Costs
Installing built-in shelves yourself can save on labor costs, but requires careful planning and proper tools. According to cost data from real world projects, DIY built-in bookshelf installation typically costs 40-60% less than professional installation, though the total project cost still depends on material choices and installation location.
| Component | Basic Setup | Professional Grade |
|---|---|---|
| Tools | $200-$500 | $500-$1,200 |
| Materials | $150-$400/linear ft | $400-$800/linear ft |
| Extras | $100-$300 | $300-$600 |
Required Tools & Materials
Essential tools for installing built-in shelves include:
- Power saw and drill
- Level and measuring tools
- Wood frame construction materials
- Medium density fiberboard or solid wood
- Hardware and mounting brackets
- Finishing materials
The installation process requires quality materials beyond just the shelving components. Basic storage space construction needs:
- Support brackets
- Wall anchors
- Screws and fasteners
- Wood glue
- Sandpaper
- Paint or stain
Common Hidden Expenses
DIY projects often encounter unexpected costs:
- Tool rentals for specialized cuts
- Additional materials for mistakes
- Proper finishing supplies
- Installation location modifications
- Custom finishes and trim work
Consider these when comparing professional carpenter quotes to DIY costs.
Ways to Reduce Your Built-In Bookshelf Costs
Building custom built ins doesn’t always require high-end materials or expensive custom finishes. Market studies show several money saving tips can help reduce the overall cost while maintaining home value. Here’s how different approaches affect pricing:
| Approach | Cost Reduction | Value Impact |
|---|---|---|
| Basic Materials | 30-40% savings | Minimal |
| Simple Design | 20-30% savings | Moderate |
| Timing Strategy | 10-20% savings | None |
Material Alternatives
Consider these cheaper materials without sacrificing quality:
- Semi custom units instead of full custom built in bookshelves
- Metal or wood frame combinations
- Local home improvement store premade bookshelves as bases
- Standard shelf style options versus custom built in shelves
Design Compromises That Save Money
Strategic design choices can reduce costs:
- Minimize built-in lighting and glass doors
- Skip panel drawers and glass panel features
- Use simple crown molding designs
- Optimize existing space without major modifications
- Focus on functional storage over decorative elements
Best Time to Buy & Install
Timing your next project can affect total cost:
- Winter months often see reduced labor costs
- Post-holiday sales on materials
- End-of-season clearances for premade units
- Off-peak times for furniture builders
Consider getting at least three estimates and free quotes normal range during these periods. The built-in bookshelf installation cost depends largely on timing and material availability. Whether creating a reading nook, entertainment center, or built-in desk, strategic timing helps save money while maintaining quality.