Shutter Repair Near You
Can’t find what you are looking for?
How It Works
-
 Answer a few questions about your home project.
 -
 Within seconds, get matched with top-rated local pros.
 -
 Compare quotes and choose the best pro for the job.
Shutter Repair In Your Area
Shutter Repair: How to Find the Best Contractor
Meta Description: Discover expert tips for finding the best shutter repair contractor. Learn what to look for, questions to ask, and how to ensure quality service for your home’s shutters.

Is your home’s exterior looking dull? Damaged shutters can harm your property’s curb appeal. Professional shutter repair can revitalize your home’s look and boost its overall aesthetic.
Choosing the right contractor is crucial for this project. Let’s explore key factors to help you make a smart decision.
Key Takeaways
- Investing in professional shutter repair can protect your home’s exterior and maintain curb appeal.
- Look for experienced, licensed, and insured contractors with a proven track record of quality work.
- Compare multiple quotes and review contractor portfolios to find the best fit for your shutter repair needs.
- Understand the shutter repair process, including options for painting, louver replacement, and hardware updates.
- Work with a contractor who provides a warranty and guarantees their workmanship.
Understanding the Importance of Shutter Repair
Exterior wooden shutters can deteriorate over time due to environmental factors. These include changing temperatures, rain, and harsh UV exposure. This can cause the shutter finish to crack, allowing moisture damage to harm the wood.
Regular shutter inspection and maintenance are key to protecting your home’s exterior. They also help maintain its curb appeal.
Protecting Your Home’s Exterior
Fixing shutter damage quickly helps preserve your home’s value. It also keeps your house looking well-maintained and attractive. Ignoring shutter maintenance can lead to warping and cracking.
Regular shutter repair and maintenance keeps your home’s exterior in top shape. It shields your house from weathering and boosts its curb appeal.
Maintaining Curb Appeal
Working shutters protect your home and make it look great. Well-kept exterior shutters can boost your property’s curb appeal. This can have a positive effect on your home value.
Regular shutter maintenance and expert shutter repair keep your home looking stunning. This attracts potential buyers and impresses passersby.
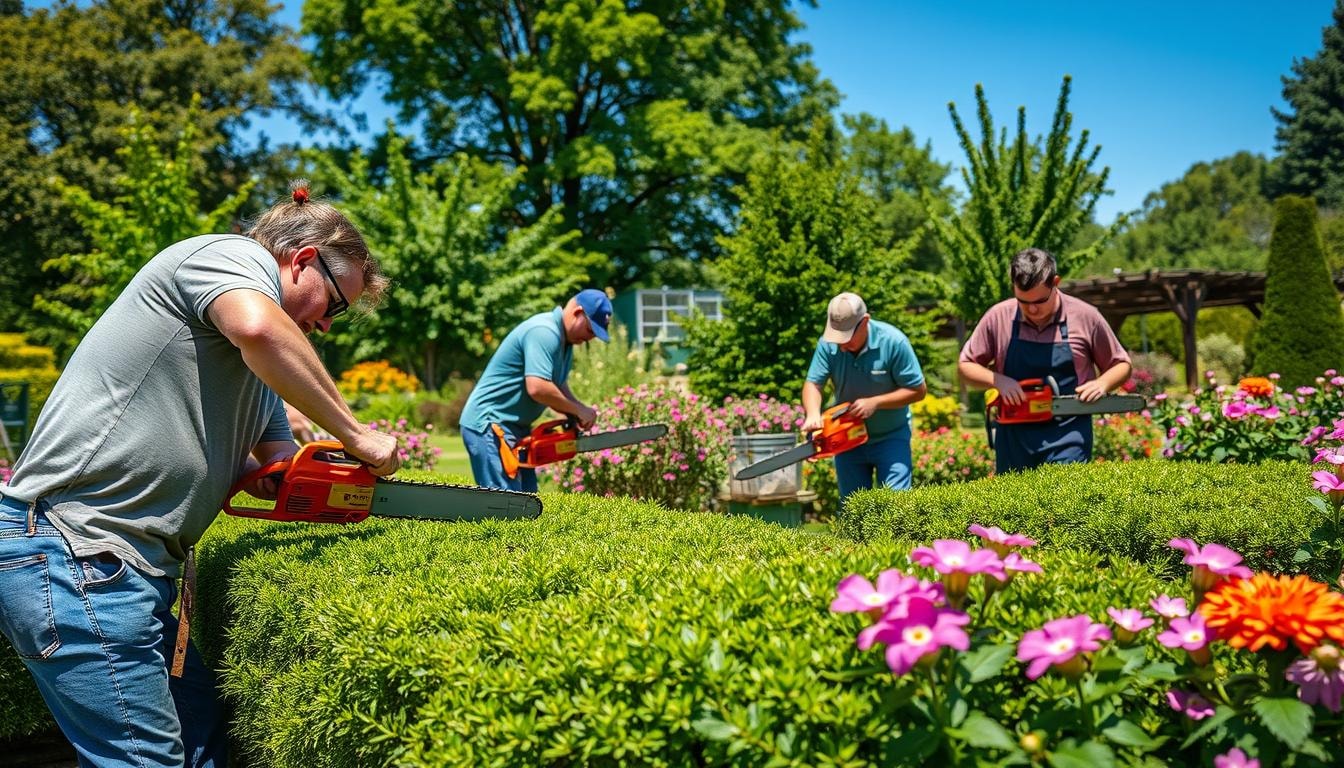
Signs Your Shutters Need Repair
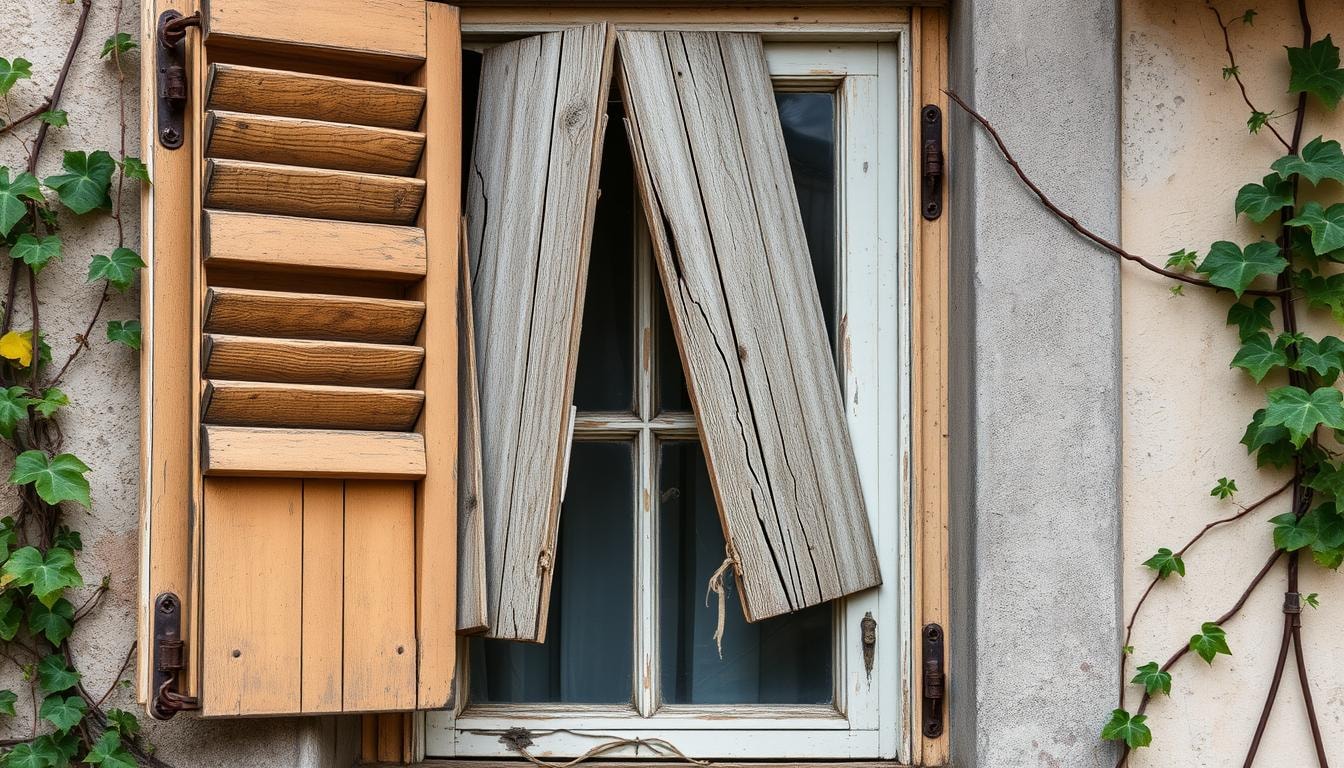
Check your exterior shutters often for damage or wear. Ignoring shutter upkeep can lead to costly problems. It can harm your home’s look and protection.
Cracked or Peeling Paint
Cracked or peeling paint shows moisture damage and shutter decay. This happens due to sun, rain, and temperature changes. Fix paint issues quickly to prevent more damage.
Quick action also keeps your home looking good. Don’t let paint problems ruin your curb appeal.
Warped or Broken Louvers
- Warped or broken louvers hurt shutter function and looks.
- Moisture, wood rot, or impacts often cause this damage.
- Check shutters regularly for warping or broken louvers.
Fix shutter damage like cracked paint, peeling paint, and warped louvers right away. Quick repairs prevent more decay. They keep your shutters working well and looking great.
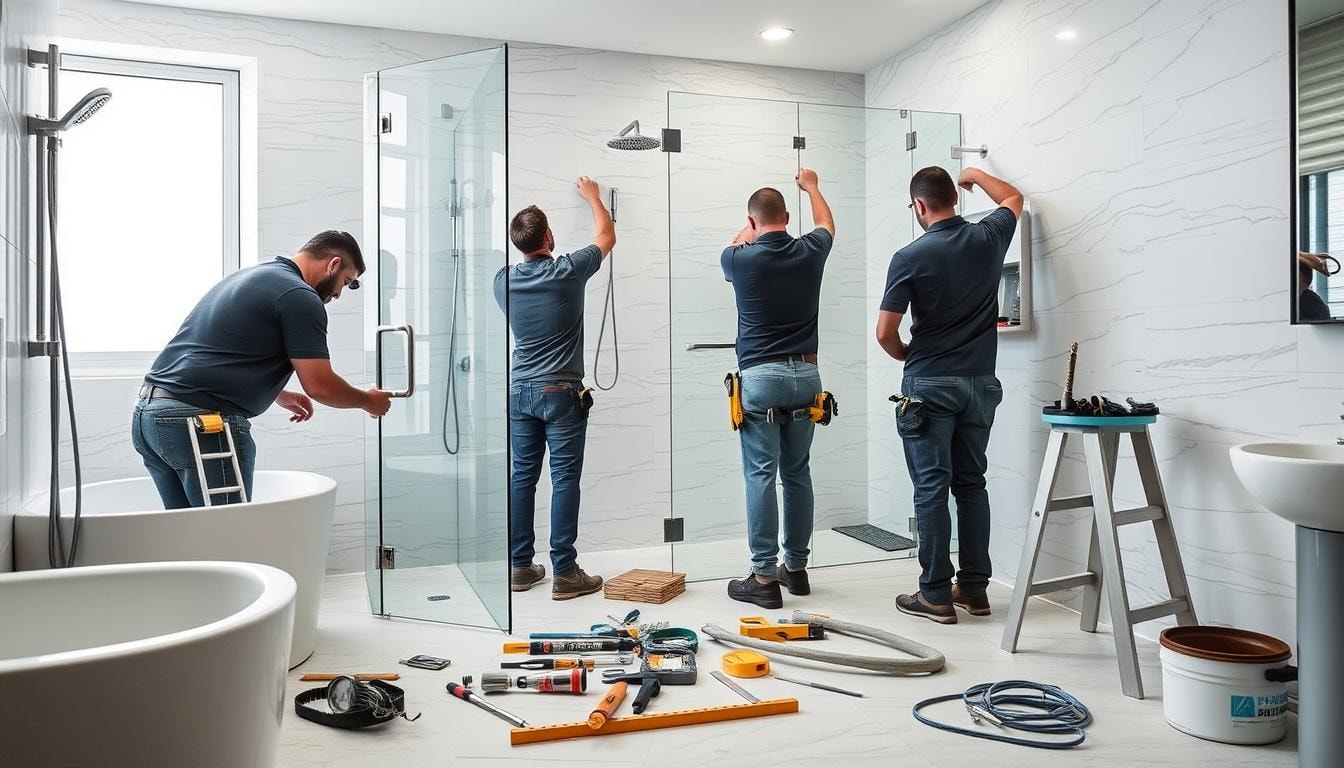
Shutter Repairing Process
Fixing your home’s shutters requires careful attention to detail. The process can restore both beauty and function. It can handle minor issues like cracked paint or major problems such as warped louvers.
The first step is to check how bad the damage is. For small problems, you might just need to fill cracks and repaint. This approach can save money and keep the current shutter structure.
For bigger issues, you might need to replace parts of the shutter. This could mean fixing warped or broken pieces. The goal is to make the shutter strong again.
- Wood Repair: This involves replacing damaged parts. Techniques like patching and sanding help restore the shutter’s strength.
- Sanding and Priming: Good surface prep is key. Sanding smooths the surface. Priming helps paint stick better and last longer.
- Painting and Finishing: After repairs, it’s time to paint or stain. This makes your home look better and protects the shutters.
Sometimes, the damage is too much to fix. In these cases, you might need new shutters. This means taking off the old ones and putting up new ones.
You may also need to replace hardware like hinges. This ensures the new shutters fit well and work smoothly.
Understanding this process helps you make smart choices about your shutters. The end goal is to make your home look great and stay protected.
Types of Shutter Repair Services

Shutter repair services help restore your home’s exterior beauty. Common services include painting, refinishing, louver replacement, and hardware replacement.
Painting and Refinishing
Shutter paint can crack, peel, or fade over time. Repair services offer solutions to fix these issues.
The process involves sanding the existing finish and applying fresh paint. This ensures a seamless and durable result for your shutters.
Louver Replacement
Shutter louvers or slats may warp or break, affecting their function. Experts can replace individual louvers or the entire unit.
This restores the shutter’s original look and improves light and airflow control. Your shutters will look and work like new again.
Hardware Replacement
Shutter hardware like hinges, dogs, bolt locks, and pulls can wear out. Repair services replace these parts for smooth operation.
This is crucial for historical restorations and homes with custom shutters. Your shutters will function securely and efficiently.
Proper shutter repair preserves your home’s character and curb appeal. It also enhances your property’s protection and value.
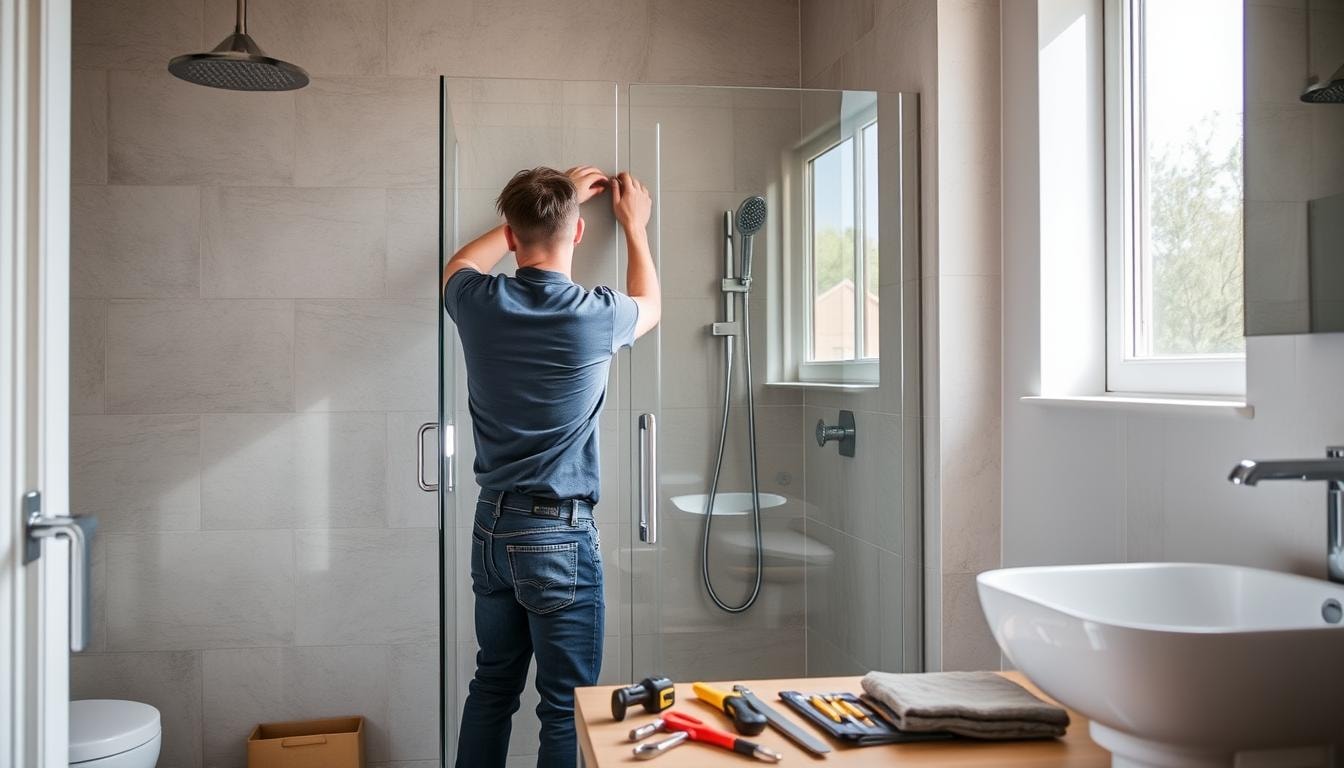
Choosing the Right Contractor
Picking the best shutter repair contractor is key for a great project outcome. Take time to check potential shutter repair contractors thoroughly. Make sure they’re licensed, insured, and qualified professionals.
Checking Licenses and Insurance
Start by verifying the contractor’s licenses and insurance coverage. A licensed contractor proves their expertise and dedication. Proper insurance protects you from liability if accidents happen during repairs.
Reviewing References and Portfolio
Look at the contractor’s references and past work. This shows their skill level and how happy their customers were. You’ll get a good idea of their qualifications and work quality.
By carefully checking contractors, you can feel confident in your choice. This ensures your shutter repair project will be a success.
The FindPros Advantage for Shutter Repair
Looking for reliable and affordable shutter repair services? FindPros can connect you with top-rated local professionals to handle your shutter needs. Simply answer a few questions about your window openings, missing staples, and other replacement parts, and we’ll match you with experienced shutter repair experts who can efficiently install, inspect, and tighten your shutter frames.
Compare multiple quotes to find the best price and the pro that best matches your preferences. Get the job done right, from sanding and gluing to blending the repaired shutters for a seamless look. Trust FindPros to help you find the perfect shutter repair service that arrives on time and leaves you satisfied.
Conclusion
Proper shutter repair is vital for home maintenance. It protects your home’s exterior and keeps up its curb appeal. It also helps maintain your property value.
Minor shutter issues can be fixed through DIY efforts. However, it’s often better to hire a pro for bigger repairs or replacements.
Choosing the right contractor is key for long-term shutter care. This ensures your shutters stay in great shape for years to come.
Regular checks and quick shutter repair can prevent costly replacements. They also keep your shutters secure and working well.
Maintaining your shutters is a smart investment. It pays off by keeping your home looking good and valuable.
Make shutter repair a priority in your home care plan. You’ll enjoy a well-protected and attractive property for years to come.
Shutter Repair: How to Find the Best Contractor
Meta Description: Discover expert tips for finding the best shutter repair contractor. Learn what to look for, questions to ask, and how to ensure quality service for your home’s shutters.
Is your home’s exterior looking dull? Damaged shutters can harm your property’s curb appeal. Professional shutter repair can revitalize your home’s look and boost its overall aesthetic.
Choosing the right contractor is crucial for this project. Let’s explore key factors to help you make a smart decision.
Key Takeaways
- 01Investing in professional shutter repair can protect your home’s exterior and maintain curb appeal.
- 02Look for experienced, licensed, and insured contractors with a proven track record of quality work.
- 03Compare multiple quotes and review contractor portfolios to find the best fit for your shutter repair needs.
- 04Understand the shutter repair process, including options for painting, louver replacement, and hardware updates.
- 05Work with a contractor who provides a warranty and guarantees their workmanship.
Understanding the Importance of Shutter Repair
Exterior wooden shutters can deteriorate over time due to environmental factors. These include changing temperatures, rain, and harsh UV exposure. This can cause the shutter finish to crack, allowing moisture damage to harm the wood.
Regular shutter inspection and maintenance are key to protecting your home’s exterior. They also help maintain its curb appeal.
Protecting Your Home’s Exterior
Fixing shutter damage quickly helps preserve your home’s value. It also keeps your house looking well-maintained and attractive. Ignoring shutter maintenance can lead to warping and cracking.
Regular shutter repair and maintenance keeps your home’s exterior in top shape. It shields your house from weathering and boosts its curb appeal.
Maintaining Curb Appeal
Working shutters protect your home and make it look great. Well-kept exterior shutters can boost your property’s curb appeal. This can have a positive effect on your home value.
Regular shutter maintenance and expert shutter repair keep your home looking stunning. This attracts potential buyers and impresses passersby.
Signs Your Shutters Need Repair
Check your exterior shutters often for damage or wear. Ignoring shutter upkeep can lead to costly problems. It can harm your home’s look and protection.
Cracked or Peeling Paint
Cracked or peeling paint shows moisture damage and shutter decay. This happens due to sun, rain, and temperature changes. Fix paint issues quickly to prevent more damage.
Quick action also keeps your home looking good. Don’t let paint problems ruin your curb appeal.
Warped or Broken Louvers
- Warped or broken louvers hurt shutter function and looks.
- Moisture, wood rot, or impacts often cause this damage.
- Check shutters regularly for warping or broken louvers.
Fix shutter damage like cracked paint, peeling paint, and warped louvers right away. Quick repairs prevent more decay. They keep your shutters working well and looking great.
Shutter Repairing Process
Fixing your home’s shutters requires careful attention to detail. The process can restore both beauty and function. It can handle minor issues like cracked paint or major problems such as warped louvers.
The first step is to check how bad the damage is. For small problems, you might just need to fill cracks and repaint. This approach can save money and keep the current shutter structure.
For bigger issues, you might need to replace parts of the shutter. This could mean fixing warped or broken pieces. The goal is to make the shutter strong again.
- Wood Repair: This involves replacing damaged parts. Techniques like patching and sanding help restore the shutter’s strength.
- Sanding and Priming: Good surface prep is key. Sanding smooths the surface. Priming helps paint stick better and last longer.
- Painting and Finishing: After repairs, it’s time to paint or stain. This makes your home look better and protects the shutters.
Sometimes, the damage is too much to fix. In these cases, you might need new shutters. This means taking off the old ones and putting up new ones.
You may also need to replace hardware like hinges. This ensures the new shutters fit well and work smoothly.
Understanding this process helps you make smart choices about your shutters. The end goal is to make your home look great and stay protected.
Types of Shutter Repair Services
Shutter repair services help restore your home’s exterior beauty. Common services include painting, refinishing, louver replacement, and hardware replacement.
Painting and Refinishing
Shutter paint can crack, peel, or fade over time. Repair services offer solutions to fix these issues.
The process involves sanding the existing finish and applying fresh paint. This ensures a seamless and durable result for your shutters.
Louver Replacement
Shutter louvers or slats may warp or break, affecting their function. Experts can replace individual louvers or the entire unit.
This restores the shutter’s original look and improves light and airflow control. Your shutters will look and work like new again.
Hardware Replacement
Shutter hardware like hinges, dogs, bolt locks, and pulls can wear out. Repair services replace these parts for smooth operation.
This is crucial for historical restorations and homes with custom shutters. Your shutters will function securely and efficiently.
Proper shutter repair preserves your home’s character and curb appeal. It also enhances your property’s protection and value.
Choosing the Right Contractor
Picking the best shutter repair contractor is key for a great project outcome. Take time to check potential shutter repair contractors thoroughly. Make sure they’re licensed, insured, and qualified professionals.
Checking Licenses and Insurance
Start by verifying the contractor’s licenses and insurance coverage. A licensed contractor proves their expertise and dedication. Proper insurance protects you from liability if accidents happen during repairs.
Reviewing References and Portfolio
Look at the contractor’s references and past work. This shows their skill level and how happy their customers were. You’ll get a good idea of their qualifications and work quality.
By carefully checking contractors, you can feel confident in your choice. This ensures your shutter repair project will be a success.
The FindPros Advantage for Shutter Repair
Looking for reliable and affordable shutter repair services? FindPros can connect you with top-rated local professionals to handle your shutter needs. Simply answer a few questions about your window openings, missing staples, and other replacement parts, and we’ll match you with experienced shutter repair experts who can efficiently install, inspect, and tighten your shutter frames.
Compare multiple quotes to find the best price and the pro that best matches your preferences. Get the job done right, from sanding and gluing to blending the repaired shutters for a seamless look. Trust FindPros to help you find the perfect shutter repair service that arrives on time and leaves you satisfied.
Conclusion
Proper shutter repair is vital for home maintenance. It protects your home’s exterior and keeps up its curb appeal. It also helps maintain your property value.
Minor shutter issues can be fixed through DIY efforts. However, it’s often better to hire a pro for bigger repairs or replacements.
Choosing the right contractor is key for long-term shutter care. This ensures your shutters stay in great shape for years to come.
Regular checks and quick shutter repair can prevent costly replacements. They also keep your shutters secure and working well.
Maintaining your shutters is a smart investment. It pays off by keeping your home looking good and valuable.
Make shutter repair a priority in your home care plan. You’ll enjoy a well-protected and attractive property for years to come.
Frequently Asked Questions (Shutter Repair)


MOST POPULAR CITIES
Browse by State- Alameda
- Costa Mesa
- Laguna Beach
- Orange
- Alhambra
- Culver City
- Lancaster
- Oroville
- Anaheim
- Daly City
- Livermore
- Oxnard
- Antioch
- Davis
- Lodi
- Pacific Grove
- Arcadia
- Downey
- Lompoc
- Palm Springs
- Bakersfield
- El Centro
- Long Beach
- Palmdale
- Barstow
- El Cerrito
- Los Angeles
- Palo Alto
- Belmont
- El Monte
- Malibu
- Pasadena
- Berkeley
- Escondido
- Martinez
- Petaluma
- Beverly Hills
- Eureka
- Marysville
- Pomona
- Brea
- Fairfield
- Menlo Park
- Port Hueneme
- Buena Park
- Fontana
- Merced
- Rancho Cucamonga
- Burbank
- Fremont
- Modesto
- Red Bluff
- Calexico
- Fresno
- Monterey
- Redding
- Calistoga
- Fullerton
- Mountain View
- Redlands
- Carlsbad
- Garden Grove
- Napa
- Redondo Beach
- Carmel
- Glendale
- Needles
- Redwood City
- Chico
- Hayward
- Newport Beach
- Richmond
- Chula Vista
- Hollywood
- Norwalk
- Riverside
- Claremont
- Huntington Beach
- Novato
- Roseville
- Compton
- Indio
- Oakland
- Sacramento
- Concord
- Inglewood
- Oceanside
- Salinas
- Corona
- Irvine
- Ojai
- San Bernardino
- Coronado
- La Habra
- Ontario
- San Clemente