Pond Maintenance Near You
Can’t find what you are looking for?
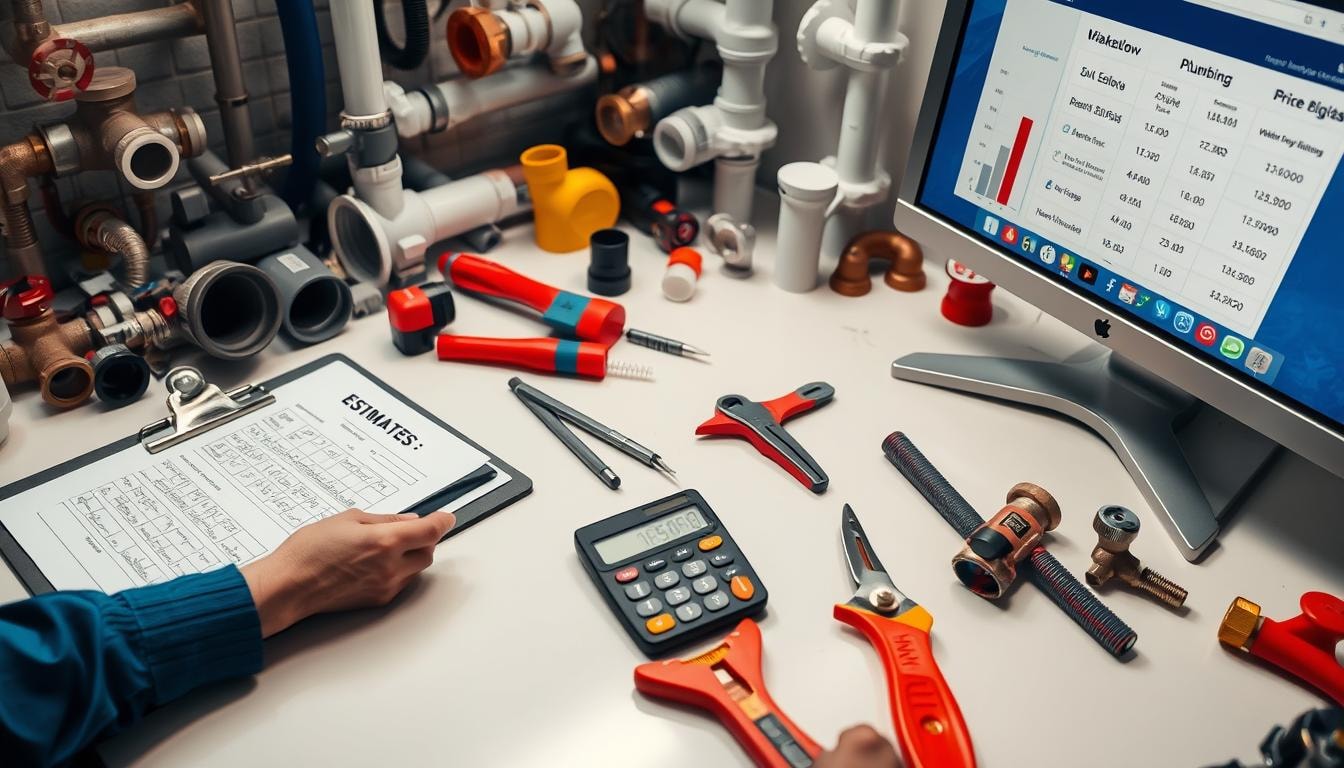
How It Works
-
 Answer a few questions about your home project.
 -
 Within seconds, get matched with top-rated local pros.
 -
 Compare quotes and choose the best pro for the job.
Pond Maintenance In Your Area
Hire a Pond Maintenance Pro: Why It’s Worth It
Meta Description: Discover why hiring a pond maintenance pro is crucial for a healthy aquatic ecosystem. Learn how experts handle Pond Maintenance for pristine waters and thriving wildlife.
Is your pond losing its sparkle? Are algae and sludge taking over? A professional pond maintenance service might be the answer. These experts have the skills to keep your pond healthy and beautiful.
A thriving pond needs know-how, time, and care. Pond pros can give your water feature the attention it deserves. They’ll make sure your pond stays clean and lively all year round.
Key Takeaways:
- Pond maintenance professionals have the knowledge and equipment to keep your pond’s water clean, pH levels balanced, and dissolved oxygen levels optimal for aquatic life.
- Hiring a pro can save you time and effort, allowing you to enjoy your pond’s beauty without the hassle of hands-on maintenance.
- Professional pond maintenance services typically cost between 0 to ,625 annually, with an average of ,750, depending on factors like pond size, condition, and location.
- Regular maintenance by a professional can prevent common issues like excessive algae growth, fish waste buildup, and equipment malfunctions.
- Experienced pond maintenance companies can provide expert advice on stocking, water treatment, and seasonal care to ensure your pond thrives year-round.
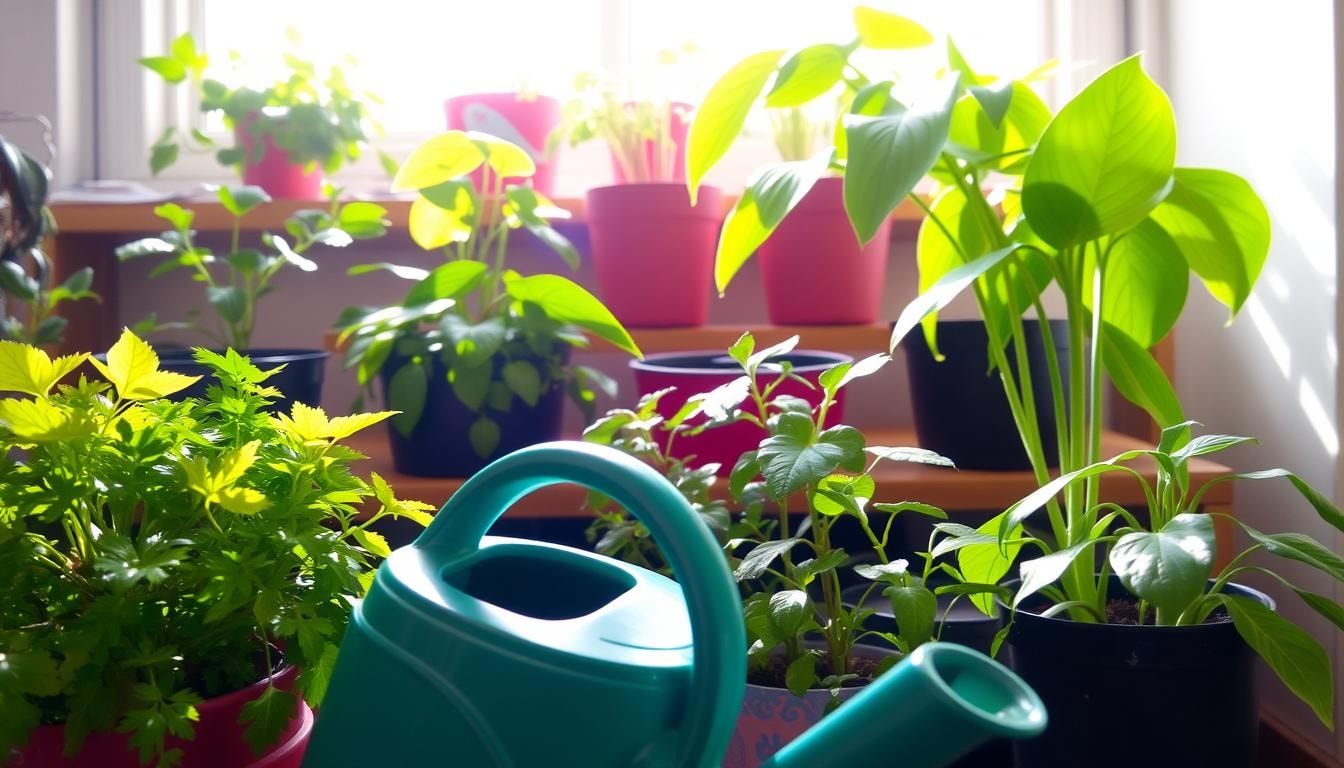
Introduction to Pond Maintenance
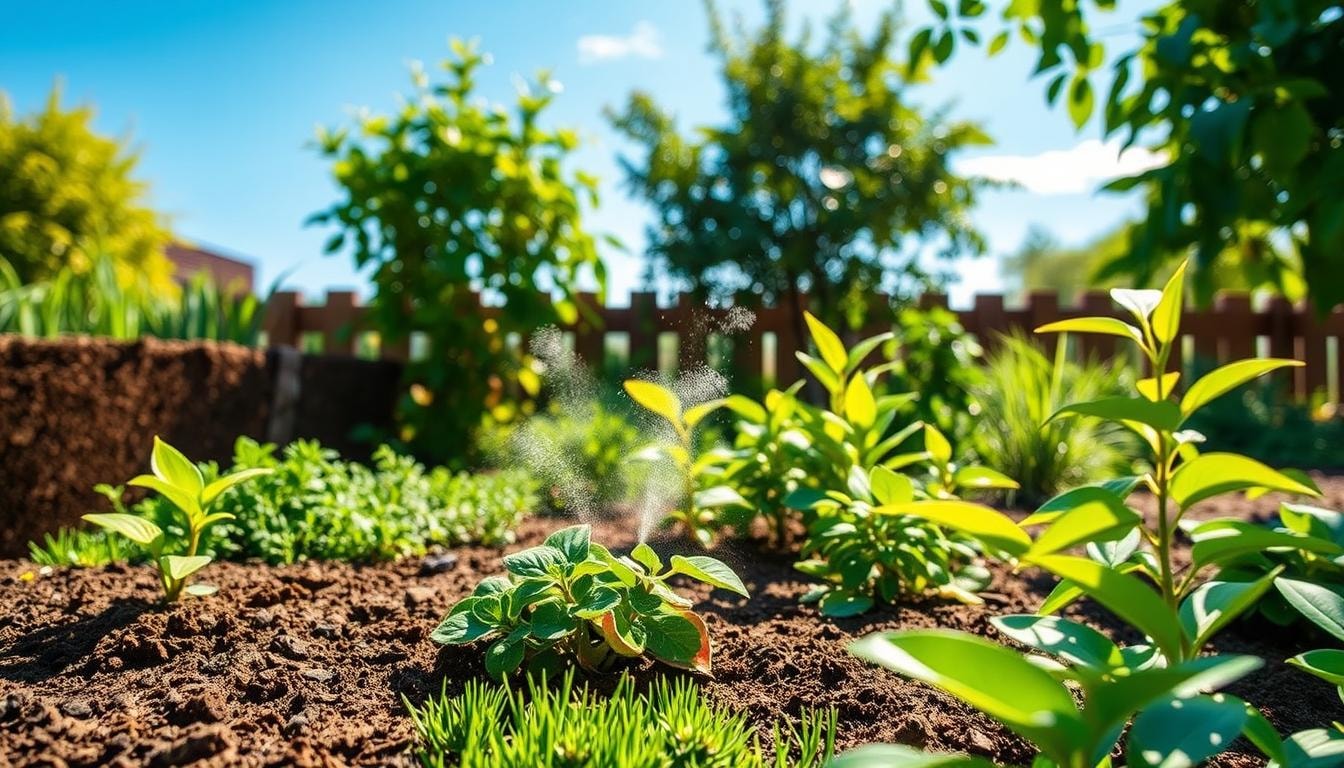
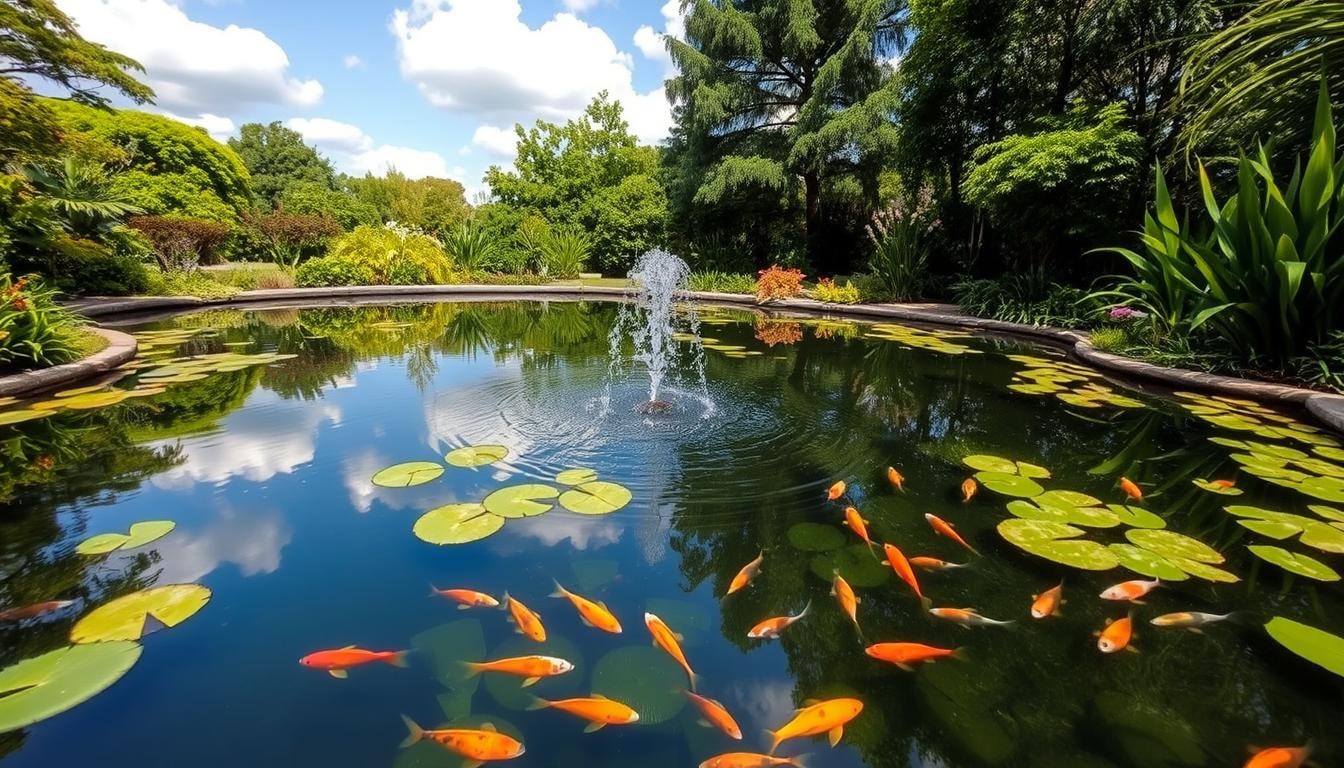
A healthy pond is vital for a thriving aquatic ecosystem. Regular upkeep ensures good water quality and supports plant growth. It also promotes the health of fish and other pond life.
Proper maintenance includes filter cleaning, debris removal, and water level monitoring. Using necessary pond additives is also important. A thorough plan keeps your pond in top shape.
Importance of Maintaining a Healthy Pond
A well-kept pond offers many benefits:
- Improved water quality through the removal of excess debris and sediment
- Promotion of a thriving ecosystem for aquatic plants and fish
- Prevention of algae blooms and other water quality issues
- Preservation of the natural beauty and appeal of the pond
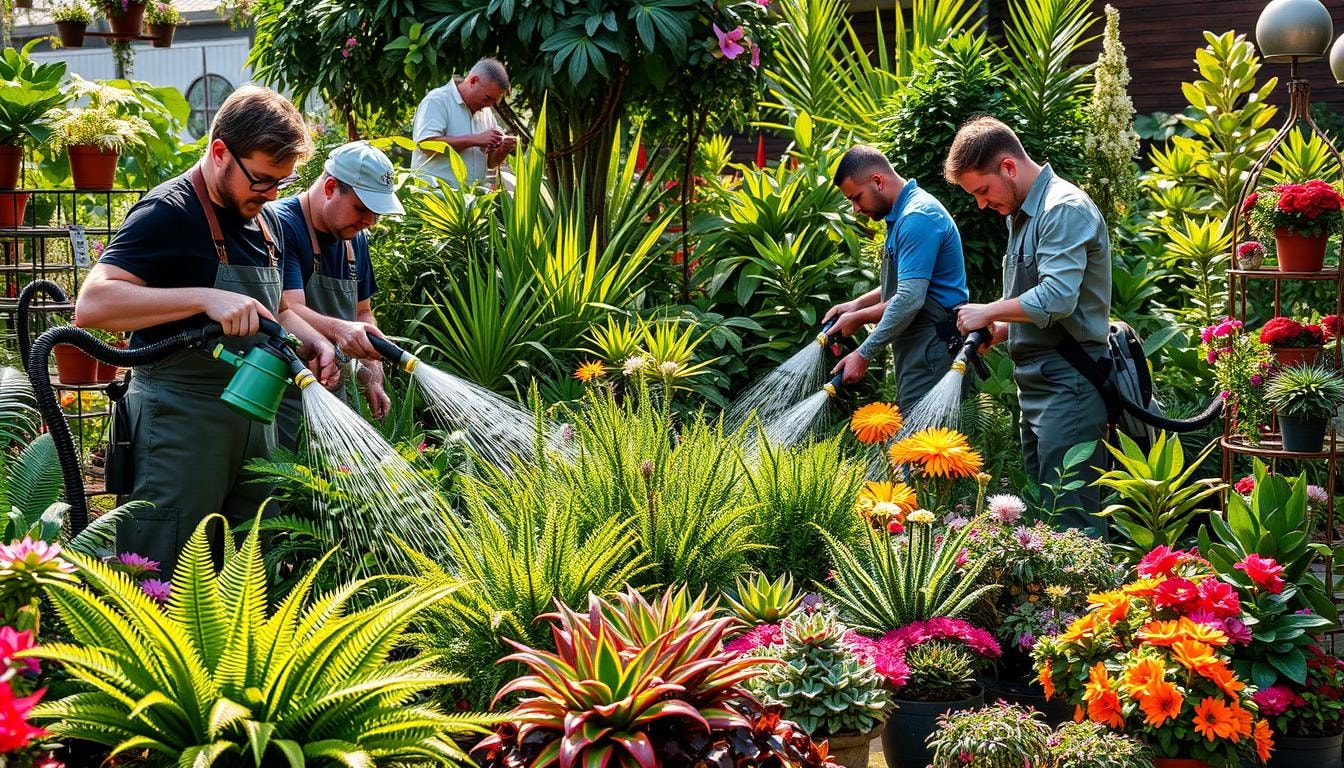
Benefits of Hiring a Professional Pond Maintenance Service
Hiring pros for pond care has several perks:
- Access to expert knowledge and specialized equipment for effective pond care
- Efficient handling of tasks like filter cleaning, water quality testing, and debris removal
- Personalized recommendations for maintaining the health and aesthetic of your pond
- Time and effort saved, allowing you to enjoy your pond without the burden of maintenance
Professional pond care ensures your water feature stays healthy and beautiful. You’ll have more time to enjoy your pond without worrying about upkeep.
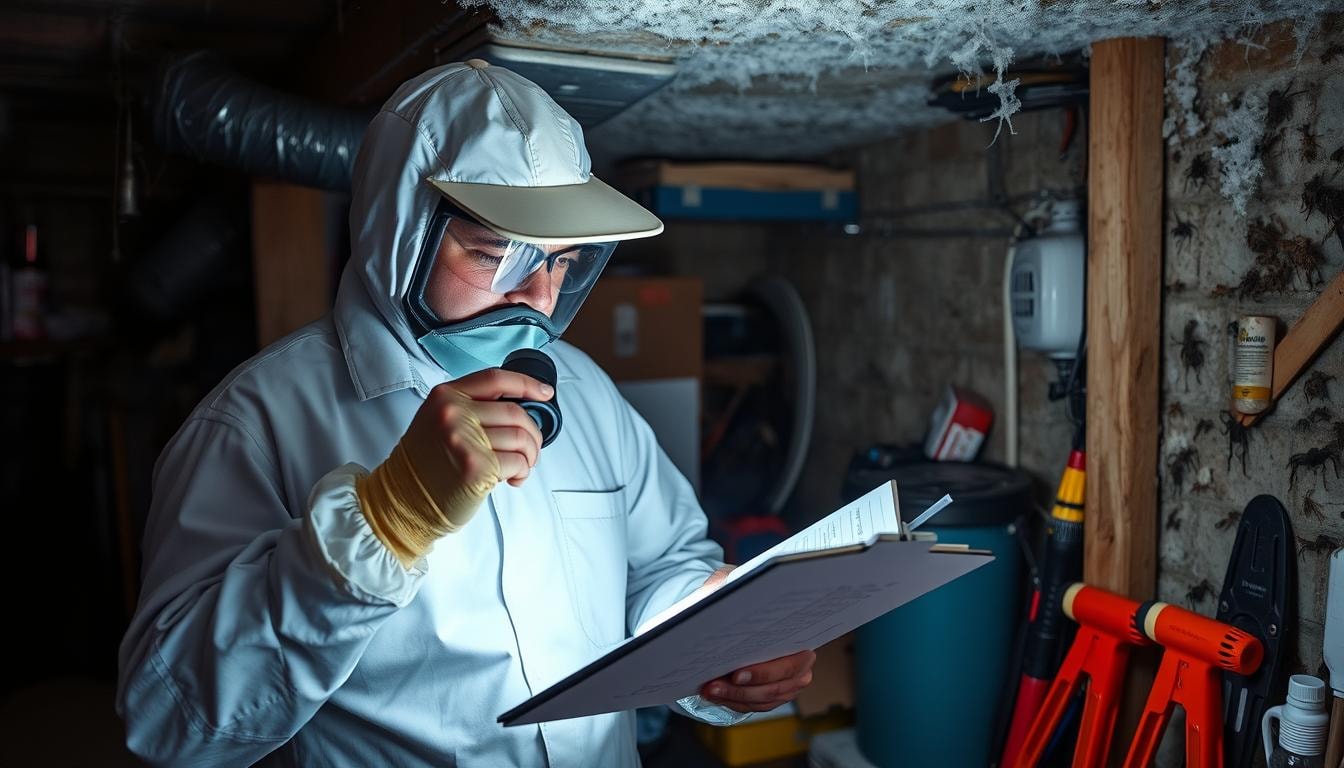
DIY vs. Professional Pond Maintenance
DIY pond maintenance can be time-consuming and requires specialized equipment. Many pond owners may lack the necessary expert knowledge. Hiring a professional service is often more efficient and effective.
Professional pond maintenance services employ skilled experts with the right tools. They can properly clean and maintain your pond’s health and water quality. This benefits the aquatic life within your pond.
These professionals offer valuable advice on stocking and preventing fish kills. They also help manage sludge buildup, which impacts your pond’s ecosystem. For minimal effort and pristine conditions, working with professionals is the better choice.
Experts assist with seasonal cleanups and installing beneficial pond accessories. They use specialized products to maintain water quality. This reduces the frequency of maintenance tasks.
Professional services make a big difference for koi ponds and larger water features. Their expertise ensures the long-term health of your aquatic oasis. You’ll enjoy your pond more with their help.
Average Annual Pond Maintenance Costs
Keeping a healthy pond can cost between $810 and $2,625 annually. The average expense for professional maintenance is $1,750. Factors like size, condition, and location affect these costs.
Smaller ponds under 100 square feet usually cost $450 to $950 yearly. Larger ponds of 200 to 350 square feet may require $1,550 to $2,750 for upkeep.
Your pond size, condition, and location play key roles in maintenance costs. Understanding these factors helps estimate yearly expenses for optimal pond health.
Regional area and specific features can also impact the cost of pond maintenance services. Consider these elements when planning your pond care budget.
Cost Estimation by Pond Size
Pond size plays a key role in maintenance costs. Smaller ponds need less upkeep, while larger ones require more care. Let’s explore average annual maintenance costs for different pond sizes.
- Small Pond Maintenance Costs: Small ponds under 100 square feet cost $450 to $950 yearly. This covers water testing, algae control, and equipment cleaning. It also includes occasional repairs to pond liners and equipment.
- Medium Pond Maintenance Costs: Medium ponds, 100 to 200 square feet, need more upkeep. Annual costs range from $950 to $1,500. This includes frequent water testing and plant management. It may also cover heavier-duty pumps and filters.
- Large Pond Maintenance Costs: Large ponds, 200 to 350 square feet, require extensive care. Yearly costs can be $1,550 to $2,750. This covers regular water testing and plant control. It also includes maintaining larger equipment and fish management.
Pond features and condition affect maintenance costs. Waterfalls, complex ecosystems, and specialized treatments can increase expenses. Consider these factors when planning your pond budget.
Pond Cleaning Services Cost by Hour
Professional pond maintenance services charge hourly rates for their expertise. These rates typically range from $140 to $225 per man-hour. The time needed for cleaning tasks varies based on pond size and condition.
A filter change may take 1 to 3 man-hours to complete. A standard drain and clean can take 6 to 8 man-hours. For long-neglected ponds, an exploratory clean might require 10 or more man-hours.
Factors like pond condition, season, and water temperature can affect the hourly rate. Specialized equipment availability may also influence the cost. Professional services ensure your pond stays healthy and beautiful year-round.
For best results, contact a reputable pond maintenance company. They can assess your pond’s needs and provide an accurate estimate. This ensures you get the right cleaning and maintenance services for your pond.
Pond Maintenance Price per Month
Regular care keeps ponds healthy. Monthly service plans range from $170 to $450. The cost depends on pond size and visit frequency.
Smaller ponds need one to two visits monthly. These visits maintain water quality and clean filtration systems. Larger ponds may need three or four visits monthly.
The monthly cost reflects the time and expertise needed. It ensures the pond stays in top shape year-round.
- Small ponds (40-60 square feet): $170 to $300 per month
- Medium ponds (90-100 square feet): $250 to $400 per month
- Large ponds (150-200 square feet): $350 to $450 per month
- Extra-large ponds (300-400 square feet): $400 to $600 per month
Costs vary based on your pond’s specific needs. This includes size, filtration system complexity, and care level. Professional maintenance keeps your pond looking great and working well.
Other Factors Affecting Pond Maintenance Costs
Pond size isn’t the only factor in maintenance costs. The pond’s condition, including sludge or debris, can increase expenses. Seasonal changes and water temperature also affect pricing for various services.
Spring cleanouts, fall closings, and winterization have different costs. These services are essential for maintaining a healthy pond ecosystem throughout the year.
Pond Condition
Neglecting pond maintenance can lead to algae overgrowth. This problem quickly uses up oxygen in the water. Professional companies offer tailored maintenance schedules to prevent these issues.
Regular upkeep is vital for a healthy pond ecosystem. This includes removing debris and treating water quality. Such tasks help maintain the pond’s balance.
Season and Water Temperature
Seasonal adjustments in maintenance tasks are crucial for pond health. Winter prep includes reducing feeding and installing aeration systems. Removing debris can prevent oxygen depletion during colder months.
Summer care involves shading with trees or shrubs. Installing aerators and adding floating plants help lower water temperature. These actions maintain ideal conditions for aquatic life.
Pond Features and Accessories
Specific pond features like waterfalls or fountains need specialized care. Complex ecosystems with koi fish also require extra attention. These factors can influence overall maintenance expenses.
Initial setup costs for equipment can add up quickly. Routine maintenance includes buying cleaning supplies and water treatment chemicals. Food for aquatic life is another ongoing expense.
When to Hire a Professional Pond Maintenance Service
Pond owners should know when to seek professional help. Experts have specialized knowledge that goes beyond basic DIY maintenance. They keep ponds in top shape.
Stocking and Fish Management
Professional services offer guidance on proper fish stocking. They ensure the right balance of species in your pond. This prevents overstocking, which can cause water quality issues.
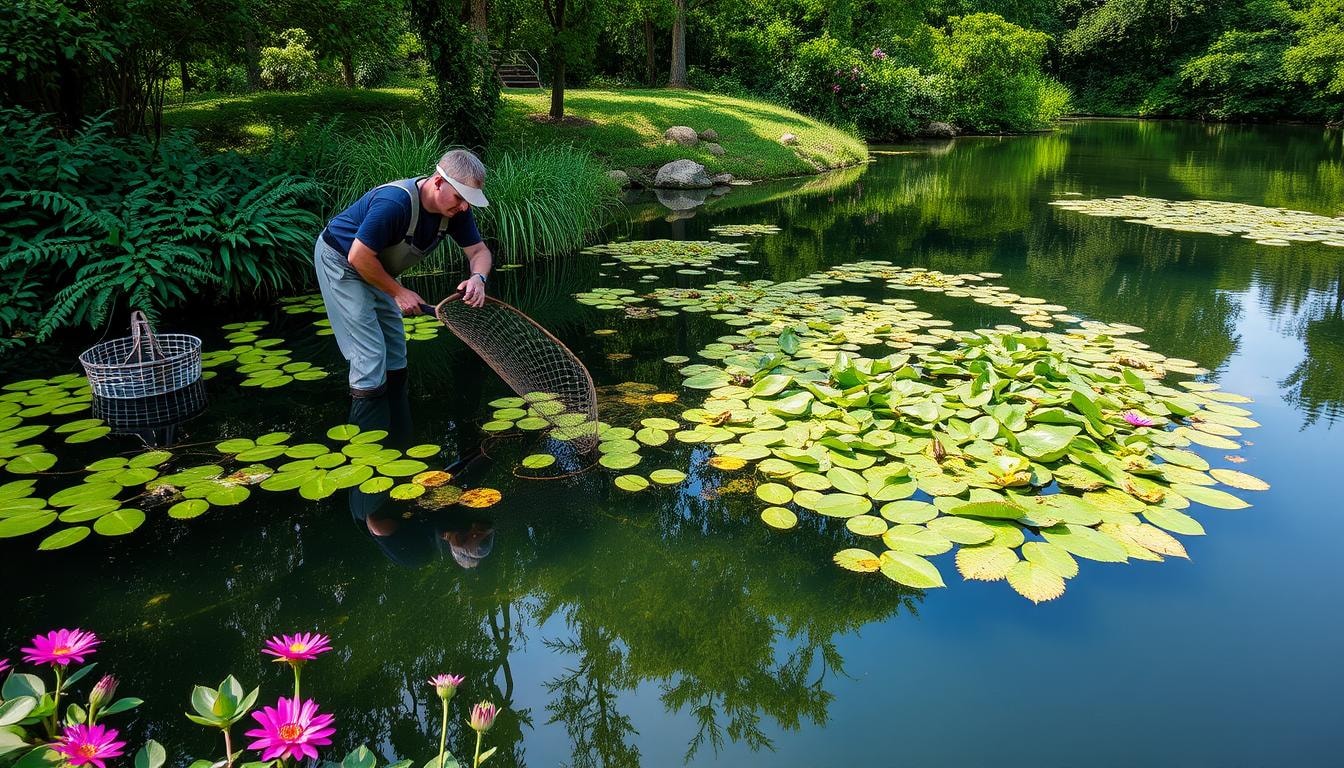
Excessive Sludge and Algae Growth
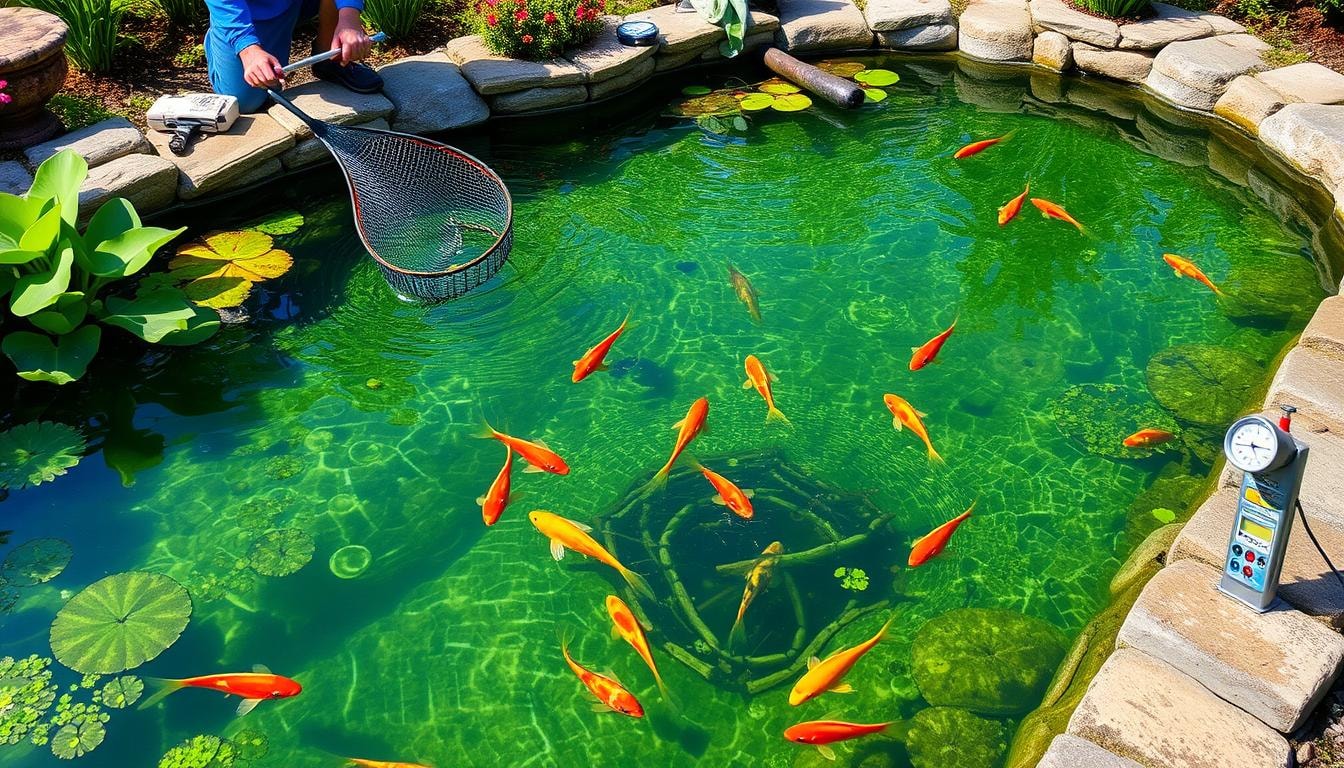
Call experts if you see too much sludge or algae. These problems can harm water quality and fish. Professionals have special equipment to fix these issues effectively.
Seasonal Cleanups and Maintenance
Thorough pond cleanups in spring and fall are crucial. Ongoing maintenance throughout the year is also important. Pros have the know-how and tools for these tasks.
They can remove debris and balance water. Experts also handle winterization and preventative measures. This keeps your pond in great shape year-round.
A good pond service ensures proper care. You can enjoy your pond’s beauty for years. Don’t wait to call experts when facing common maintenance challenges.
Find The Best Pond Pros with FindPros
As a pond owner, you know the importance of regular maintenance and care to keep your water garden thriving. From managing pond weeds and cleaning filters to ensuring the right water temperatures for your finned friends, it’s a never-ending process. But what if you could simplify this task and find the perfect pond maintenance professionals for your needs? That’s where FindPros comes in.
By answering a few quick questions about your pond, water garden, and project needs, we’ll match you with top-rated local pros who can handle everything from skim leaves to extreme heat. You’ll get the best pricing when multiple pros compete for your job, and you can choose the one you get along with best. Take the stress out of pond maintenance and let FindPros connect you with the right experts to help your oasis survive and thrive.
Conclusion
Professional pond maintenance is a smart investment for owners seeking a healthy aquatic ecosystem. Experts have the know-how and tools to clean, maintain, and optimize water quality. The annual costs range from $810 to $2,625, but the benefits often outweigh the expenses.
A healthy pond needs proper water quality, filtration, and algae control. Working with pros ensures your investment is well-managed. Experts can spot issues early and keep your pond in top shape.
Professional care preserves the pond’s beauty and boosts property value. It enhances enjoyment for all pond sizes. Expert maintenance helps your pond stay a relaxing, beautiful spot for years.
Frequently Asked Questions (Pond Maintenance)


MOST POPULAR CITIES
Browse by State- Alameda
- Costa Mesa
- Laguna Beach
- Orange
- Alhambra
- Culver City
- Lancaster
- Oroville
- Anaheim
- Daly City
- Livermore
- Oxnard
- Antioch
- Davis
- Lodi
- Pacific Grove
- Arcadia
- Downey
- Lompoc
- Palm Springs
- Bakersfield
- El Centro
- Long Beach
- Palmdale
- Barstow
- El Cerrito
- Los Angeles
- Palo Alto
- Belmont
- El Monte
- Malibu
- Pasadena
- Berkeley
- Escondido
- Martinez
- Petaluma
- Beverly Hills
- Eureka
- Marysville
- Pomona
- Brea
- Fairfield
- Menlo Park
- Port Hueneme
- Buena Park
- Fontana
- Merced
- Rancho Cucamonga
- Burbank
- Fremont
- Modesto
- Red Bluff
- Calexico
- Fresno
- Monterey
- Redding
- Calistoga
- Fullerton
- Mountain View
- Redlands
- Carlsbad
- Garden Grove
- Napa
- Redondo Beach
- Carmel
- Glendale
- Needles
- Redwood City
- Chico
- Hayward
- Newport Beach
- Richmond
- Chula Vista
- Hollywood
- Norwalk
- Riverside
- Claremont
- Huntington Beach
- Novato
- Roseville
- Compton
- Indio
- Oakland
- Sacramento
- Concord
- Inglewood
- Oceanside
- Salinas
- Corona
- Irvine
- Ojai
- San Bernardino
- Coronado
- La Habra
- Ontario
- San Clemente