Highlights
- Average installation costs range from $100-$10,000, with most projects around $300
- Material choices significantly impact costs: basic ($2-$10), mid-range ($10-$50), premium ($50+)
- Professional installation charges typically run $5-$30 per piece
- DIY installation can save money but requires proper tools and careful planning
- Cost-saving strategies include bulk purchasing, reusing existing holes, and timing purchases during sales
Installing cabinet hardware can cost anywhere from $100 to $10,000, with most homeowners paying around $300 for a complete kitchen. The wide price range depends mainly on your kitchen size, hardware material choices, and whether you hire a professional or do it yourself. Labor costs typically run between $5 and $30 per piece for professional installation.
For an average-sized kitchen needing 20 to 40 hardware pieces, you can expect to pay between $120 and $2,400 total, including materials and installation. These costs can increase if you choose luxury materials like crystal or designer pieces, or if your cabinets need additional work before installation.
Understanding Cabinet Hardware Installation Costs
The cost of cabinet hardware installation varies significantly based on several key factors. When planning to replace or install new cabinet hardware, understanding these costs helps create an accurate budget for your project. The total investment covers not only the physical components like cabinet pulls, knobs, and hinges but also the professional labor required for proper installation.
Average Costs Across the U.S.
Installing hardware on kitchen cabinets typically ranges from $100 to $10,000 nationwide, with most homeowners spending around $300. This price includes basic hardware installation for a standard-sized kitchen. The cost can vary depending on whether you’re replacing old hardware or installing new handles and pulls on fresh cabinetry.
Cost Breakdown for Hardware Installation:
- Basic Installation: $100-$300
- Mid-Range Project: $300-$1,000
- High-End Installation: $1,000-$10,000
- Professional Labor (per piece): $5-$30
What’s Included in the Total Price
The final cost of your cabinet hardware installation encompasses several line items. Professional cabinet installers typically include the cost of tools, labor, and basic supplies in their quotes. The basic installation package usually covers drill bits, a power drill, tape measure, and other necessary tools for the job.
Standard Installation Package Components:
- Hardware materials (pulls, knobs, hinges)
- Installation labor
- Basic tools and supplies
- Hardware removal (if replacing)
- Basic adjustments and alignment
Cost Range Based on Kitchen Size
Kitchen size directly impacts the final price of hardware installation. A larger kitchen means more cabinet doors and drawer fronts requiring hardware. An average kitchen (100-200 square feet) typically needs 20-40 pieces of hardware, including both pulls and knobs.
Average Costs by Kitchen Size:
- Small (Under 100 sq ft): $120-$800
- Medium (100-200 sq ft): $240-$1,600
- Large (Over 200 sq ft): $360-$2,400
Detailed Breakdown of Cost Factors
Before starting your project, understanding specific cost factors helps prevent unexpected expenses. From labor statistics to material choices, each element contributes to the total investment in your cabinetry upgrade.
Labor and Installation Charges
Professional cabinet installers typically charge between $50-$100 per hour. A full day of installation might be needed for larger kitchens or custom installations. The job includes measuring, drilling holes, and installing new hinges, pulls, and knobs.
Material Costs for Different Types of Hardware
Hardware materials range from basic zinc alloy to naturally antimicrobial copper. Soft-close hinges and specialty pulls typically cost more than standard options. Traditional knobs and pulls made from wrought iron or basic metals offer more budget-friendly choices.
Material Cost Comparison:
- Basic Hardware: $2-$10 per piece
- Mid-Grade Materials: $10-$30 per piece
- Premium Options: $30-$200 per piece
Style and Design Impact on Price
The style of your chosen hardware significantly affects the overall cost. Simple knobs cost less than elaborate pulls, while custom-designed pieces command premium prices. Specialty finishes and unique designs can double or triple the price per piece.
Extra Costs for Special Features
Additional features like soft-close mechanisms or antimicrobial coatings increase costs. Custom drilling patterns for unique hardware may require extra labor. Installing specialty items such as magnetic catches or self-closing hinges adds to the final price.
Shipping and Delivery Fees
Shipping costs vary based on order size and material weight. Heavy hardware packages or bulk orders may incur higher shipping fees. Some suppliers include shipping in the purchase price, while others add it as a separate charge.
Comparing Hardware Materials and Their Prices
When selecting new cabinet hardware, material choice significantly impacts both durability and cost. Different materials offer varying benefits, from basic zinc alloy pulls to naturally antimicrobial copper handles. Understanding these options helps balance quality with budget constraints when updating kitchen cabinets.
Material Price Comparison:
- Basic Materials: $1-$10 per piece
- Standard Materials: $10-$50 per piece
- Premium Materials: $50-$200+ per piece
- Installation Cost: $5-$30 per piece
Budget-Friendly Options Under $10
Affordable cabinet hardware options include basic knobs and pulls made from zinc alloy, plastic, or wrought iron. These materials offer practical functionality for old cabinets and drawer fronts while keeping costs low. Many budget options now include soft close hinges and durable finishes.
Mid-Range Hardware ($10-$50)
Mid-range options provide enhanced durability and style without excessive cost. This category includes quality cabinet pulls and handles made from stainless steel and brass. These materials often feature better construction, with options for custom finishes and soft close mechanisms.
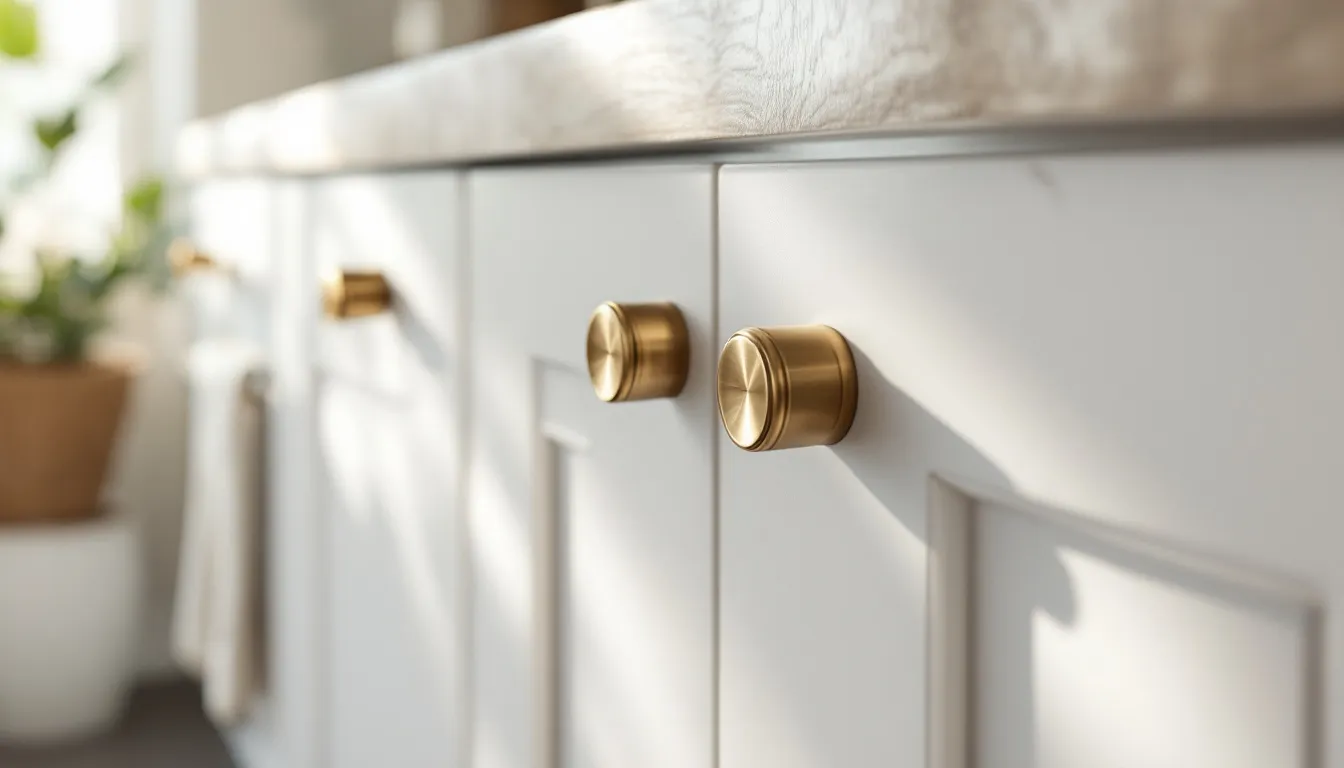
Luxury and Designer Hardware ($50+)
Premium hardware options include designer pulls, novelty hardware, and high-end materials like crystal or custom-made pieces. These cabinet handles and knobs often incorporate unique designs and superior craftsmanship. The higher costs reflect both material quality and artistic value.
DIY Installation vs Professional Installation Costs
The choice between DIY and professional cabinet hardware installation can significantly affect your final price. While DIY can save money, professional installation ensures precise measurement and proper alignment of all cabinet doors and drawers.
Installation Cost Comparison:
- DIY Total Cost: $100-$500
- Professional Cost: $300-$2,000
- Tools Cost (DIY): $50-$150
- Labor Cost (Pro): $50-$100/hour
Tools and Supplies Needed for DIY
A successful DIY hardware installation requires specific tools and careful planning. Essential items include a power drill, drill bit set, tape measure, and a template for consistent hole placement. Additional tools might be needed for replacing old hardware or installing new hinges.
Basic DIY Tool List:
- Power drill and drill bits
- Cabinet hardware template
- Measuring tools
- Screwdrivers
- Level
Professional Installation Pricing
Professional cabinet installers typically charge based on the project scope and number of hardware pieces. Labor statistics show rates ranging from $5-$30 per piece or $50-$100 per hour. A full day installation might be needed for larger projects or custom cabinetry work.
Hidden Costs to Watch Out For
Unexpected expenses can arise during both DIY and professional installations. These might include repairing damaged cabinet doors, filling old screw holes, or addressing alignment issues. Additional costs may emerge when changing hardware styles that require new hole patterns.
Common Hidden Costs:
- Cabinet repair materials
- Additional drill bits
- Template guides
- Emergency fixes
- Extra labor time
When to Choose Professional Help
Professional installation becomes particularly valuable for complex projects involving many cabinet doors or custom hardware. A professional cabinet installer ensures proper alignment, prevents damage to cabinetry, and guarantees proper function of special features like soft close hinges. Their expertise is especially important when working with high-end materials or intricate designs that require precise installation.
Money-Saving Tips for Hardware Installation
Installing new cabinet hardware doesn’t have to drain your budget. Strategic planning and smart shopping can significantly reduce the final cost of your project while maintaining quality. Whether you’re replacing old hardware or installing handles on new cabinets, these cost-saving approaches can help manage expenses.
Cost-Saving Methods Comparison:
- DIY Installation: Save $50-$100/hour
- Bulk Purchasing: Save 10-30%
- Reusing Holes: Save $2-$5 per piece
- Off-Season Buying: Save 15-25%
Best Times to Buy Hardware
Timing your cabinet hardware purchase can lead to substantial savings. Hardware prices often drop during home improvement seasonal sales and end-of-year clearances. Kitchen cabinet hardware, including pulls, knobs, and hinges, typically costs less during these periods, making it an ideal time for large projects.
Bulk Purchase Savings
Buying cabinet handles and pulls in bulk often results in better pricing per piece. This approach works well for larger projects involving multiple cabinet doors and drawer fronts. Many suppliers offer discounts on bulk orders of zinc alloy, wrought iron, or other materials, including soft close hinges and standard hardware.
Reusing Existing Hardware Holes
Maintaining the same hole pattern when replacing old hardware can reduce both material and labor costs. This approach eliminates the need for additional drilling and repair work. Using existing holes works particularly well when installing new handles of similar size and style.
Ways to Reduce Labor Costs
Labor represents a significant portion of cabinet hardware installation costs. DIY installation can save money on professional fees, while efficient planning reduces installation time. Using a tape measure and proper tools like a power drill and drill bit guide helps complete the job faster and more accurately.
Additional Cost Considerations
Beyond the initial hardware installation, several factors can affect the long-term cost of your cabinet hardware project. Understanding these potential expenses helps create a more accurate budget and prevents unexpected costs.
Long-Term Cost Factors:
- Emergency Repairs: $50-$200
- Annual Maintenance: $20-$100
- Hardware Warranty: 1-5 years
- Insurance Coverage: Varies
Emergency Repair Costs
Unexpected issues may arise with cabinet hardware, requiring immediate attention. Problems might include loose screws, damaged drawer fronts, or misaligned cabinet doors. Emergency repairs by a professional cabinet installer typically cost more than scheduled maintenance, especially for custom or novelty hardware.
Common Emergency Repairs:
- Loose hardware tightening
- Broken pull replacement
- Hinge realignment
- Damaged surface repair
Maintenance and Replacement Expenses
Regular maintenance extends hardware life and prevents costly repairs. This includes periodic tightening of screws, cleaning naturally antimicrobial surfaces, and adjusting soft close mechanisms. Some hardware types, particularly in high-use areas, may need replacement more frequently than others.
Insurance and Warranty Coverage
Most new cabinet hardware comes with manufacturer warranties covering defects and performance issues. Understanding warranty terms helps protect your investment. While standard home insurance typically doesn’t cover hardware specifically, damage from covered events might include cabinet hardware replacement costs. Professional cabinet installers often provide workmanship guarantees for their installation jobs.